Home › BODY › SEAT › FRONT SEAT ASSEMBLYDISASSEMBLY
Removal / installation · Vehicles built from Nov 2010
Versions by build date: Jul 2007 – Oct 2010 from Nov 2010
CAUTION:
Wear protective gloves. Sharp areas on the parts may injure your hands.
HINT:
The procedure described below is for the driver side. Use the same procedure for both the driver and front passenger sides, unless otherwise specified.
1.
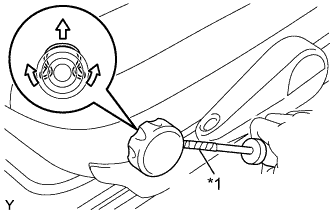
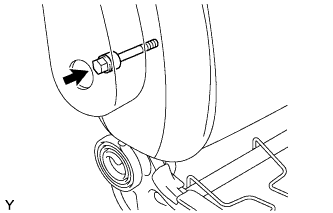
REMOVE VERTICAL SEAT ADJUSTER KNOB (for Driver Side)
Using a screwdriver with its tip wrapped in protective tape, disengage the snap ring and remove the vertical seat adjuster knob.
Text in Illustration
*1
Protective Tape
2.
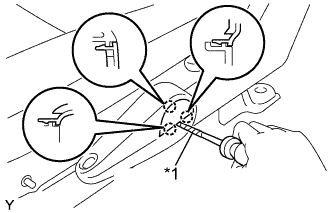
REMOVE VERTICAL SEAT ADJUSTER HANDLE COVER (for Driver Side)
Using a screwdriver with its tip wrapped in protective tape, disengage the 3 claws and remove the vertical seat adjuster handle cover.
Text in Illustration
*1
Protective Tape
3.
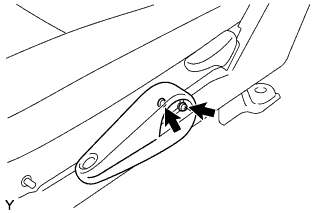
REMOVE VERTICAL SEAT ADJUSTER HANDLE (for Driver Side)
Remove the 2 screws and the vertical seat adjuster handle.
4.
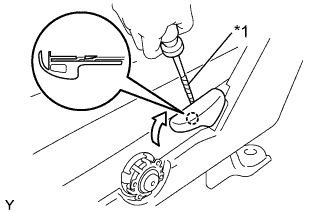
REMOVE RECLINING ADJUSTER RELEASE HANDLE
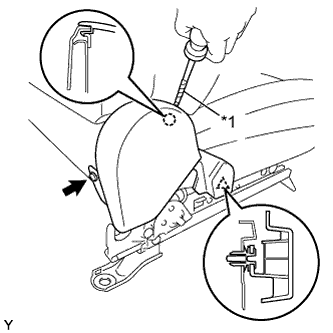
Using a screwdriver with its tip wrapped in protective tape, disengage the claw and remove the reclining adjuster release handle.
Text in Illustration
*1
Protective Tape
5.
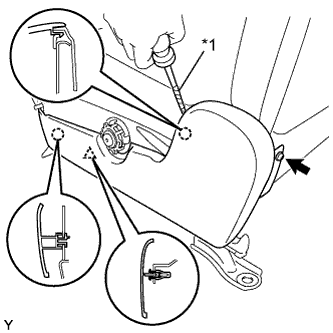
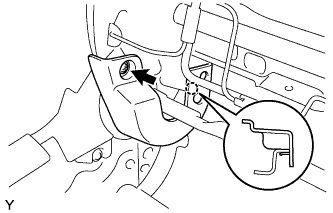
REMOVE FRONT SEAT CUSHION OUTER SHIELD
Remove the screw.
Text in Illustration
*1
Protective Tape
Using a screwdriver with its tip wrapped in protective tape, disengage the 2 claws and the clip and remove the front seat cushion outer shield.
6.
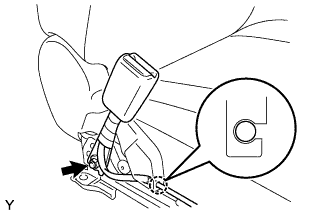
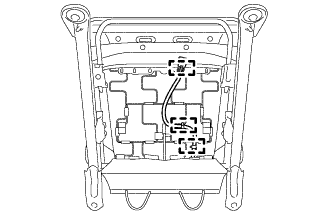
REMOVE FRONT SEAT INNER BELT ASSEMBLY
for Driver Side:
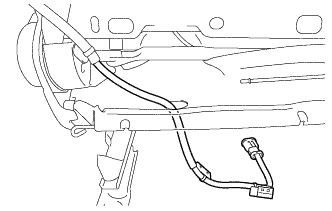
Disconnect the seat position sensor connector.
Using a clip remover, remove the 2 connectors and the clamp.
Remove the clamp.
for Front Passenger Side:
Disconnect the buckle switch connector.
Disconnect the occupant classification sensor connector.
Using a clip remover, remove the connector and the 2 clamps.
Remove the wire harness from the claw of the front seat cushion inner shield. Remove the nut and the front seat inner belt.
7.
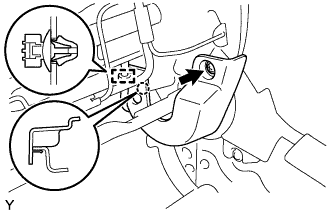
REMOVE FRONT SEAT CUSHION INNER SHIELD
Remove the screw.
Text in Illustration
*1
Protective Tape
Using a screwdriver with its tip wrapped in protective tape, disengage the claw and the clip and remove the front seat cushion inner shield.
8.
REMOVE FRONT SEAT CUSHION ASSEMBLY
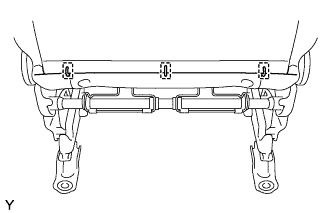
Using a clip remover, remove the 2 clips.
Remove the 2 front seatback cover bands.
for Front Passenger Side: Disengage the occupant detection sensor clamp.
Disengage the 2 claws and the 7 hooks and remove the front seat cushion.
9.
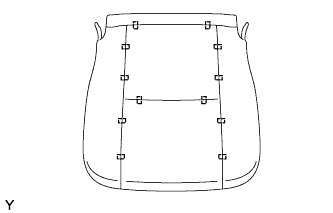
REMOVE FRONT SEAT CUSHION COVER
Remove the 12 hog rings and the front seat cushion cover.
10.
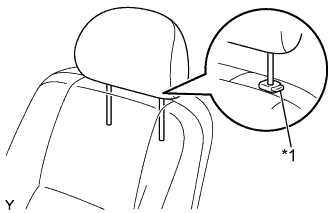
REMOVE FRONT SEAT HEADREST ASSEMBLY
Push in the lock button of the front seat headrest support and remove the front seat headrest.
Text in Illustration
*1
Lock Button
11.
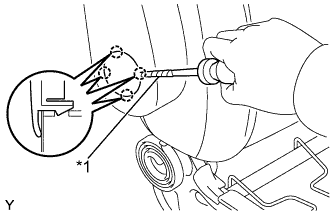
REMOVE FRONT SEAT ARMREST CAP (w/ Armrest)
Using a screwdriver with its tip wrapped in protective tape, disengage the 4 claws and remove the front seat armrest cap.
Text in Illustration
*1
Protective Tape
12.
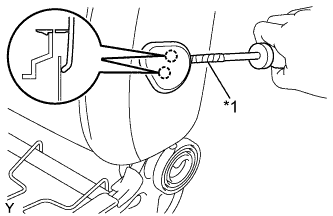
REMOVE FRONT SEAT ARMREST COVER (w/ Cover)
Using a screwdriver with its tip wrapped in protective tape, disengage the 2 claws and remove the front seat armrest cover.
Text in Illustration
*1
Protective Tape
13.
REMOVE FRONT SEAT ARMREST ASSEMBLY (w/ Armrest)
Remove the bolt, the bush and the front seat armrest.
14.
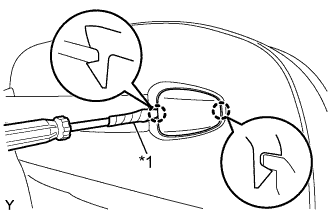
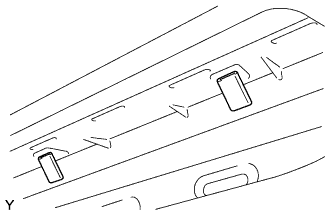
REMOVE ASSIST GRIP PLUG
Using a screwdriver with its tip wrapped in protective tape, disengage the 2 claws and remove the assist grip plug.
Text in Illustration
*1
Protective Tape
HINT:
Use the same procedure for both sides.
15.
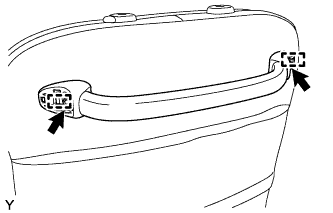
REMOVE ASSIST GRIP
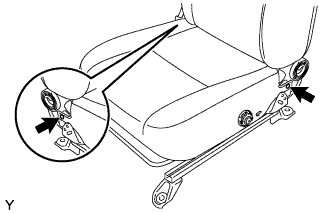
Using a 5 mm hexagon wrench, remove the 2 bolts. Disengage the 2 hooks and remove the assist grip.
16.
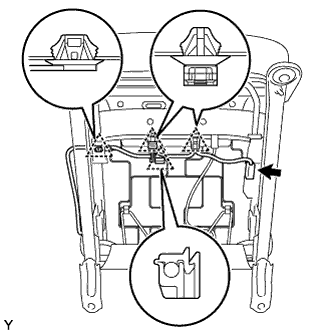
REMOVE FRONT SEAT HEADREST SUPPORT
w/ Front Seat Side Airbag:
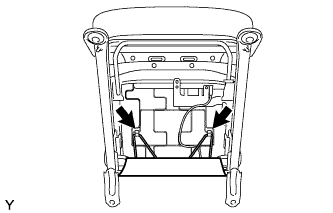
Disengage the 3 clamps to separate the front seat side airbag wire harness.
Remove the 3 hog rings.
w/ Front Seat Side Airbag:
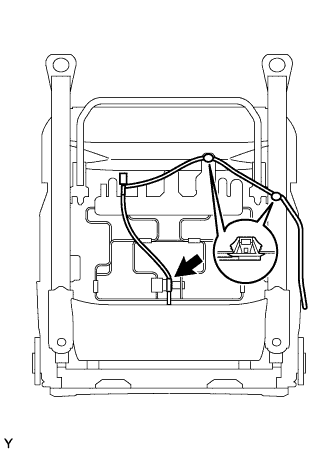
Pull out the front seat side airbag wire harness from the front seatback cover.
Remove the 2 hog rings. Unfasten the 2 zippers.
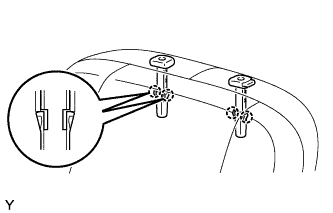
Disengage the 2 claws and remove the front seat headrest support.
HINT:
Use the same procedure for both sides.
17.
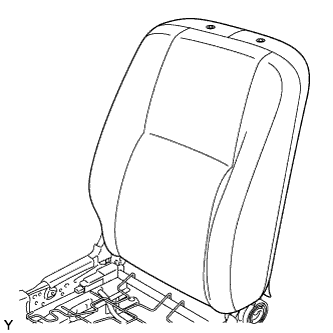
REMOVE FRONT SEATBACK ASSEMBLY
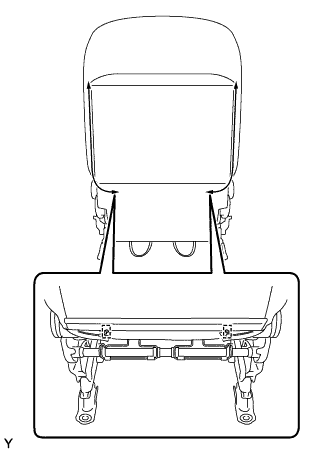
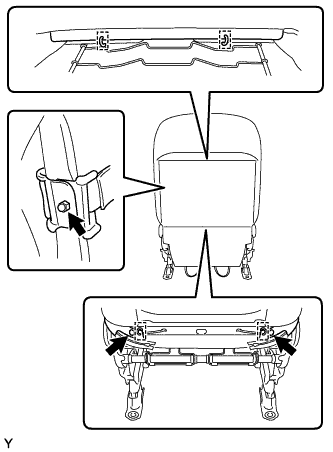
Using a clip remover, remove the 2 clips. Remove the 4 hog rings.
w/ Front Seat Side Airbag:
Remove the nut.
Remove the front seatback.
18.
REMOVE FRONT SEATBACK COVER
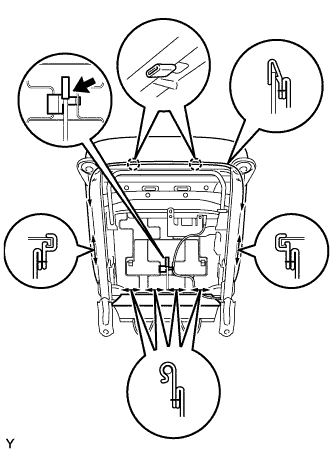
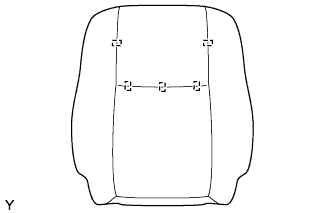
Remove the 5 hog rings and the front seatback cover.
19.
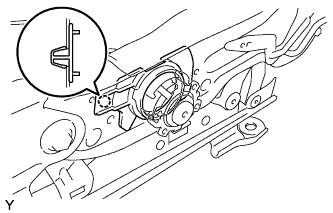
REMOVE VERTICAL SEAT ADJUSTER BUSH (for Driver Side)
Disengage the claw and remove the vertical seat adjuster bush.
20.
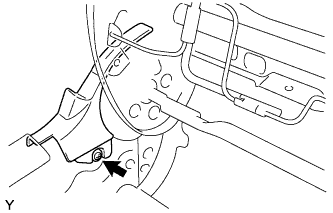
REMOVE RECLINING ADJUSTER INSIDE COVER RH
Remove the screw. Disengage the claw and remove the reclining adjuster inside cover.
21.
REMOVE RECLINING ADJUSTER INSIDE COVER LH
Remove the screw. w/ Front Seat Side Airbag:
Using a clip remover, disengage the clamp.
Disengage the claw and remove the reclining adjuster inside cover.
22.
REMOVE RECLINING ADJUSTER OUTSIDE COVER RH
Remove the screw and the reclining adjuster outside cover.
23.
REMOVE RECLINING ADJUSTER OUTSIDE COVER LH
HINT:
Use the same procedure as for the RH side.
24.
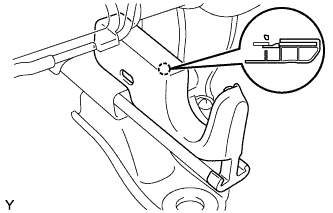
REMOVE FRONT SEAT CUSHION LOWER SHIELD RH
Disengage the claw and remove the front seat cushion lower shield.
25.
REMOVE FRONT SEAT CUSHION LOWER SHIELD LH
HINT:
Use the same procedure as for the RH side.
26.
REMOVE FRONT SEAT CUSHION EDGE PROTECTOR
Remove the 2 front seat cushion edge protectors.
27.
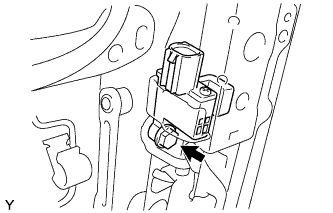
REMOVE SEAT POSITION SENSOR (for Driver Side)
Remove the bolt and the seat position sensor.
28.
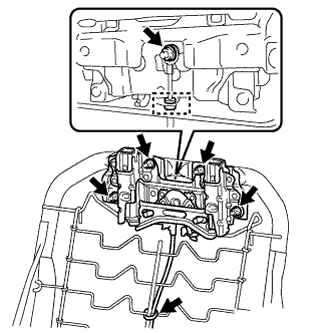
REMOVE UPPER ACTIVE HEADREST UNIT
Remove the 5 nuts. Cut the cable tie.
Disengage the lower active headrest unit cable and remove the upper active headrest unit.
29.
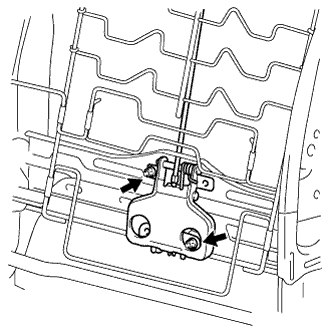
REMOVE LOWER ACTIVE HEADREST UNIT
Remove the 2 nuts and remove the lower active headrest unit.
30.
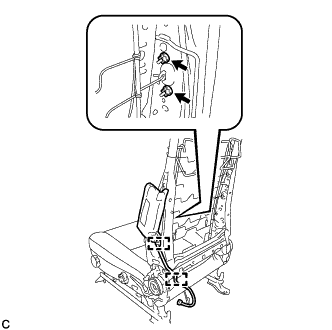
REMOVE FRONT SEAT SIDE AIRBAG ASSEMBLY (w/ Front Seat Side Airbag)
Disengage the 2 clamps. Remove the 2 nuts and front seat side airbag assembly.
NOTICE:
The nuts must not be reused.
Make sure that the front seat adjuster sub-assembly is not deformed. If it is, replace it with a new one.