 |
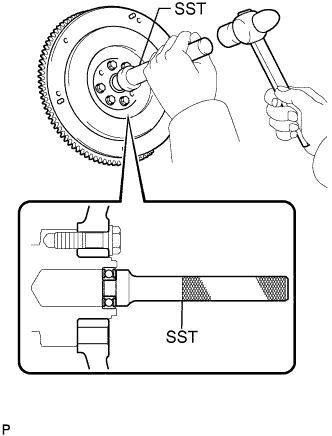
Using SST and a hammer, install a new input shaft bearing.
- SST
- 09304-12012
- HINT:
- After assembling the input shaft bearing to the hub, make sure that it rotates smoothly.
2KD-FTV CLUTCH UNIT > INSTALLATION |
| 1. INSTALL INPUT SHAFT BEARING |
|
Using SST and a hammer, install a new input shaft bearing.
Install the 2 bolts.
| 2. INSTALL CLUTCH DISC ASSEMBLY |
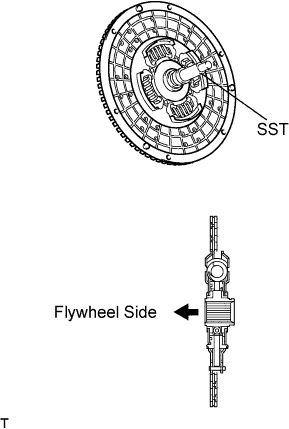 |
Insert SST into the clutch disc assembly, then insert them into the flywheel sub-assembly.
| 3. INSTALL CLUTCH COVER ASSEMBLY |
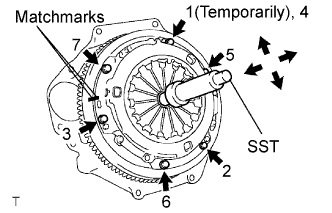 |
Align the matchmarks on the clutch cover assembly with the one on the flywheel sub-assembly.
Following the procedures shown in the illustration, tighten the 6 bolts starting from the bolt located near the knock pin on the top.
| 4. INSPECT AND ADJUST CLUTCH COVER ASSEMBLY |
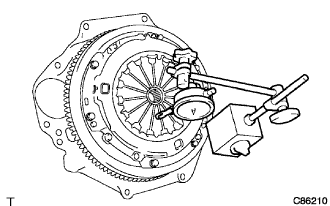 |
Using a dial indicator with a roller instrument, check the diaphragm spring tip alignment.
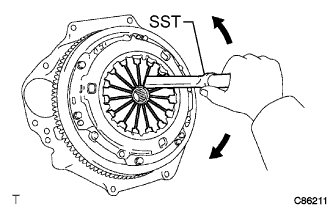 |
If alignment is not as specified, adjust the diaphragm spring tip alignment using SST.
| 5. INSTALL CLUTCH RELEASE FORK BOOT |
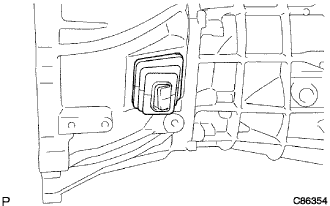 |
Install the clutch release fork boot.
| 6. INSTALL RELEASE FORK SUPPORT |
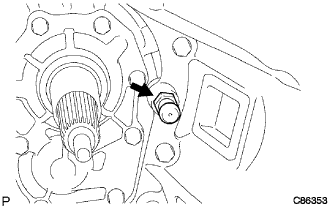 |
Install the clutch release fork support to the transmission unit.
| 7. INSTALL CLUTCH RELEASE FORK SUB-ASSEMBLY |
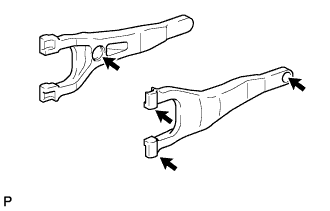 |
Apply release hub grease to the release fork, the release bearing assembly, the push rod contact point and the pivot points as shown in the illustration.
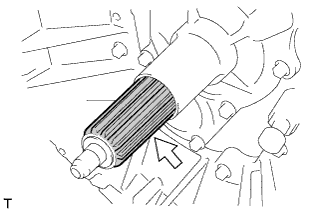 |
Apply clutch spline grease to the input shaft spline.
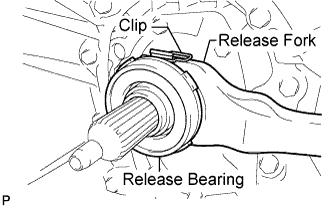 |
Install the release bearing to the clutch release fork with the clip.
Install the clutch release fork assembly to the transmission unit.
| 8. INSTALL MANUAL TRANSMISSION UNIT ASSEMBLY |