The automatic transmission assembly is very heavy. Be sure to follow the procedure described in the repair manual, or the transmission jack may suddenly drop.
1.
PRECAUTION
NOTICE:
After turning the ignition switch off, waiting time may be required before disconnecting the cable from the battery terminal. Therefore, make sure to read the disconnecting the cable from the battery terminal notice before proceeding with work (Click here).
2.
DISCONNECT CABLE FROM NEGATIVE BATTERY TERMINAL
NOTICE:
When disconnecting the cable, some systems need to be initialized after the cable is reconnected (Click here).
3.
REMOVE NO. 1 ENGINE UNDER COVER
4.
DRAIN AUTOMATIC TRANSMISSION FLUID
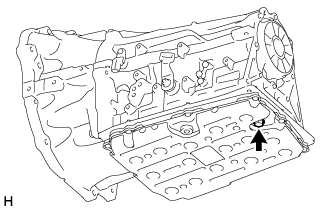
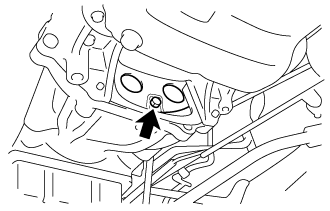
Remove the drain plug and gasket from the automatic transmission assembly and drain the ATF.
Install a new gasket and the drain plug to the automatic transmission assembly.
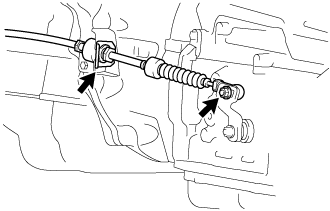
Remove the nut and disconnect the transmission control cable assembly from the transmission control shaft lever LH.
Remove the clip and disconnect the transmission control cable assembly from the transmission control cable bracket.
9.
REMOVE NO. 1 TRANSMISSION CONTROL CABLE BRACKET
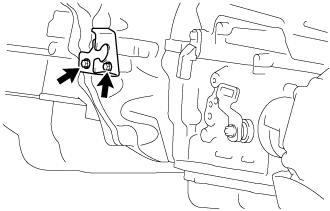
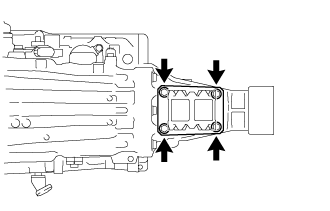
Remove the 2 bolts and No. 1 transmission control cable bracket from the automatic transmission assembly.
10.
REMOVE DRIVE PLATE AND TORQUE CONVERTER SETTING BOLT
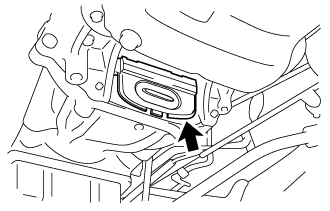
Remove the flywheel housing dust seal.
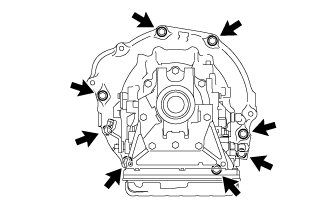
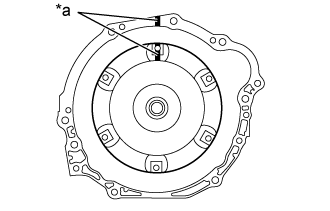
Turn the crankshaft to gain access to the 6 drive plate and torque converter setting bolts and remove each bolt while holding the crankshaft pulley bolt with a wrench.
11.
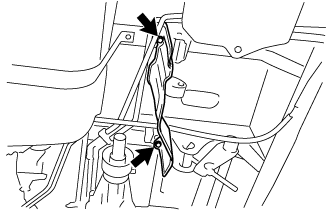
REMOVE FUEL TANK GUARD
Remove the 2 bolts and fuel tank guard from the body.
12.
REMOVE OIL COOLER TUBE
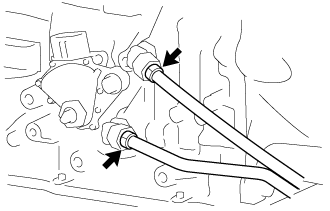
Disconnect the 2 oil cooler tubes from the automatic transmission assembly.
HINT:
Use a container to catch any ATF which flows out of the 2 oil cooler tubes and automatic transmission assembly.
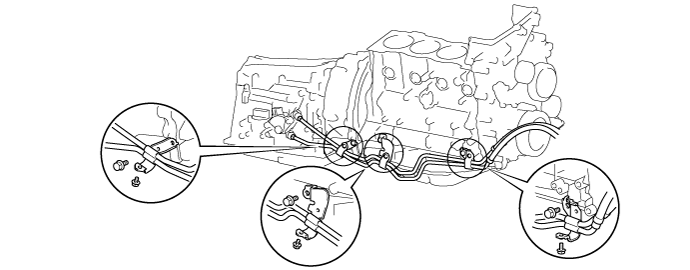
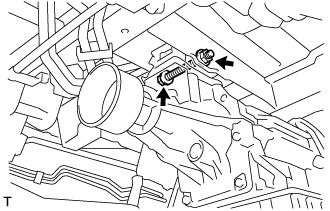
Remove the 6 bolts and disconnect the 3 clamps.
13.
DISCONNECT WIRE HARNESS
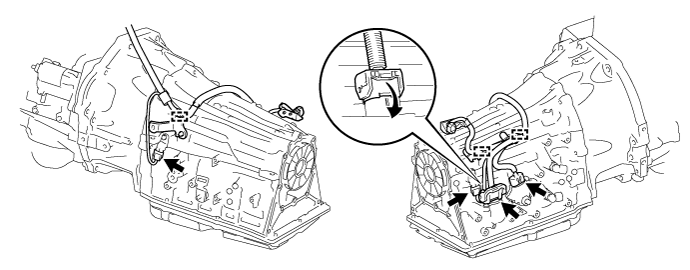
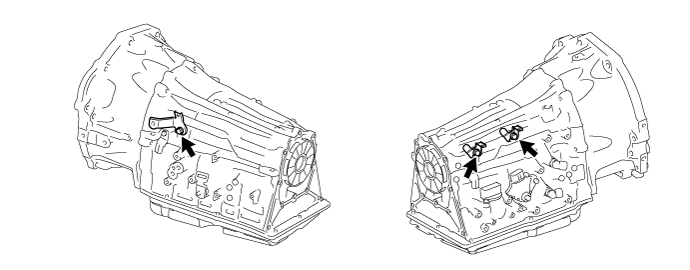
Disconnect the park/neutral position switch connector, transmission wire connector and 2 speed sensor connectors.
HINT:
Detach the claw, press down the lever, and then disconnect the transmission wire connector.
Disconnect the 3 wire harness clamps from the automatic transmission assembly.
14.
SUPPORT AUTOMATIC TRANSMISSION ASSEMBLY
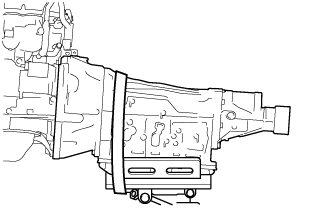
Support the automatic transmission assembly with a transmission jack.
NOTICE:
In order to protect the automatic transmission oil pan sub-assembly, place attachments on the transmission jack.
Make sure that the attachments and the automatic transmission oil pan sub-assembly are centered on the transmission jack.
To prevent the automatic transmission oil pan sub-assembly from deforming, do not place any attachments under the automatic transmission oil pan sub-assembly of the automatic transmission assembly.
Secure the automatic transmission assembly to the transmission jack using a belt, etc. to prevent it from falling.