INSTALLATION
Removal / installation · Vehicles built Oct 2014 – Dec 2014
Versions by build date: Oct 2014 – Dec 2014 Jan 2015 – Dec 2016 from Jan 2017
| 1. INSTALL BRAKE MASTER CYLINDER |

- HINT:
- When installing the brake master cylinder, the brake booster push rod does not need to be adjusted.
Install the brake master cylinder and harness clamp bracket to the booster with the 2 nuts.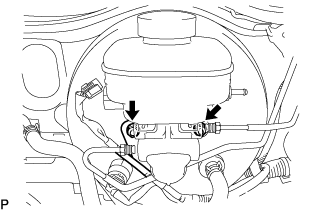

- Torque:
- 12.7 N*m{ 130 kgf*cm , 9 ft.*lbf }
- NOTICE:
- Check that the stopper of the harness clamp bracket is securely holding on the brake master cylinder assembly.
for Manual Transmission: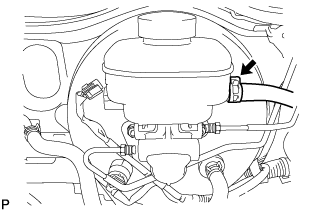
Install the clutch reservoir tube with the clip.
Using a union nut wrench, connect the 2 brake tubes to the master cylinder.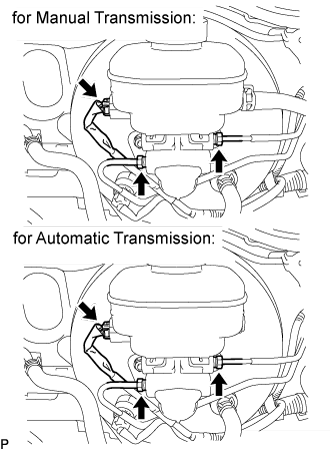
- Torque:
- 15 N*m{ 155 kgf*cm , 11 ft.*lbf }
- NOTICE:
- Use the formula to calculate special torque values for situations where a union nut wrench is combined with a torque wrench (Click here).
Connect the level warning light switch connector.
| 2. ADD BRAKE FLUID |
- Fluid:
- SAE J1703 or FMVSS No. 116 DOT3 or equivalent
| 3. BLEED BRAKE MASTER CYLINDER |
- HINT:
- If the master cylinder has been disassembled or if the reservoir becomes empty, bleed the air from the master cylinder.
Using a union nut wrench, disconnect the brake lines from the master cylinder.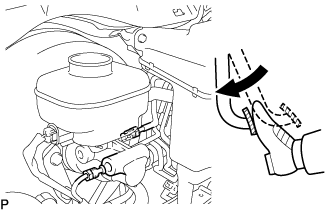
Slowly depress the brake pedal and hold it there.
Block the outer holes with your fingers, and release the brake pedal.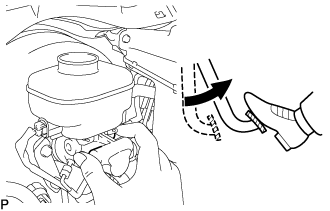
Remove your fingers. Slowly depress the brake pedal and hold it again. Block the outer holes with your fingers and release the brake pedal. Repeat this procedure 3 or 4 times.
Using a union nut wrench, connect the brake lines to the master cylinder.
- Torque:
- 15 N*m{ 155 kgf*cm , 11 ft.*lbf }
- NOTICE:
- Use the formula to calculate special torque values for situations where a union nut wrench is combined with a torque wrench (Click here).
| 4. BLEED BRAKE LINE |
Connect the vinyl tube to the bleeder plug.
Depress the brake pedal several times and loosen the bleeder plug with the pedal held down.
At the point where the fluid stops coming out, tighten the bleeder plug and release the brake pedal.
Repeat this procedure until the air in the brake fluid is completely bled out.
Tighten the bleeder plug.
Front bleeder plug:
- Torque:
- 10.8 N*m{ 110 kgf*cm , 8 ft.*lbf }
Rear bleeder plug:
- Torque:
- 11.0 N*m{ 112 kgf*cm , 8 ft.*lbf }
Repeat the above procedure to bleed the air out of the brake line for each wheel.
| 5. CHECK BRAKE FLUID LEVEL |
Check the fluid level and add fluid if necessary.
- Fluid:
- SAE J1703 or FMVSS No.116 DOT3 or equivalent
| 6. CHECK BRAKE FLUID LEAKAGE |