Removal / installation · Vehicles built from Oct 2014
1.
INSTALL POWER SLIDE DOOR TOUCH SENSOR
Engage the 2 clips and install the power slide door touch sensor.
Tighten the 3 bolts.
Using "TORX" socket wrench T25, tighten the 6 screws.
Connect the connector.
2.
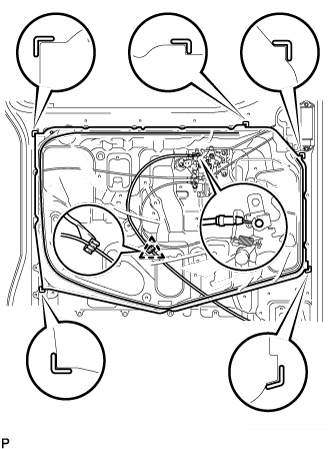
INSTALL SLIDE DOOR SERVICE HOLE COVER LH
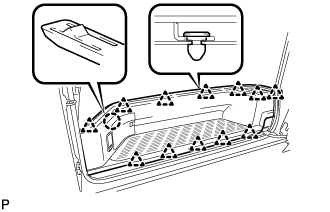
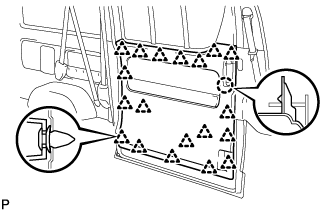
Apply butyl tape to the door panel, then install a new slide door service hole cover as shown in the illustration.
HINT:
When installing the service hole cover, pull the links and connectors out through the service hole.
There should be no wrinkles or folds after attaching the service hole cover.
After attaching the service hole cover, check the quality of the seal.
Connect the cable to the slide door lock remote control.
Engage the clamp.
3.
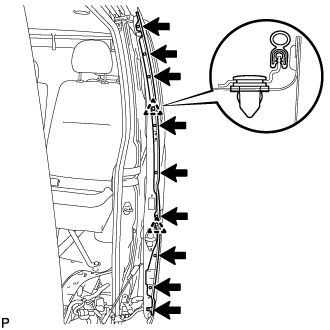
INSTALL REAR NO. 2 DOOR WIRE
Engage the 4 clips and install the rear No. 2 door wire.
NOTICE:
Engage the clips by directly pushing them in by hand, not by tapping on the case surface.
Tighten the 4 bolts.
NOTICE:
Do not tighten the bolts with any wire harness or cable wedged under the case as it may cause the case to deform or malfunction.
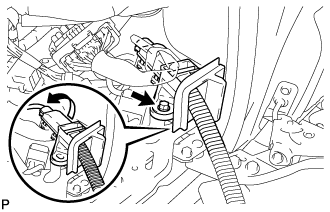
Make sure that the wire harness is not twisted, and tighten the bolts after the clamp is fully secured by turning it in the direction indicated by the arrow mark.
Connect the connector.
4.
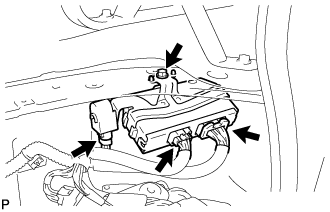
INSTALL DOOR CONTROL RELAY ASSEMBLY
Install the door control relay with the bolt.
Connect the connectors.
5.
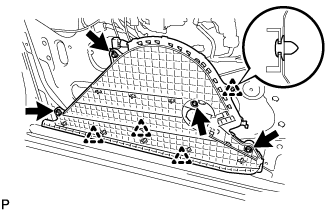
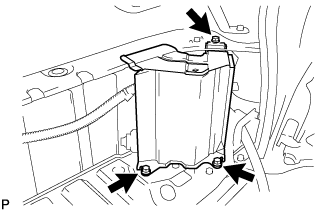
INSTALL SIDE STEP REAR SUPPORT LH
Install the side step rear support with the 3 bolts.
Torque:
7.8 N*m{
80 kgf*cm
, 69 in.*lbf
}
6.
INSTALL REAR DOOR SCUFF PLATE LH
Connect the connector.
Engage the claw and 12 clips and install the rear door scuff plate.
7.
INSTALL REAR DOOR TRIM BOARD SUB-ASSEMBLY LH
Engage the claw and 19 clips, and install the rear door trim board.
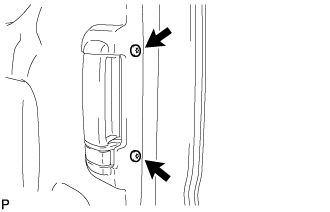
Using "TORX" socket wrench T25, tighten the 2 screws.
8.
INSTALL SLIDE DOOR WINDOW GARNISH LH
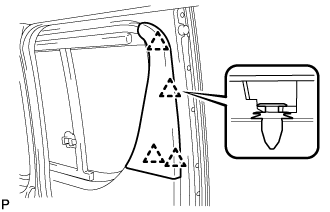
Engage the 4 clips and install the slide door window garnish.