HEATING / AIR CONDITIONING FRONT AIR CONDITIONING UNIT(for RHD) DISASSEMBLY
PROCEDURE

 55990B
1.REMOVE LOWER DEFROSTER NOZZLE ASSEMBLY
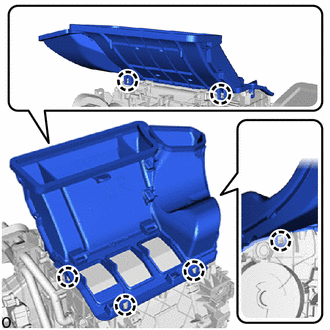
Detach the claw and remove the lower defroster nozzle assembly.
5538E
2.REMOVE ELECTRICAL PARTS MOUNTING BRACKET
Remove the screw.
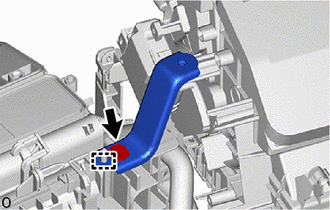
Detach the guide and remove the electrical parts mounting bracket.
88649
3.REMOVE NO. 2 COOLER WIRING (w/ PTC Heater)
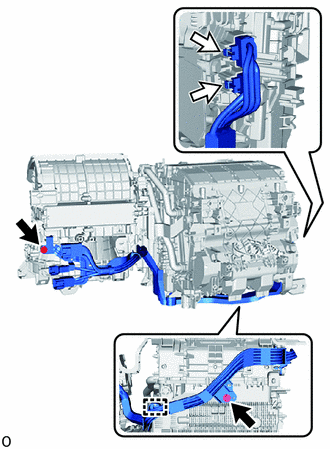

|
Screw |

|
Connector |
Disconnect the 2 connectors.
Remove the 2 screws.
Detach the guide and remove the No. 2 cooler wiring.
87211A
4.REMOVE NO. 2 AIR DUCT
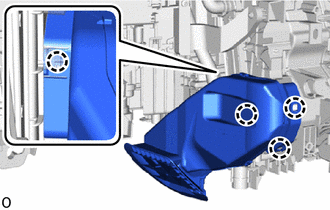
Detach the claw and remove the No. 2 air duct.
- NOTICE:
- ·
When removing, do not crack or deform the lower heater case of the air conditioning radiator assembly.
·If the No. 2 air duct is reused, it may fall off or abnormal noise may occur. Therefore, make sure to replace with a new one.
87130D
5.REMOVE BLOWER ASSEMBLY
6.REMOVE AIR MIX DAMPER CONTROL CABLE SUB-ASSEMBLY
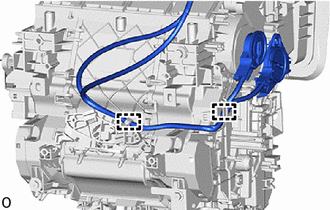
Detach the guide and disconnect each cable.
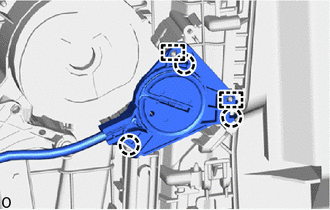
Detach the claw and guide and remove the air mix damper control cable sub-assembly.
7.REMOVE NO. 2 HEATER CONTROL CABLE SUB-ASSEMBLY
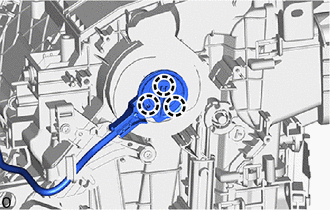
Detach the claw and remove the No. 2 heater control cable sub-assembly.
88897M
8.REMOVE HEATER PIPE GROMMET
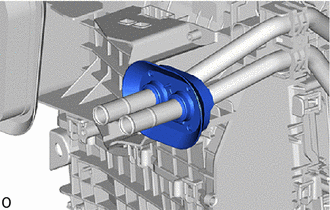
Remove the heater pipe grommet.
87124B
9.REMOVE HEATER CLAMP
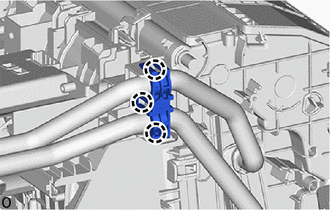
Detach the claw and remove the heater clamp.
87107A
10.REMOVE HEATER RADIATOR UNIT SUB-ASSEMBLY
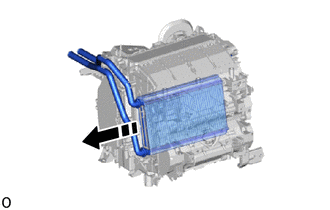

|
Remove in this Direction |
Remove the heater radiator unit sub-assembly.
88899L
11.REMOVE COOLING UNIT PARTS
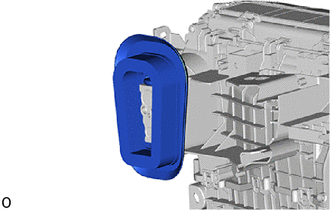
Remove the cooling unit parts.
88515
12.REMOVE COOLER EXPANSION VALVE
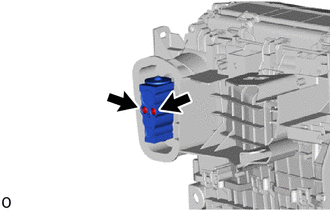
Using a 4 mm hexagon socket wrench, remove the 2 bolts and cooler expansion valve.
Remove the 2 O-rings from the No. 1 cooler evaporator sub-assembly.
- NOTICE:
-
Seal the openings of the disconnected parts using vinyl tape to prevent the entry of moisture and foreign matter.
87212
13.REMOVE REAR NO. 1 AIR DUCT (w/ Rear Foot Duct, w/ Center Foot Duct)
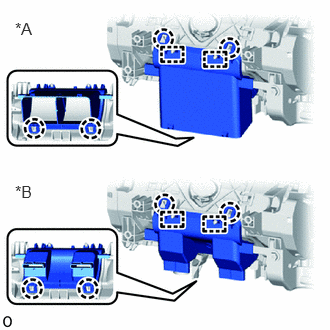
| *A | w/ Rear Foot Duct |
| *B | w/ Center Foot Duct |
Detach the claw and guide and remove the rear No. 1 air duct.
87211X
14.REMOVE BLOWER COVER (w/o Center Foot Duct, w/o Rear Foot Duct)
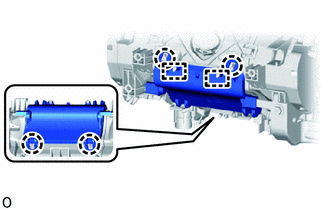
Detach the claw and guide and remove the blower cover.
88501
15.REMOVE NO. 1 COOLER EVAPORATOR SUB-ASSEMBLY
Remove the 2 screws.
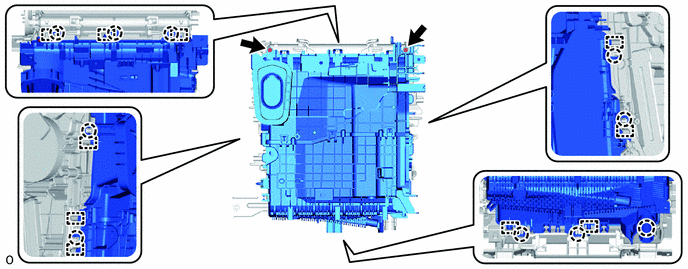
Detach the claw and guide and remove the upper heater case from the lower heater case.
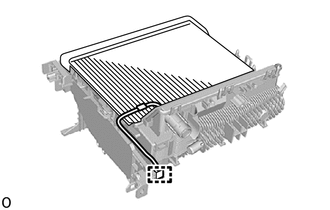
Detach the connector clamp.
Remove the No. 1 cooler evaporator sub-assembly together with the No. 1 cooler thermistor from the upper heater case.
88625
16.REMOVE NO. 1 COOLER THERMISTOR (FRONT EVAPORATOR TEMPERATURE SENSOR)
87710G
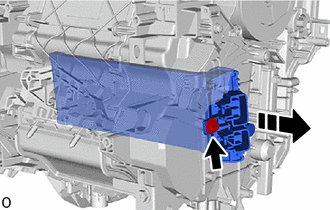
17.REMOVE QUICK HEATER ASSEMBLY (w/ PTC Heater)
|
|
Remove in this Direction |
Remove the screw and quick heater assembly.
- NOTICE:
-
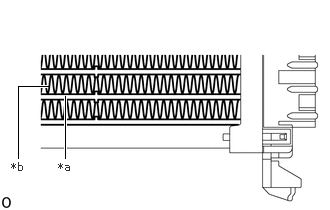 0.677,1.646 0.677,1 true 0.188,1.646 0.188,0.896 0.188,0.896 0.5,0.896 true 0.604,1.667 0.917,1.865 0.313,0.198 10 false *a 0.115,1.667 0.427,1.865 0.313,0.198 10 false *b
*a Element *b Fin
- ·
Do not hold the quick heater assembly by the element or fin. Also, do not damage the quick heater assembly.
·Foul odors may occur due to oil adhering to the quick heater assembly.
87114B
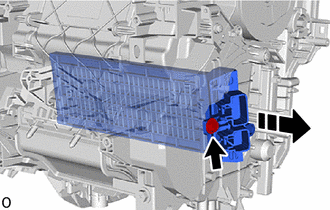
18.REMOVE HEATER COVER (w/o PTC Heater)
|
|
Remove in this Direction |
Remove the screw and heater cover.