Removal / installation · Vehicles built from May 2007
1.
INSTALL SLIDING ROOF DRIVE CABLE SUB-ASSEMBLY
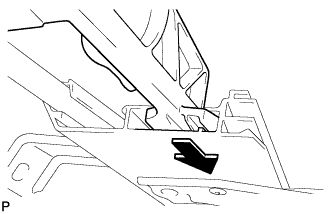
Insert the sliding roof drive cable.
Align the sliding roof drive cable with the guide on the sliding roof housing and slide the cable in the direction indicated by the arrow in the illustration.
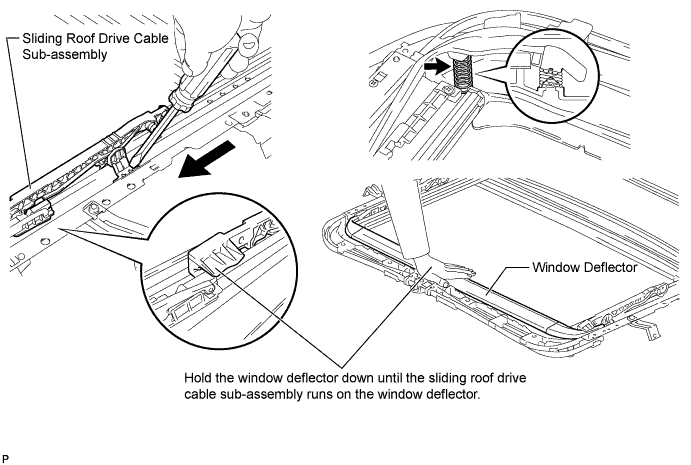
Using a screwdriver, slide the sliding roof drive cable sub-assembly in the direction indicated by the arrow in the illustration to install it.
NOTICE:
Make sure that the spring indicated by the arrow in the illustration is securely installed.
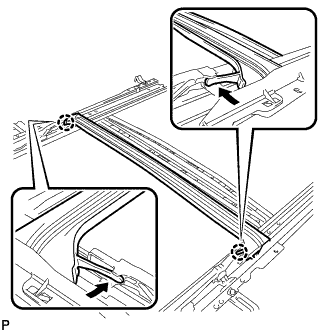
Engage the 2 claws and install the sliding roof drip channel.
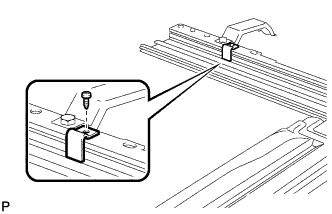
Install the sliding roof side stopper with the screws.
Torque:
2.0 N*m{
20 kgf*cm
, 18 in.*lbf
}
HINT:
Use the same procedure for the RH side and the LH side.
2.
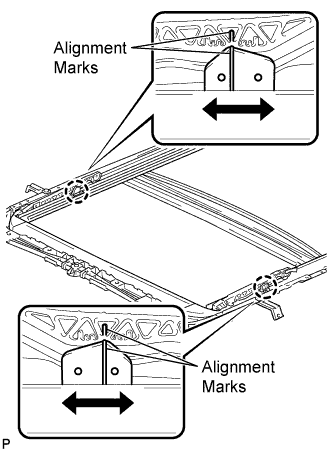
ADJUST FULLY CLOSED POSITION
Using a screwdriver, slide the sliding roof drive cable sub-assembly in either direction indicated by the arrows in the illustration and alignment marks.
HINT:
Tape the screwdriver tip before use.
3.
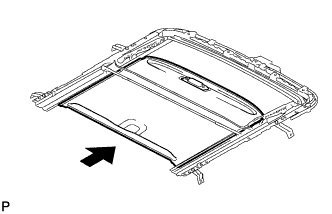
INSTALL SUNSHADE TRIM SUB-ASSEMBLY
Insert the sunshade trim into the sliding roof housing sub-assembly.
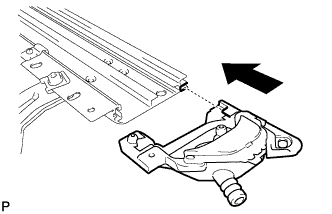
Align the sliding roof piece sub-assembly LH with the guide on the sliding roof housing to temporarily install it.
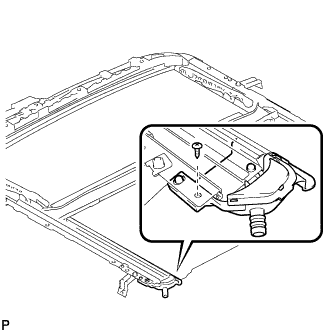
Install the sliding roof piece sub-assembly LH with the screw.
Torque:
2.0 N*m{
20 kgf*cm
, 18 in.*lbf
}
HINT:
Use the same procedure for the RH side and the LH side.
4.
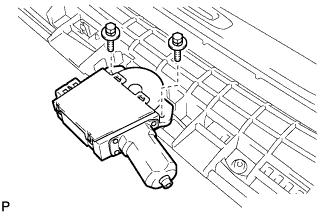
INSTALL SLIDING ROOF DRIVE GEAR SUB-ASSEMBLY
Install the sliding roof drive gear sub-assembly with the 2 bolts.