DISASSEMBLY
Removal / installation · Vehicles built Aug 2008 – Jun 2010
Versions by build date: May 2007 – Jul 2008 Aug 2008 – Jun 2010 from Jul 2010
| 1.
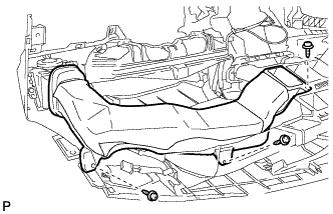
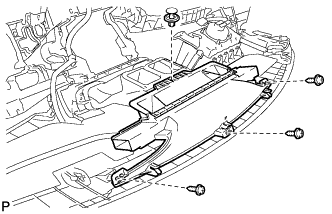
REMOVE NO. 1 HEATER TO REGISTER DUCT |
 |
- Remove the 3 screws <F> and the No. 1 heater to register duct.
| 2.
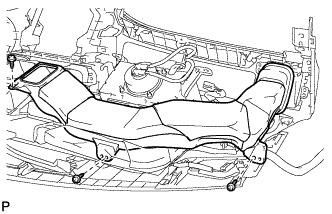
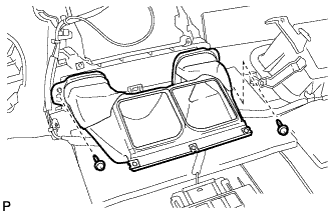
REMOVE NO. 4 HEATER TO REGISTER DUCT |
|
- Remove the 3 screws <F> and the No. 4 heater to register duct.
| 3.
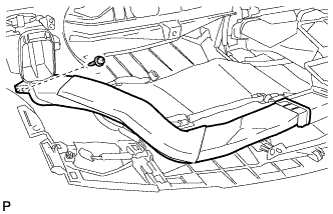
REMOVE SIDE NO. 1 DEFROSTER NOZZLE DUCT |
|
- Remove the screw <F> and the side No. 1 defroster nozzle duct.
| 4.
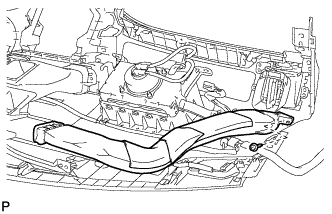
REMOVE SIDE NO. 2 DEFROSTER NOZZLE DUCT |
|
- Remove the screw <F> and the side No. 2 defroster nozzle duct.
| 5.
REMOVE DEFROSTER NOZZLE ASSEMBLY |
|
- Remove the clip.
Remove the 3 screws <F> and the defroster nozzle assembly.
| 6.
REMOVE CENTER HEATER TO REGISTER SUB DUCT |
|
- Remove the 2 screws <F> and the center heater to register sub duct.
| 7.
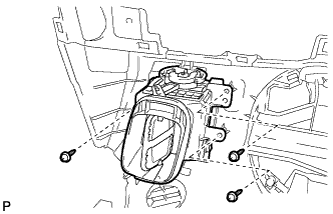
REMOVE NO. 1 INSTRUMENT PANEL REGISTER ASSEMBLY |
|
- Remove the 3 screws <F> and the No. 1 instrument panel register assembly.
| 8.
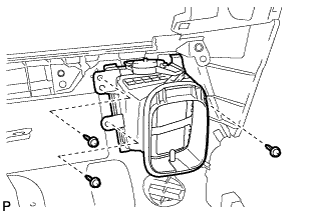
REMOVE NO. 2 INSTRUMENT PANEL REGISTER ASSEMBLY |
|
- Remove the 3 screws <F> and the No. 2 instrument panel register assembly.
| 9.
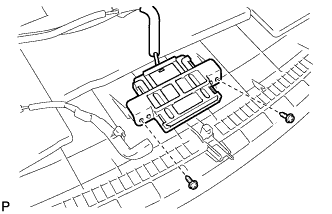
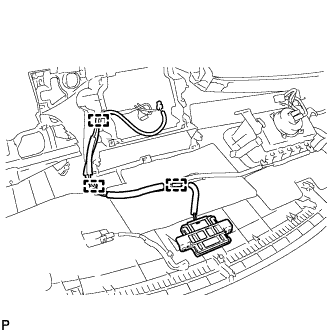
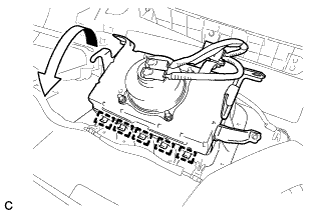
REMOVE NAVIGATION ANTENNA ASSEMBLY
|
|
- Remove the 2 screws and separate the navigation antenna assembly.
- Disengage the 3 clamps and remove the navigation antenna assembly.
| 10.
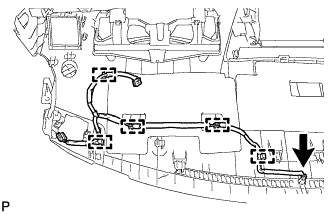
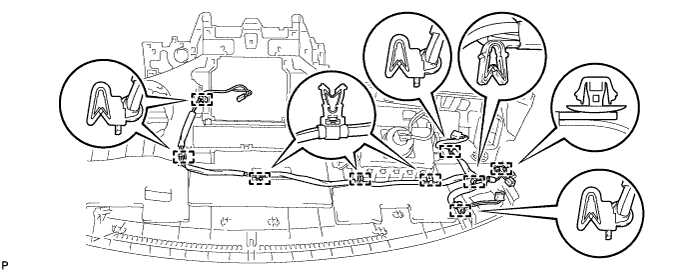
REMOVE ANTENNA CORD SUB-ASSEMBLY (for Pole Antenna Type)
|
|
Disengage the 9 clamps and remove the antenna cord sub-assembly.

| 11.
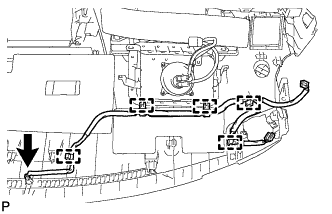
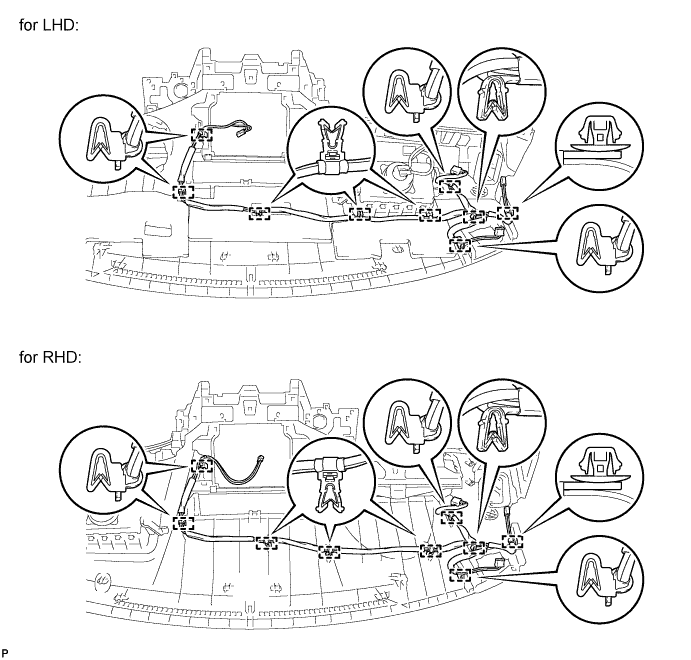
REMOVE ANTENNA CORD SUB-ASSEMBLY (for Glass Antenna Type)
|
|
Disengage the 9 clamps and remove the antenna cord sub-assembly.
| 12.
REMOVE NO. 4 INSTRUMENT PANEL WIRE (for LHD) |
|
- Disconnect the connector.
Disengage the 5 clamps and remove the No. 4 instrument panel wire.
| 13.
REMOVE NO. 4 INSTRUMENT PANEL WIRE (for RHD) |
|
- Disconnect the connector.
Disengage the 5 clamps and remove the No. 4 instrument panel wire.
| 14.
REMOVE COOLER SWITCH HOLE COVER (w/o Automatic Light Control System) |
|
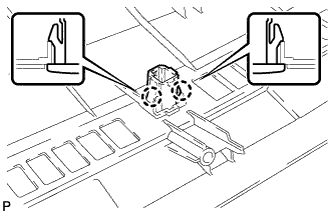
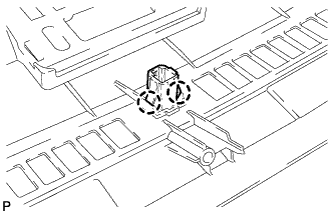
- Disengage the 2 claws and remove the cooler switch hole cover.
| 15.
REMOVE AUTOMATIC LIGHT CONTROL SENSOR (w/ Automatic Light Control System)
|
|
Disconnect the connector.
- Disengage the 2 claws and remove the automatic light control sensor.
| 16.
REMOVE FRONT PASSENGER AIRBAG ASSEMBLY
|
|
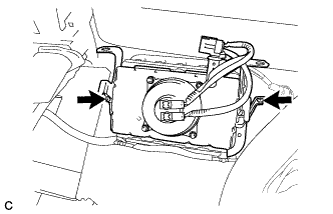
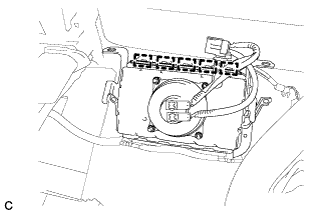
- Remove the 2 screws.
- Disengage the 5 hooks.
- Disengage the 5 hooks and remove the front passenger airbag assembly from the instrument panel safety pad assembly as shown in the illustration.