 |
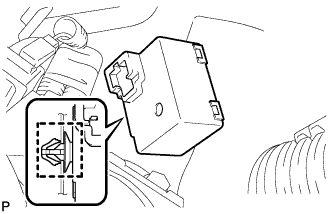
Install the clamp and skid control buzzer.
SKID CONTROL BUZZER > INSTALLATION |
| 1. INSTALL SKID CONTROL BUZZER |
|
Install the clamp and skid control buzzer.
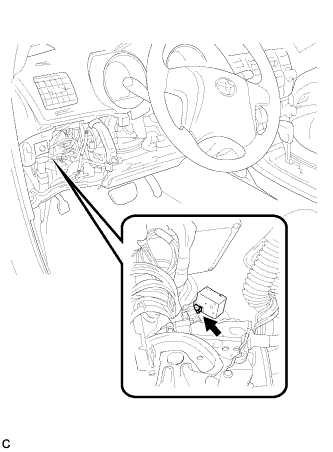 |
Connect the skid control buzzer connector.
| 2. INSTALL LOWER INSTRUMENT PANEL FINISH PANEL SUB-ASSEMBLY |
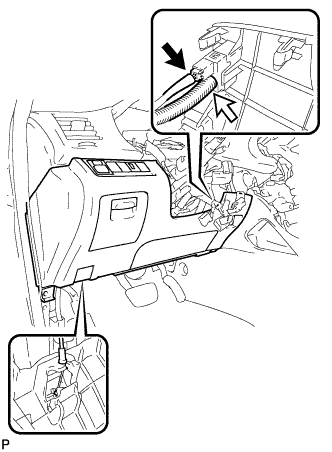 |
Connect the hood lock control cable assembly.
Connect each connector and the aspirator duct.
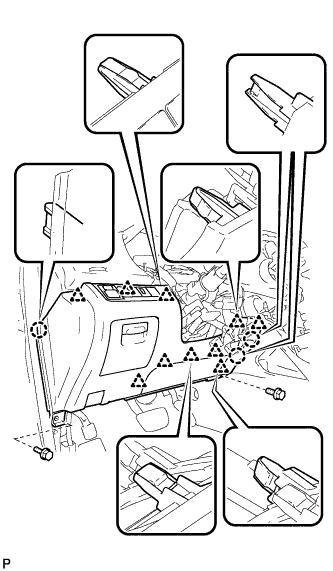 |
Engage the 3 claws and 10 clips.
Install the lower instrument panel finish panel sub-assembly with the 2 bolts <B>.
| 3. INSTALL COWL SIDE TRIM SUB-ASSEMBLY |
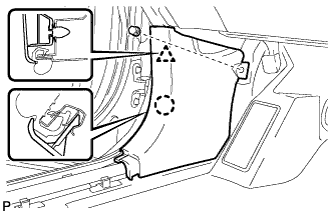 |
Engage the claw and clip, install the cowl side trim sub-assembly LH.
Install the clip.
| 4. INSTALL FRONT DOOR SCUFF PLATE |
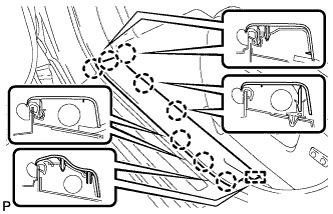 |
Engage the guide and the 8 claws, and install the front door scuff plate LH.
| 5. INSTALL SERVICE PLUG GRIP |
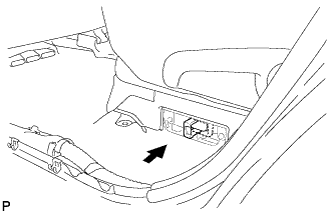 |
Wear insulated gloves, then insert the service plug.
Push down on the grip to lock.
 |
Close the reclining hinge cover.
 |
Close the rear door scuff plate LH.
| 6. CONNECT CABLE TO NEGATIVE BATTERY TERMINAL |