P810 HYBRID TRANSMISSION / TRANSAXLE MOTOR CABLE REMOVAL
CAUTION / NOTICE / HINT
The necessary procedures (adjustment, calibration, initialization or registration) that must be performed after parts are removed and installed, or replaced during motor cable removal/installation are shown below.
| Replaced Part or Performed Procedure | Necessary Procedure | Effect/Inoperative Function when Necessary Procedure not Performed | Link |
|---|---|---|---|
|
*1: Learning can also be performed using the GTS. Click here( |
|||
| Auxiliary battery terminal is disconnected/reconnected | Perform steering sensor zero point calibration | Lane Control System | ( ) |
| Parking Support Brake System*1 | |||
| Pre-collision System | |||
| Memorize steering angle neutral point | Parking Assist Monitor System | ()
|
|
| Panoramic View Monitor System | ()
|
||
| Initialize back door lock | Power Door Lock Control System | ()
|
|
| Reset back door close position | Power Back Door System | ()
|
|
| Replacement of inverter with converter assembly | Resolver learning | ·
DTCs are stored ·
Slight vibration at a vehicle speed of 5 km/h (3 mph) or less ·
Shock or vibration during acceleration |
for 2WD:()
for 4WD/AWD:( )
|
| Replacement of ECM | Perform Vehicle Identification Number (VIN) registration | DTC is output | ()
|
- CAUTION:
- ·
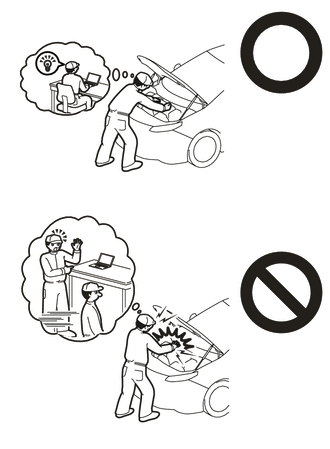
Orange wire harnesses and connectors indicate high-voltage circuits. To prevent electric shock, always follow the procedure described in the repair manual.
for 2WD: Click hereEngine / Hybrid System>HYBRID / BATTERY CONTROL>HYBRID CONTROL SYSTEM (for 2WD)>PRECAUTION
for 4WD/AWD: Click hereEngine / Hybrid System>HYBRID / BATTERY CONTROL>HYBRID CONTROL SYSTEM (for 4WD/AWD)>PRECAUTION
·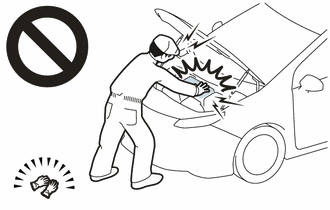
To prevent electric shock, wear insulated gloves when working on wire harnesses and components of the high voltage system.
·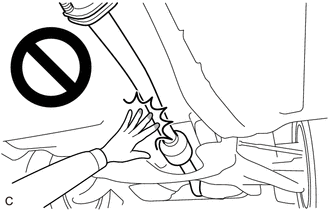
To prevent burns, do not touch the engine, exhaust pipe or other high temperature components while the engine is hot.
- NOTICE:
-
After the ignition switch is turned off, the radio and display receiver assembly or the radio receiver assembly records various types of memory and settings. As a result, after turning the ignition switch off, make sure to wait at least 120 seconds before disconnecting the cable from the negative (-) auxiliary battery terminal.
PROCEDURE

 G9200
1.REMOVE INVERTER WITH CONVERTER ASSEMBLY
G1148
2.REMOVE MOTOR CABLE
- CAUTION:
-
Be sure to wear insulated gloves.
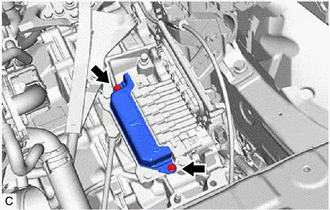
Remove the 2 bolts and connector cover from the hybrid vehicle transaxle assembly.
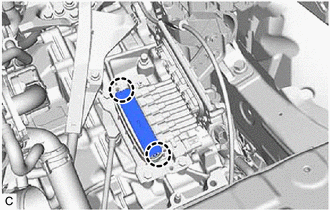
Disengage the 2 claws to remove the terminal cap from the hybrid vehicle transaxle assembly.
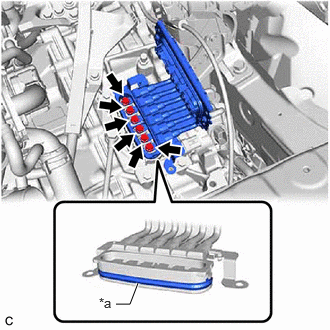
| *a | Waterproof Seal |
Using an insulated tool, remove the 6 bolts and motor cable from the hybrid vehicle transaxle assembly.
- NOTICE:
- ·
Keep the motor cable terminals and their installation area free from foreign matter, water, etc.
·Do not touch the waterproof seal or terminals of the motor cable.
·Cover the hole where the motor cable was installed with tape or equivalent (non-residue type) to prevent entry of foreign matter.