Piping Insulators
Engine Mechanical
COMPONENTS
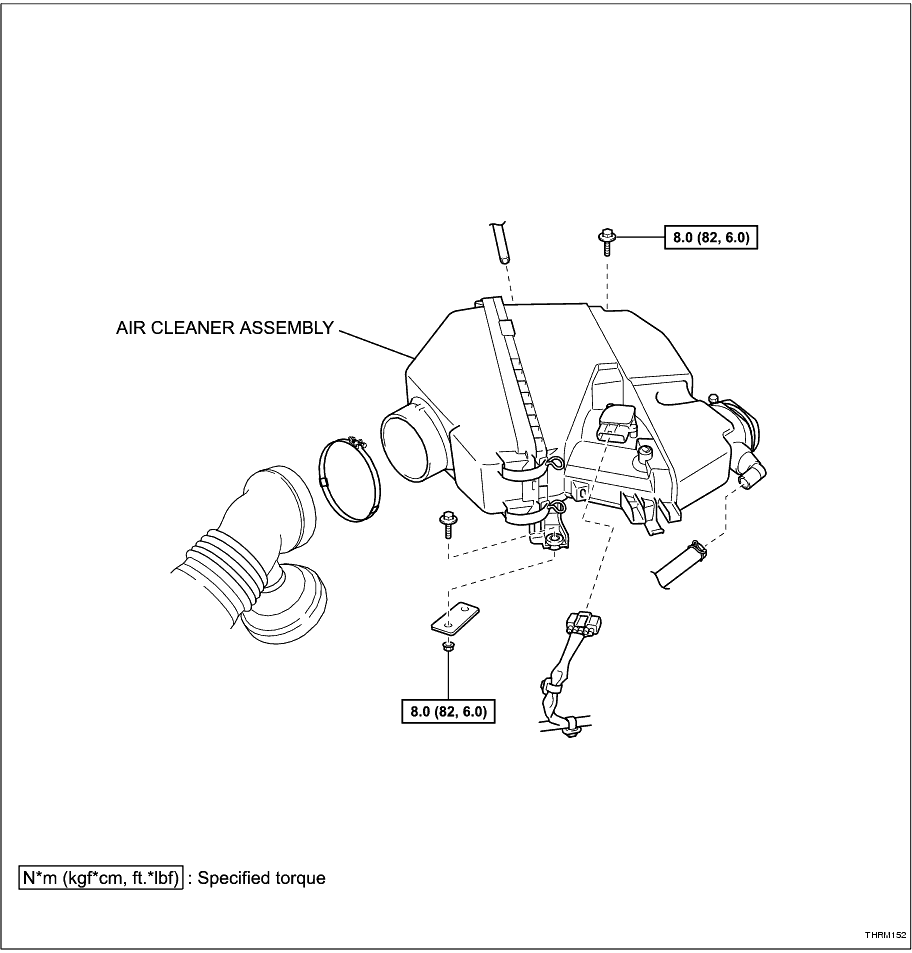
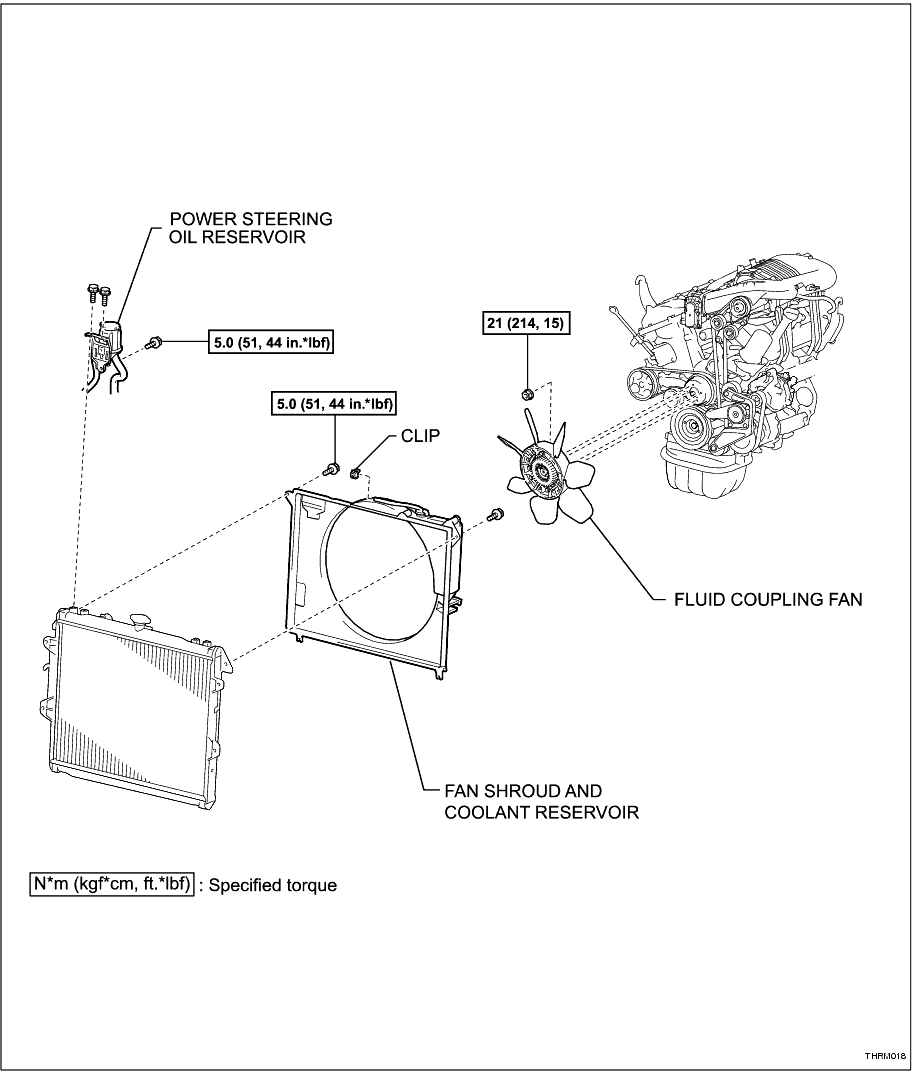
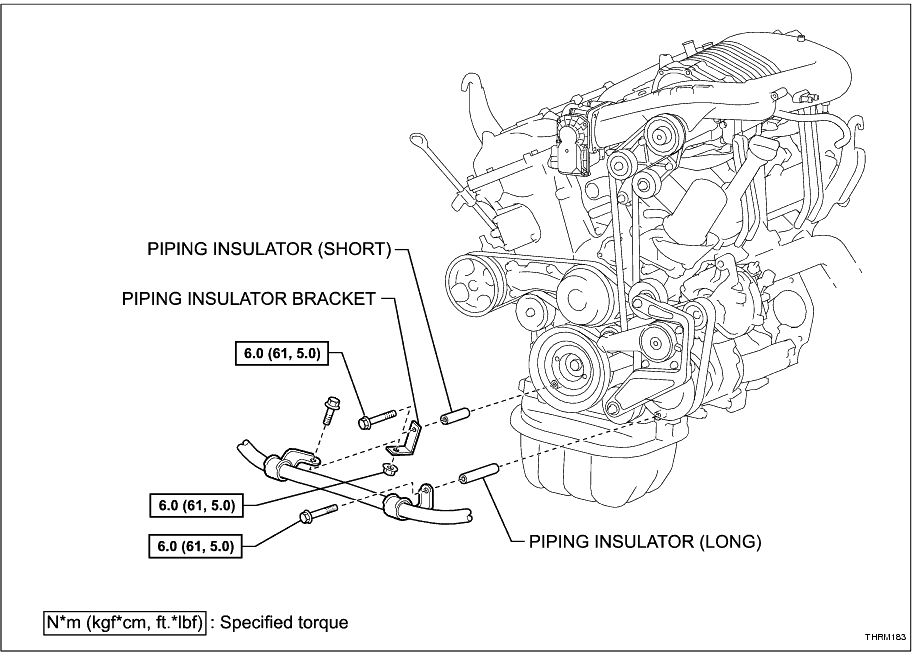
REMOVAL
1. DISCONNECT NO. 2 VENTILATION HOSE (
Click Here
)
2. REMOVE AIR CLEANER ASSEMBLY (
Click Here
)
3. REMOVE RADIATOR FAN AND SHROUD (
Click Here
)
4. REMOVE PIPING INSULATORS
(a) Remove the bolt and A/C piping and the left-hand piping insulator (long).
-
(b) Remove the bolt and nut and the A/C piping from the piping insulator bracket.
-
(c) Remove the bolt and the piping insulator bracket and right-hand piping insulator (short).
-
INSTALLATION
1. INSTALL PIPING INSULATORS
(a) Install the right-hand piping insulator (short) and piping insulator bracket with the bolt.
Torque:
6.0 N*m
(61 kgf*cm,
5.0 ft.*lbf)
-
(b) Install the A/C piping to the piping insulator bracket with the bolt and nut.
Torque:
6.0 N*m
(61 kgf*cm,
5.0 ft.*lbf)
-
(c) Install the left-hand piping insulator (long) and A/C piping with the bolt.
Torque:
6.0 N*m
(61 kgf*cm,
5.0 ft.*lbf)
-
2. INSTALL RADIATOR FAN AND SHROUD (
Click Here
)
3. INSTALL AIR CLEANER ASSEMBLY (
Click Here
)
4. CONNECT NO. 2 VENTILATION HOSE (
Click Here
)