 |
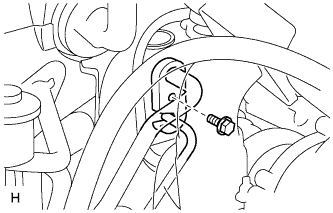
Remove the bolt and disconnect the suction tube.
- NOTICE:
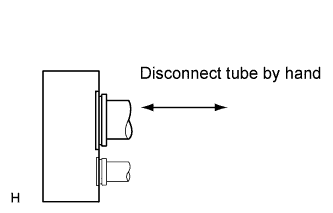 |
- Do not use a screwdriver or similar tool to disconnect the tube.
- Seal the openings of the disconnected parts using vinyl tape to prevent moisture and foreign matter from entering.
AIR CONDITIONING UNIT (for Automatic Air Conditioning System) > REMOVAL |
| 1. RECOVER REFRIGERANT FROM REFRIGERATION SYSTEM |
Start up the engine.
A/C switch is ON.
Operate the cooler compressor with an engine speed of approximately 1,000 rpm for 5 to 6 minutes to circulate the refrigerant and collect the compressor oil remaining in each component into the cooler compressor.
Stop the engine.
Using SST, discharge the refrigerant gas.
| 2. DRAIN ENGINE COOLANT |
for 1GR-FE:
Drain the engine coolant .
for 1KD-FTV (w/ EGR Cooler):
Drain the engine coolant .
for 1KD-FTV (w/o EGR Cooler):
Drain the engine coolant .
for 2KD-FTV (w/ EGR Cooler):
Drain the engine coolant .
for 2KD-FTV (w/o EGR Cooler):
Drain the engine coolant .
for 2TR-FE:
Drain the engine coolant .
| 3. DISCONNECT CABLE FROM NEGATIVE BATTERY TERMINAL |
| 4. DISCONNECT SUCTION TUBE SUB-ASSEMBLY |
|
Remove the bolt and disconnect the suction tube.
|
Remove the O-ring from the suction tube.
| 5. DISCONNECT AIR CONDITIONING TUBE AND ACCESSORY ASSEMBLY |
Disconnect the air conditioning tube and accessory.
Remove the O-ring from the air conditioning tube and accessory.
| 6. DISCONNECT HEATER WATER HOSE INLET A |
Using pliers, grip the claws of the clip and slide the clip to detach the water inlet hose.
| 7. DISCONNECT HEATER WATER HOSE OUTLET A |
Using pliers, grip the claws of the clip and slide the clip to detach the water outlet hose.
| 8. REMOVE UPPER INSTRUMENT PANEL SUB-ASSEMBLY |
Remove the upper instrument panel sub-assembly (Click here).
| 9. REMOVE LOWER INSTRUMENT PANEL SUB-ASSEMBLY |
Remove the lower instrument panel sub-assembly (Click here).
| 10. REMOVE STEERING COLUMN ASSEMBLY |
Remove the steering column assembly (Click here).
| 11. REMOVE NO. 2 HEATER TO REGISTER DUCT |
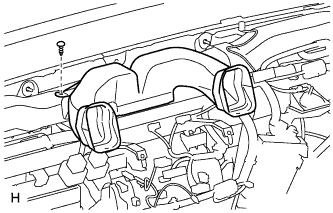 |
Remove the clip and duct.
| 12. REMOVE NO. 1 HEATER TO REGISTER DUCT |
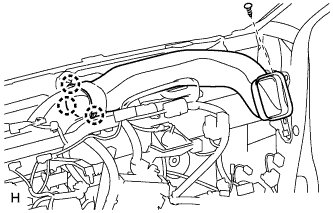 |
Remove the clip.
Detach the 3 claws and remove the duct.
| 13. REMOVE NO. 3 HEATER TO REGISTER DUCT |
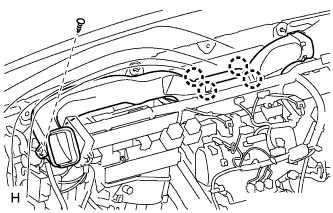 |
Remove the clip.
Detach the 4 claws and remove the duct.
| 14. REMOVE NO. 1 AIR DUCT |
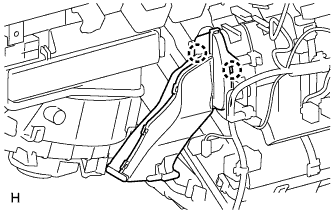 |
Detach the 2 claws and remove the duct.
| 15. REMOVE NO. 2 AIR DUCT |
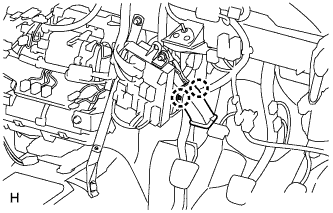 |
Detach the 2 claws and remove the duct.
| 16. REMOVE NO. 4 AIR DUCT |
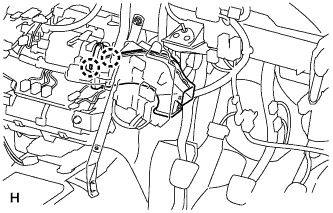 |
Detach the 2 claws and remove the duct.
| 17. REMOVE NO. 1 INSTRUMENT PANEL BRACE SUB-ASSEMBLY |
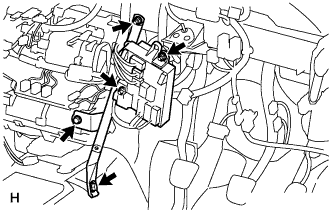 |
Remove the 3 nuts, 2 bolts and instrument panel brace.
Disconnect the connectors and remove the instrument panel junction block.
| 18. REMOVE ECM |
for 1GR-FE:
Remove the ECM (Click here).
for 1KD-FTV:
Remove the ECM (Click here).
for 2KD-FTV:
Remove the ECM (Click here).
for 2TR-FE:
Remove the ECM (Click here).
| 19. REMOVE INSTRUMENT PANEL REINFORCEMENT |
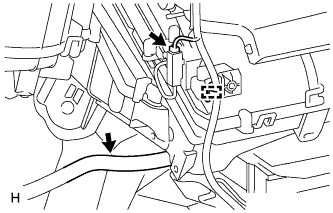 |
Remove the drain hose.
Disconnect the connector, clamp and wire harness.
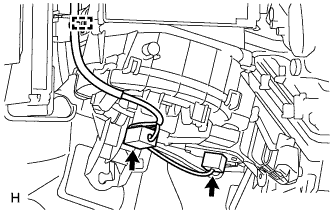 |
Disconnect the 2 connectors.
Detach the clamp.
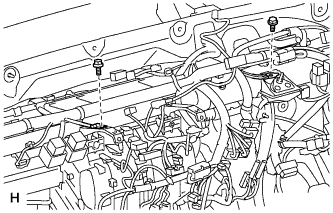 |
Remove the 2 bolts and disconnect the ground wires from the instrument panel reinforcement.
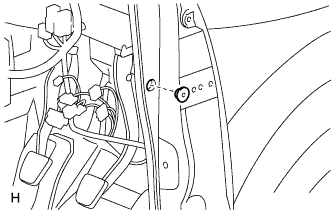 |
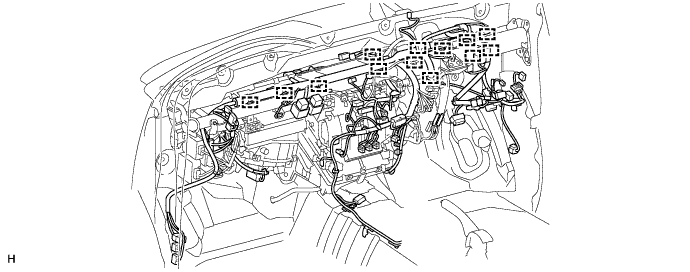
Remove the grommet from the vehicle body.
Detach the 13 clamps.
Disconnect the connectors.
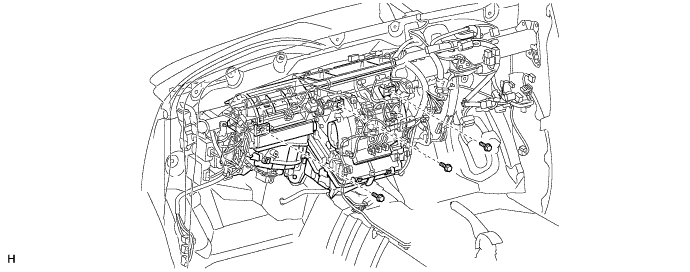
Remove the 3 bolts.
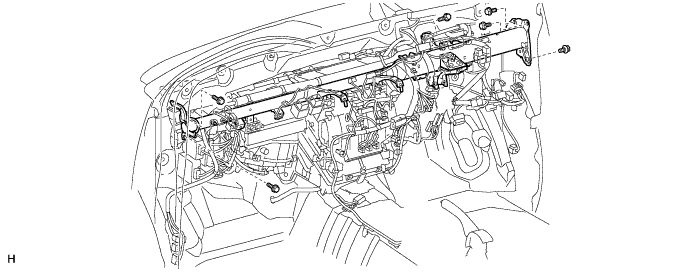
Remove the 6 bolts and instrument panel reinforcement.
| 20. REMOVE AIR CONDITIONING UNIT ASSEMBLY |
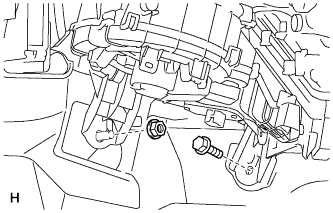 |
Remove the bolt, nut and air conditioning unit.