2014 Hilux · Service Manual ENGINE

REMOVAL

Removal / installation · Vehicles built Jun 2011 – Jul 2013

Versions by build date: Jun 2011 – Jul 2013 from Aug 2013

NOTICE:
  1. When replacing the injectors (including shuffling the injectors between the cylinders), common rail or cylinder head, it is necessary to replace the injection pipes with new ones.
  2. When replacing the fuel supply pump, common rail, cylinder block, cylinder head, cylinder head gasket or timing gear case, it is necessary to replace the fuel inlet pipe with a new one.
  3. After removing the injection pipes, clean them with a brush and compressed air.


1. DISCONNECT CABLE FROM NEGATIVE BATTERY TERMINAL

CAUTION:
Wait at least 90 seconds after disconnecting the cable from the negative (-) battery terminal to prevent airbag and seat belt pretensioner activation.

NOTICE:
When disconnecting the cable, some systems need to be initialized after the cable is reconnected (Click here).

2. REMOVE NO. 1 ENGINE COVER SUB-ASSEMBLY

  1. A110362
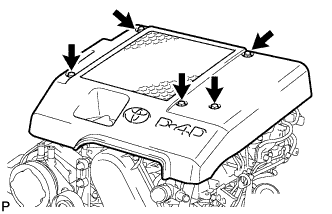
    Remove the 3 bolts, 2 nuts and cover.


3. REMOVE INTERCOOLER ASSEMBLY
(Click here)

4. REMOVE DIESEL THROTTLE BODY ASSEMBLY

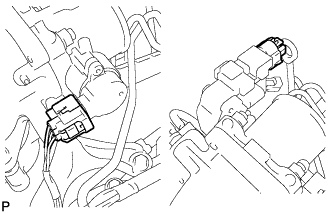
  1. A111790
    Disconnect the 2 connectors.

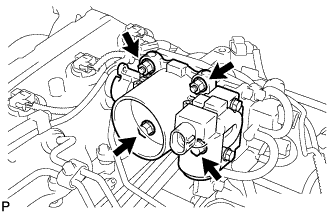
  1. A111832
    Remove the 2 bolts, 2 nuts, throttle body and gasket.


5. REMOVE VACUUM SWITCHING VALVE BRACKET

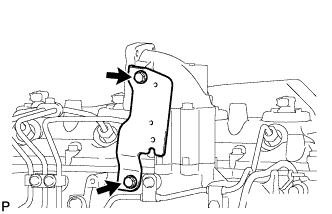
  1. A233088
    Remove the 2 bolts and vacuum switching valve bracket.


6. REMOVE NO. 2 INTAKE AIR CONNECTOR BRACKET

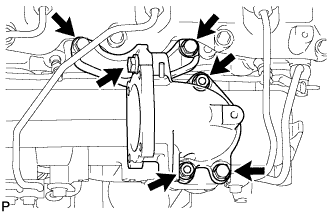
  1. A114779
    Remove the 3 bolts and No. 2 intake air connector bracket.


7. REMOVE INTAKE AIR CONNECTOR
  1. Remove the 2 nuts, bolt, intake air connector and gasket.


8. REMOVE MANIFOLD STAY

A099622E01
  1. Remove the 2 bolts and stay.


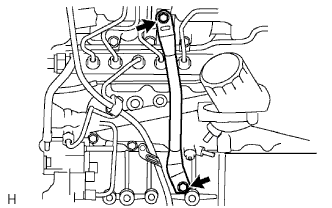
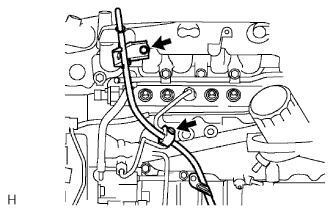
9. REMOVE ENGINE OIL LEVEL DIPSTICK GUIDE

A099624E01
  1. Remove the engine oil level dipstick.

  1. Remove the bolt and injection pipe clamp.

  1. Remove the bolt and engine oil level dipstick guide.

  1. Remove the O-ring from the engine oil level dipstick guide.


10. REMOVE NO. 1, NO. 2 AND NO. 3 INJECTION PIPE SUB-ASSEMBLY

NOTICE:
  1. After removing the fuel pipe, cover the outlets on the common rail with tape to keep out foreign matter.
  2. After removing the fuel pipe, put it in a plastic bag to prevent foreign matter from contaminating its injector inlet.

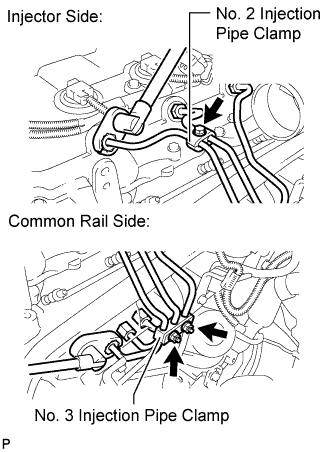
  1. A231803E01
    Remove the bolt and No. 2 injection pipe clamp.

  1. Remove the 2 nuts and No. 3 injection pipe clamp.

  1. Using a 17 mm union nut wrench, loosen the union nuts and remove the No. 1, No. 2 and No. 3 injection pipes.


11. REMOVE NO. 4 INJECTION PIPE SUB-ASSEMBLY

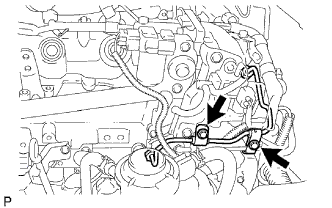
  1. A098893E01
    Remove the 2 bolts and disconnect the 2 injection pipe clamps.

    NOTICE:
    If an injection pipe clamp is removed from the No. 4 injection pipe, replace the injection clamp with a new one.

  1. A231804E01
    Using a 17 mm union nut wrench, loosen the union nuts and remove the No. 4 injection pipe.


12. REMOVE NO. 2 NOZZLE LEAKAGE PIPE ASSEMBLY
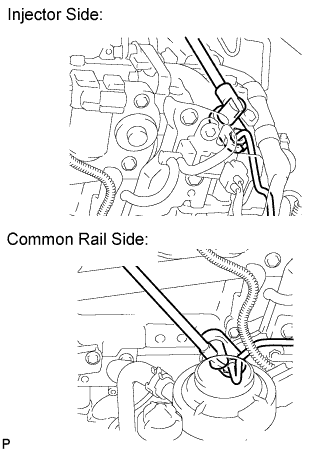
  1. Disconnect the 3 fuel hoses.

  1. A098898E05
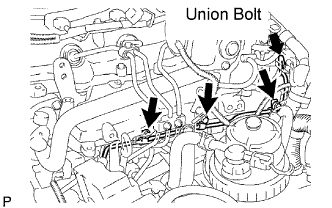
    Remove the union bolt, 3 bolts, No. 2 nozzle leakage pipe and gasket.


13. REMOVE INTAKE MANIFOLD

A099626E02
  1. Disconnect the vacuum hose.

  1. Disconnect the VSV connector.

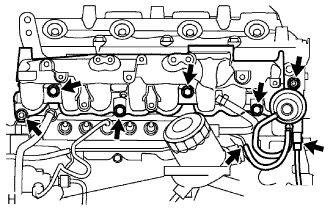
  1. Remove the 2 nuts, 4 bolts, intake manifold and gasket.

← COMPONENTS (from Jun 2011)REMOVAL (from Aug 2013) →