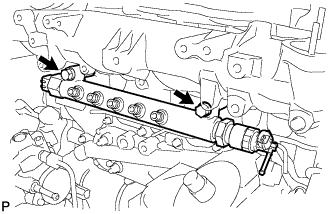
When replacing the injectors (including shuffling the injectors between the cylinders), common rail or cylinder head, it is necessary to replace the injection pipes with new ones.
When replacing the fuel supply pump, common rail, cylinder block, cylinder head, cylinder head gasket or timing gear case, it is necessary to replace the fuel inlet pipe with a new one.
1.
REMOVE NO. 1 ENGINE UNDER COVER (for 4WD)
Remove the 4 bolts and under cover.
2.
REMOVE NO. 2 ENGINE UNDER COVER (for 4WD)
Remove the 2 bolts and under cover.
3.
DRAIN ENGINE OIL
Remove the oil filler cap.
Remove the oil drain plug, and drain the engine oil from the oil pan.
NOTICE:
Collect the oil in an oil disposal container.
4.
LOOSEN FUEL TANK ASSEMBLY
5.
DRAIN FUEL
6.
REMOVE MANIFOLD STAY
Remove the 2 bolts and stay.
7.
REMOVE OIL LEVEL GAUGE SUB-ASSEMBLY
Remove the bolt and gauge.
Remove the O-ring from the gauge.
8.
REMOVE FUEL INLET PIPE SUB-ASSEMBLY
Remove the engine oil level dipstick.
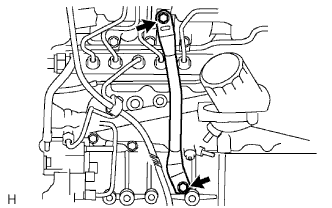
Remove the bolt and clamp.
Remove the bolt and engine oil level dipstick guide.
Remove the O-ring engine oil level dipstick guide.
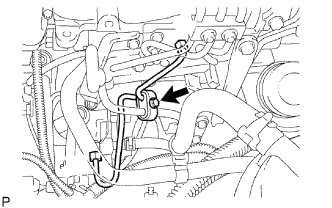
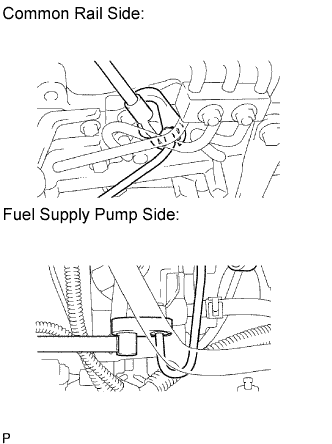
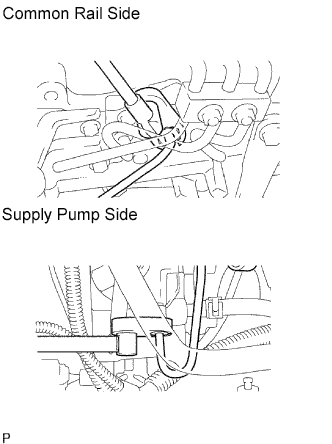
Using a 17 mm union nut wrench, loosen the union nuts and remove the fuel inlet pipe.
9.
REMOVE NO. 1, NO. 2 AND NO. 3 INJECTION PIPE
NOTICE:
After removing the fuel pipe, cover the outlets on the common rail with tape to keep out foreign matter.
After removing the fuel pipe, put it in a plastic bag to prevent foreign matter from contaminating its injector inlet.
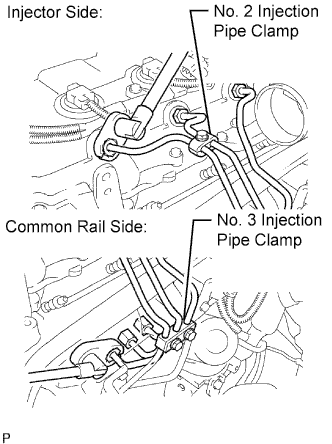
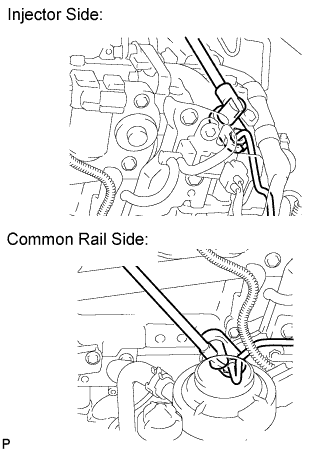
Remove the bolt and No. 2 injection pipe clamp.
Remove the 2 nuts and No. 3 injection pipe clamp.
Using a 17 mm union nut wrench, loosen the union nuts and remove the No. 1, No. 2 and No. 3 injection pipes.
10.
REMOVE NO. 4 INJECTION PIPE
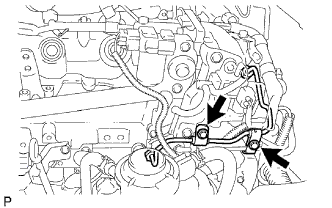
Remove the 2 bolts.
NOTICE:
If an injection pipe clamp is removed from the No. 4 injection pipe, replace the injection clamp with a new one.
Using a 17 mm union nut wrench, loosen the union nuts and remove the No. 4 injection pipe.
11.
REMOVE OIL FILTER SUB-ASSEMBLY
Check and clean the oil filter installation surface.
Apply clean engine oil to the gasket of a new oil filter.
Lightly screw the oil filter into place by hand. Tighten it until the gasket contacts the seat.
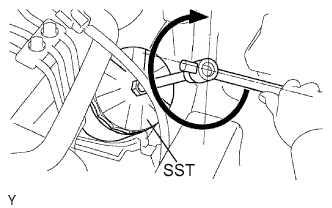
Using SST, tighten the oil filter. Depending on the work space available, choose from the following.
SST
09228-07501
If enough space is available, use a torque wrench to tighten the oil filter.
Torque:
12 N*m{
122 kgf*cm
, 9 ft.*lbf
}
If enough space is not available to use a torque wrench, tighten the oil filter 3/4 turn by hand or with a common wrench.
12.
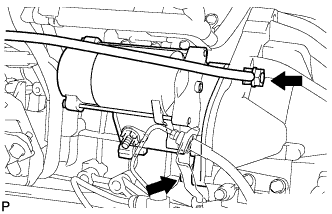
REMOVE STARTER ASSEMBLY
Disconnect the starter connector.
Remove the nut and disconnect the starter wire.
Remove the nut, bolt, and disconnect the ground cable.
Remove the starter.
13.
REMOVE FUEL SUPPLY PUMP ASSEMBLY
Remove the bolt and clamp.
Remove the 2 bolts and oil level gauge guide.
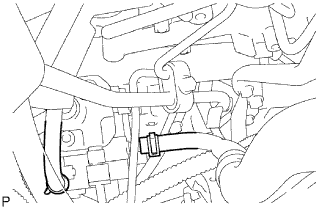
Using a 17 mm union nut wrench, loosen the union nuts and remove the fuel inlet pipe.
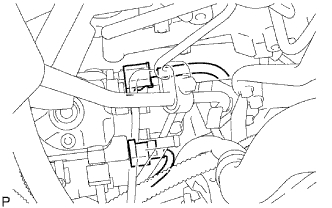
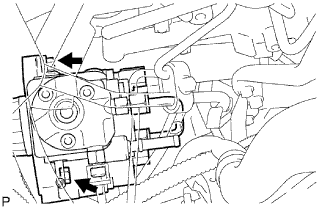
Disconnect the 2 fuel hoses.
Disconnect the 2 connectors.
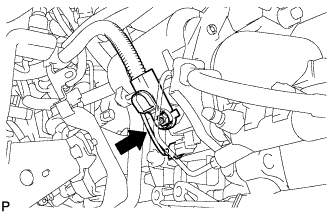
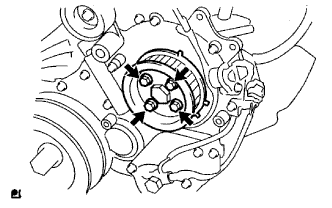
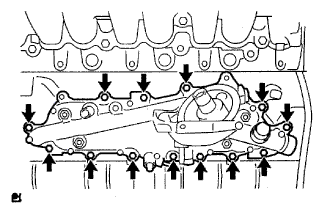
Remove the 4 bolts indicated by the arrows in the illustration.
Remove the No. 2 camshaft timing pulley flange and pump drive shaft pulley.
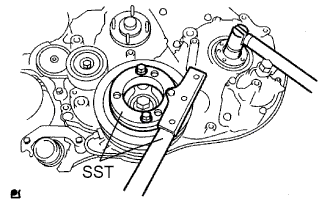
Remove the set nut and O-ring while holding the crankshaft pulley by using SST.
SST
09213-58013 09330-00021
Loosen the 2 nuts.
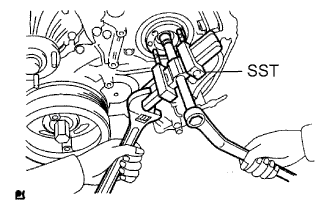
Using SST, disconnect the pump from the injection gear.