 |
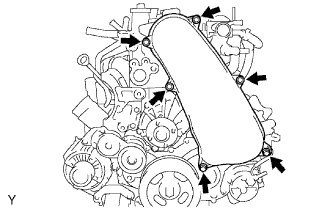
Remove the 6 bolts, 6 washers and timing belt cover.
ENGINE UNIT > REMOVAL |
| 1. REMOVE NO. 1 TIMING BELT COVER |
|
Remove the 6 bolts, 6 washers and timing belt cover.
| 2. REMOVE TIMING BELT |
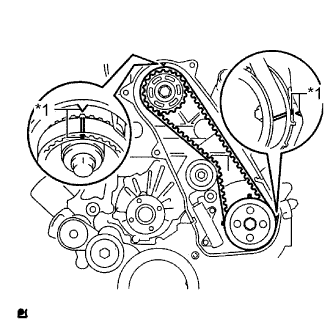 |
Turn the crankshaft clockwise and align the timing marks as shown in the illustration.
| *1 | Timing Mark |
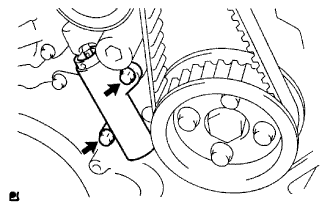 |
Uniformly loosen and remove the 2 bolts and No. 1 timing belt tensioner.
Remove the timing belt.
 |
| 3. REMOVE NO. 1 TIMING BELT IDLER SUB-ASSEMBLY |
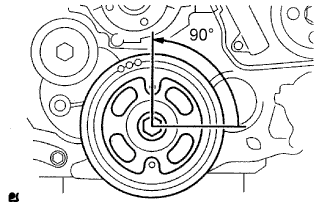
Using a 10 mm hexagon wrench, remove the bolt, No. 1 timing belt idler and washer.
| 4. REMOVE CRANKSHAFT PULLEY |
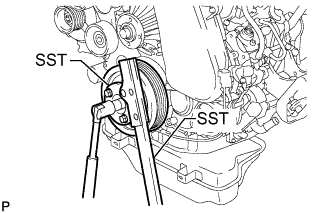 |
Using SST, hold the crankshaft pulley and loosen the pulley bolt.
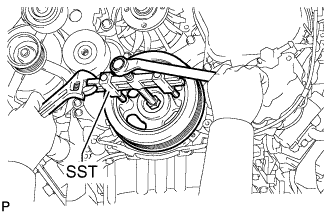 |
Using SST, remove the pulley bolt and crankshaft pulley.
| 5. REMOVE TURBOCHARGER SUB-ASSEMBLY |
| 6. REMOVE EXHAUST MANIFOLD |
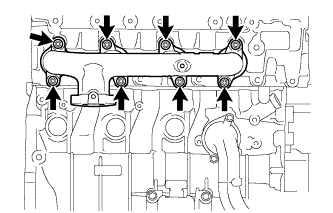 |
Remove the 8 nuts, 8 plate washers, 8 collars and exhaust manifold.
| 7. REMOVE NO. 2 IDLE PULLEY ASSEMBLY |
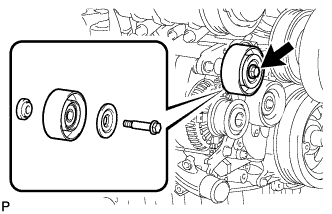 |
Remove the bolt, pulley plate, No. 2 idle pulley and spacer.
| 8. REMOVE GENERATOR ASSEMBLY |
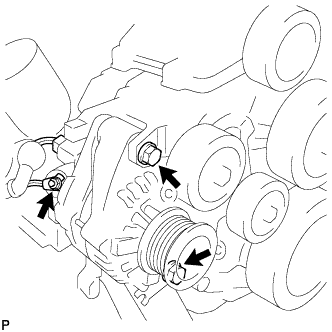 |
Remove the nut and generator wire.
Disconnect the generator connector.
Remove the 2 bolts and generator.
| 9. REMOVE GENERATOR BRACKET |
Remove the bolt and generator bracket.
| 10. REMOVE V-RIBBED BELT TENSIONER ASSEMBLY |
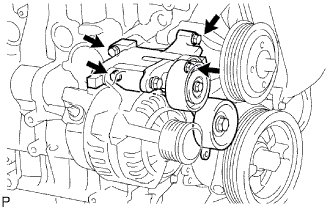 |
Remove the 4 bolts and V-ribbed belt tensioner.
| 11. REMOVE NO. 1 COMPRESSOR MOUNTING BRACKET |
Remove the 4 bolts and No. 1 compressor mounting bracket.
| 12. REMOVE VENTILATION HOSE HEAT INSULATOR |
Remove the 2 bolts and ventilation hose heat insulator.
| 13. REMOVE WATER INLET |
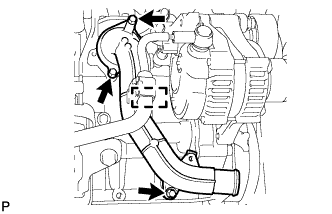 |
Disconnect the wire harness clamp.
Remove the 3 bolts and water inlet.
Remove the bolt and wire harness clamp bracket from the water inlet.
| 14. REMOVE THERMOSTAT |
Remove the thermostat from the cylinder block.
Remove the gasket from the thermostat.
| 15. REMOVE WATER OUTLET |
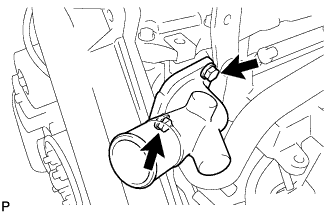 |
Remove the 2 bolts, water outlet and gasket.
| 16. REMOVE DIESEL THROTTLE BODY ASSEMBLY |
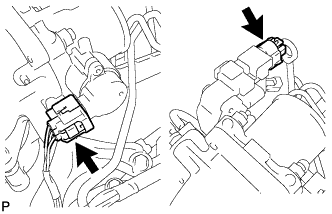 |
Disconnect the 2 connectors.
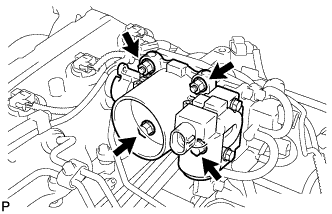 |
Remove the 2 bolts, 2 nuts, diesel throttle body and gasket.
| 17. REMOVE INTAKE MANIFOLD |
| 18. REMOVE GLOW PLUG ASSEMBLY |
| 19. REMOVE FUEL INLET PIPE SUB-ASSEMBLY |
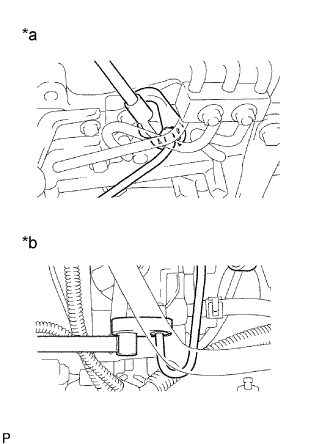 |
Using a 17 mm union nut wrench, loosen the union nuts and remove the fuel inlet pipe.
| *a | Common Rail Side |
| *b | Fuel Supply Pump Side |
| 20. REMOVE OIL FILTER SUB-ASSEMBLY |
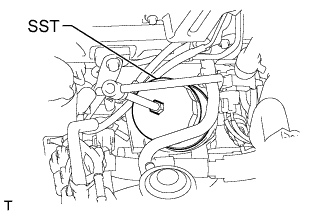 |
Using SST, remove the oil filter.
| 21. REMOVE COMMON RAIL ASSEMBLY |
Disconnect the 2 connectors.
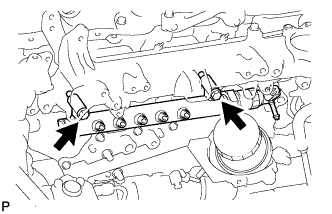 |
Remove the 2 bolts and common rail.
| 22. REMOVE FUEL SUPPLY PUMP ASSEMBLY |
Disconnect the 2 fuel hoses.
Disconnect the fuel temperature sensor connector and suction control valve connector from the fuel supply pump.
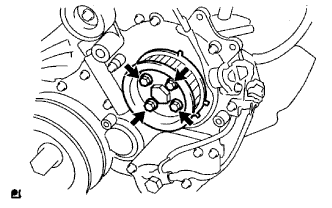 |
Remove the 4 bolts indicated by the arrows in the illustration.
Remove the No. 2 camshaft timing pulley flange and pump drive shaft pulley.
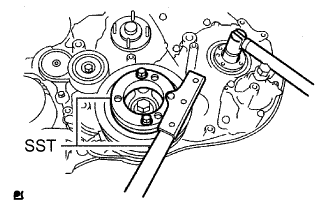 |
Remove the set nut and O-ring while holding the crankshaft pulley using SST.
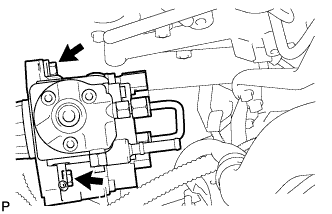 |
Loosen the 2 nuts.
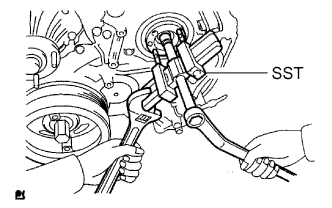 |
Using SST, disconnect the fuel supply pump from the injection gear.
Remove the 2 nuts and fuel supply pump.
Remove the O-ring.
| 23. REMOVE OIL COOLER COVER SUB-ASSEMBLY |
Disconnect the oil pressure switch connector.
Remove the 2 nuts and disconnect the No. 2 vacuum transmitting pipe from the oil cooler cover.
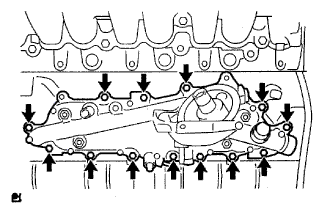 |
Remove the 13 bolts, oil cooler cover and gasket.
| 24. REMOVE VACUUM PUMP ASSEMBLY |
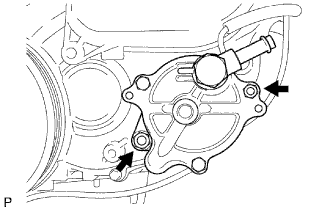 |
Remove the 2 nuts, vacuum pump and 2 O-rings.
| 25. REMOVE VANE PUMP ASSEMBLY |
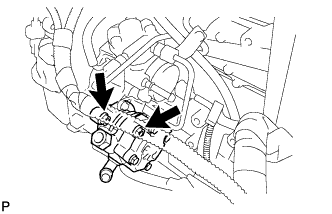 |
Remove the 2 nuts, vane pump and O-ring.
| 26. REMOVE CRANKSHAFT POSITION SENSOR |
Disconnect the crankshaft position sensor connector.
Remove the 3 clips, bolt and crankshaft position sensor.
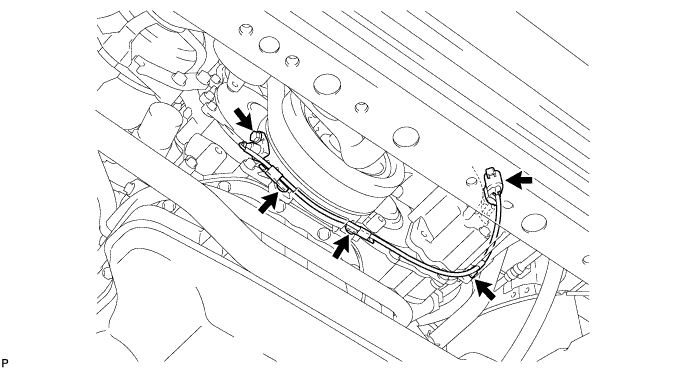
| 27. REMOVE CAMSHAFT POSITION SENSOR |
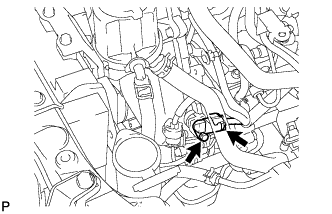 |
Disconnect the camshaft position sensor connector.
Remove the bolt and camshaft position sensor.
| 28. REMOVE ENGINE COOLANT TEMPERATURE SENSOR |
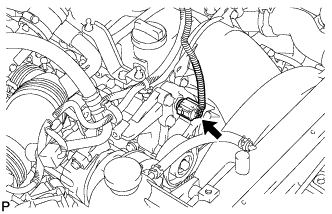 |
Disconnect the engine coolant temperature sensor connector.
Remove the engine coolant temperature sensor.
Remove the gasket from the engine coolant temperature sensor.
| 29. REMOVE FRONT NO. 1 ENGINE MOUNTING BRACKET RH |
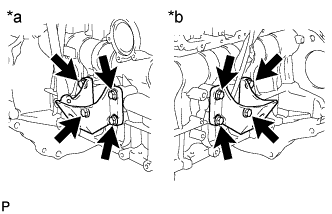 |
Remove the 4 bolts and front No. 1 engine mounting bracket.
| *a | RH Side |
| *b | LH Side |
| 30. REMOVE FRONT NO. 1 ENGINE MOUNTING BRACKET LH |
Remove the 4 bolts and front No. 1 engine mounting bracket.