1TR-FE INTAKE / EXHAUST EXHAUST MANIFOLD REMOVAL
CAUTION / NOTICE / HINT
The necessary procedures (adjustment, calibration, initialization, or registration) that must be performed after parts are removed, installed, or replaced during the exhaust manifold removal/installation are shown below.
| Replacement Part or Procedure | Necessary Procedures | Effect/Inoperative when not Performed | Link |
|---|---|---|---|
| Gas leaks from exhaust system | Inspection After Repair | Poor idle, engine start, etc. | ( ) |
- CAUTION:
- ·
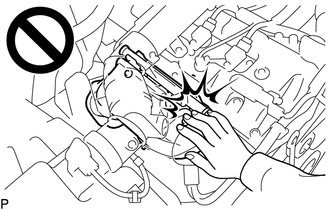
To prevent burns, do not touch the engine, exhaust manifold or other high temperature components while the engine is hot.
·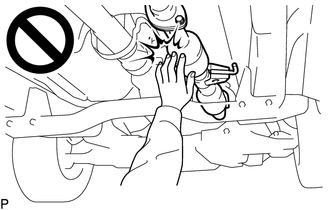
To prevent burns, do not touch the engine, exhaust pipe or other high temperature components while the engine is hot.
PROCEDURE

 53882F
1.REMOVE FRONT FENDER SEAL RH
17705
2.REMOVE AIR CLEANER CAP SUB-ASSEMBLY WITH NO. 1 AIR CLEANER HOSE
17801
3.REMOVE AIR CLEANER FILTER ELEMENT SUB-ASSEMBLY
17701
4.REMOVE AIR CLEANER CASE SUB-ASSEMBLY
17410
5.REMOVE FRONT EXHAUST PIPE ASSEMBLY
- CAUTION:
-
To prevent burns, do not touch the engine, exhaust pipe or other high temperature components while the engine is hot.
Disconnect the air fuel ratio sensor connector and detach the 3 wire harness clamps.
Disconnect the heated oxygen sensor connector and detach the 4 wire harness clamps.
Remove the 4 bolts, 2 nuts and 2 compression springs.
Remove the front exhaust pipe assembly from the No. 1 exhaust pipe support.
Remove the 2 gaskets.
17167
6.REMOVE NO. 1 EXHAUST MANIFOLD HEAT INSULATOR
- CAUTION:
-
To prevent burns, do not touch the engine, exhaust manifold or other high temperature components while the engine is hot.
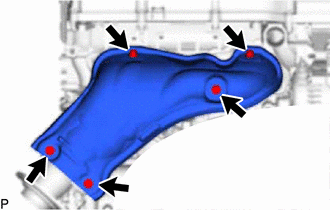
Remove the 5 bolts and No. 1 exhaust manifold heat insulator.
17118
7.REMOVE MANIFOLD STAY
- CAUTION:
-
To prevent burns, do not touch the engine, exhaust manifold or other high temperature components while the engine is hot.
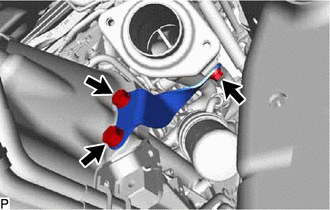
Remove the 3 bolts and manifold stay.
17141
8.REMOVE EXHAUST MANIFOLD
- CAUTION:
-
To prevent burns, do not touch the engine, exhaust manifold or other high temperature components while the engine is hot.
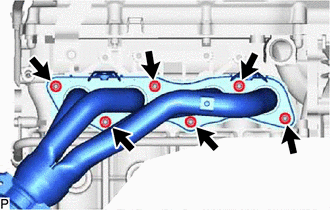
Remove the 6 nuts and exhaust manifold.
Remove the gasket.