DOOR LOCK REAR DOOR LOCK(for Smart Cab) INSTALLATION
CAUTION / NOTICE / HINT
- HINT:
- ·
Use the same procedure for the RH and LH sides.
·The procedure listed below is for the LH side.
·A bolt without a torque specification is shown in the standard bolt chart.
Click hereGeneral>SPECIFICATIONS>STANDARD BOLT>SPECIFIED TORQUE FOR STANDARD BOLTS
PROCEDURE

 69390D
1.INSTALL LOWER ACCESS PANEL LOCK ASSEMBLY LH
Apply MP grease to the rotating and sliding areas of the lower access panel lock assembly LH.
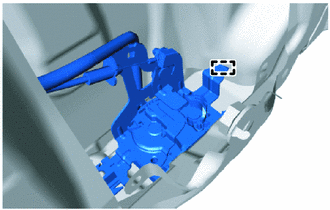
Attach the hook.
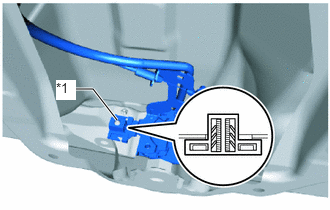
| *1 | Grommet |
Attach the grommet to the stud bolt to install the lower access panel lock assembly LH.
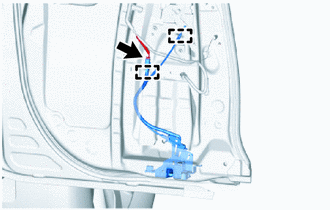
Connect the cable to the access panel lock remote control assembly LH and attach the clamp.
Connect the connector and attach the clamp.
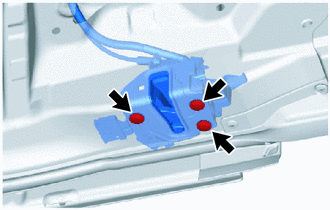
Using a T30 "TORX" socket wrench, install the 3 bolts.
- Torque:
- 5.0 N*m (51 kgf*cm, 44 in.*lbf)
69360L
2.INSTALL UPPER ACCESS PANEL LOCK ASSEMBLY LH
Apply MP grease to the rotating and sliding areas of the upper access panel lock assembly LH.
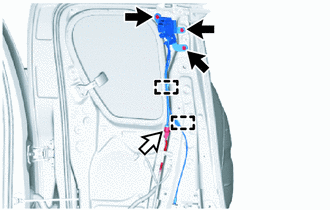

|
Bolt |

|
Connector |
Install the upper access panel lock assembly LH with the 3 bolts.
- Torque:
- 12 N*m (122 kgf*cm, 9 ft.*lbf)
Connect the connector.
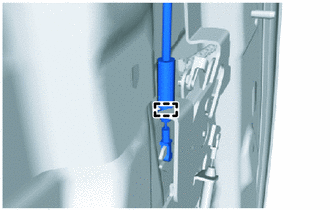
Attach the clamp and connect the cable to the access panel lock remote control assembly LH.
67674A
3.INSTALL REAR DOOR FRAME GARNISH LH
73220
4.INSTALL FRONT SEAT OUTER BELT ASSEMBLY LH
73178A
5.INSTALL SEAT BELT ANCHOR COVER CAP
67604
6.INSTALL REAR DOOR TRIM BOARD SUB-ASSEMBLY LH
73233
7.INSTALL LAP BELT OUTER ANCHOR COVER
8.CONNECT CABLE TO NEGATIVE BATTERY TERMINAL (w/ Airbag System)
- NOTICE:
-
When disconnecting the cable, some systems need to be initialized after the cable is reconnected.
-
Click hereGeneral>INTRODUCTION>REPAIR INSTRUCTION>INITIALIZATION
9.CHECK SRS WARNING LIGHT (w/ Airbag System)
for Type A:
Click hereVehicle Interior>SUPPLEMENTAL RESTRAINT SYSTEMS>AIRBAG SYSTEM(for Type A)>DIAGNOSIS SYSTEM
for Type B:
Click hereVehicle Interior>SUPPLEMENTAL RESTRAINT SYSTEMS>AIRBAG SYSTEM(for Type B)>DIAGNOSIS SYSTEM