Home › Drivetrain › R150F MANUAL TRANSMISSION / TRANSAXLE › MANUAL TRANSMISSION ASSEMBLYREMOVAL
Removal / installation · Vehicles built Aug 2013 – Jul 2014
Versions by build date: Aug 2013 – Jul 2014 from Aug 2014
1.
DISCONNECT CABLE FROM NEGATIVE BATTERY TERMINAL
NOTICE:
After turning the ignition switch off, waiting time may be required before disconnecting the cable from the battery terminal. Therefore, make sure to read the disconnecting the cable from the battery terminal notice before proceeding with work (Click here ).
When disconnecting the cable, some systems need to be initialized after the cable is reconnected (Click here ).
2.
REMOVE SHIFT LEVER KNOB SUB-ASSEMBLY
Remove the knob from the shift lever.
3.
REMOVE CONSOLE PANEL SUB-ASSEMBLY
Remove the rear console box (Click here ).
w/ Refrigerated Cool Box: Remove the rear console box (Click here ).
4.
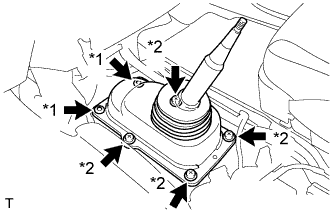
REMOVE NO. 1 SHIFT AND SELECT LEVER BOOT
Remove the 4 screws, 2 clips and shift and select lever boot.
Text in Illustration
*1
Clip
*2
Screw
5.
REMOVE FLOOR SHIFT SHIFT LEVER ASSEMBLY
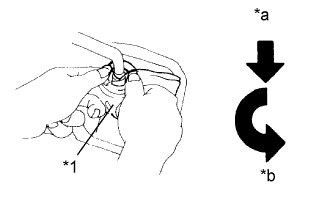
Cover the shift lever cap with a cloth.
Text in Illustration
*1
Cloth
*a
Down
*b
Counterclockwise
Press down on the shift lever cap and rotate it counterclockwise to remove it.
Pull out the shift lever to remove it.
6.
REMOVE TRANSFER CASE LOWER PROTECTOR
Remove the 4 bolts and lower protector.
7.
DRAIN MANUAL TRANSMISSION OIL
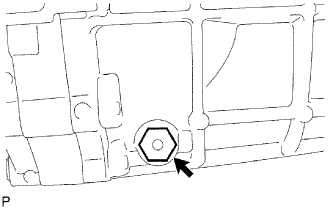
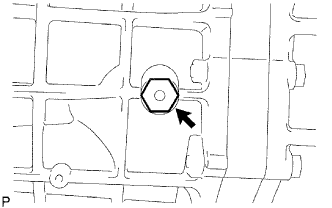
Remove the drain plug and gasket and then drain the manual transmission oil.
Remove the filler plug and gasket. Install a new gasket and the drain plug.
Torque:
37 N*m{
377 kgf*cm
, 27 ft.*lbf
}
8.
REMOVE FRONT PROPELLER SHAFT ASSEMBLY
Remove the front propeller shaft (Click here ).
9.
REMOVE PROPELLER SHAFT ASSEMBLY
Remove the propeller shaft (Click here ).
10.
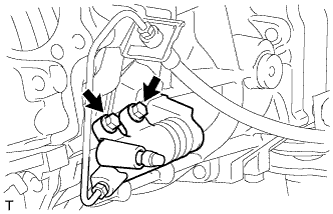
DISCONNECT CLUTCH RELEASE CYLINDER ASSEMBLY
Remove the 2 bolts and disconnect the release cylinder assembly.
11.
REMOVE STARTER ASSEMBLY
for 1.4 kW Type: Remove the starter (Click here ).
for 2.0 kW Type: Remove the starter (Click here ).
12.
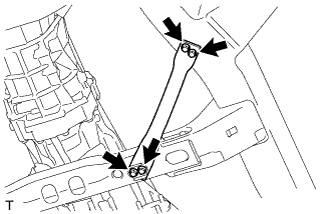
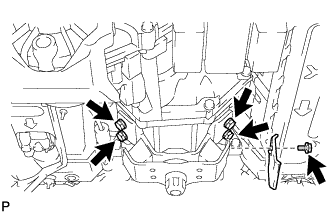
REMOVE FRONT SUSPENSION MEMBER BRACKET LH
Remove the 4 bolts and member bracket.
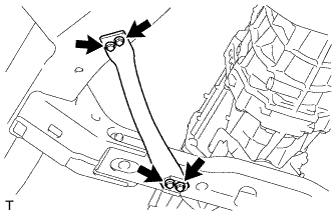
13.
REMOVE FRONT SUSPENSION MEMBER BRACKET RH
Remove the 4 bolts and member bracket.
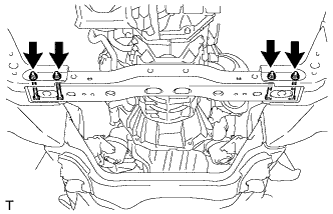
14.
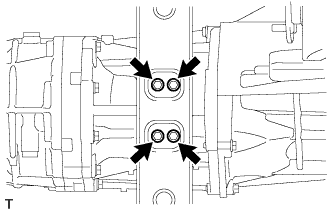
REMOVE NO. 3 FRAME CROSSMEMBER SUB-ASSEMBLY
Support the rear side of the transmission with a support stand.
Remove the 4 bolts from the mounting insulator.
Remove the 4 bolts, 4 nuts and frame crossmember.
15.
REMOVE REAR NO. 1 ENGINE MOUNTING INSULATOR
Remove the 5 bolts, front engine mounting insulator and mounting insulator.
16.
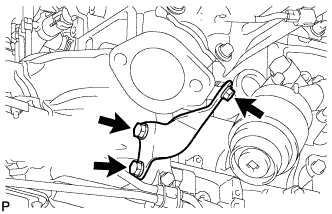
REMOVE MANIFOLD STAY
Remove the 3 bolts and manifold stay.
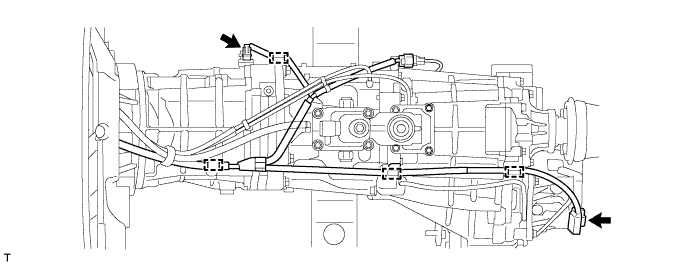
17.
DISCONNECT WIRE HARNESS
Disconnect the 2 connectors and 4 clamps.
18.
DISCONNECT TRANSFER AND MANUAL TRANSMISSION BREATHER HOSE SUB-ASSEMBLY
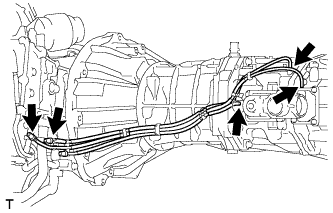
Disconnect the 3 breather hoses from the transfer adapter and transfer. Disconnect the 2 breather hoses from the bracket.
19.
REMOVE MANUAL TRANSMISSION UNIT ASSEMBLY
Using a transmission jack, support the transmission. Remove the support stand from the transmission.
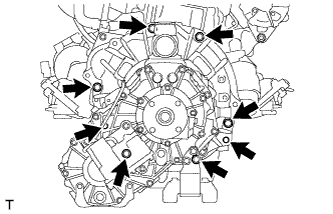
Remove the 8 bolts and transmission unit.
20.
REMOVE TRANSFER ASSEMBLY
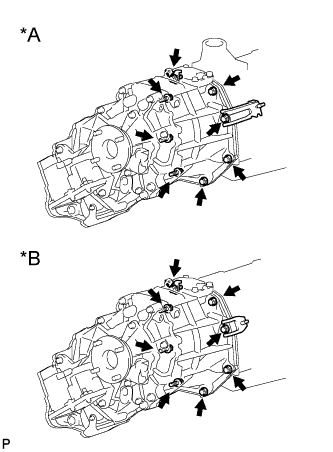
for 1KD-FTV:
Text in Illustration
*A
for 1KD-FTV, RA61F
*B
for 1KD-FTV, A750F
Remove the 8 bolts and 2 brackets.
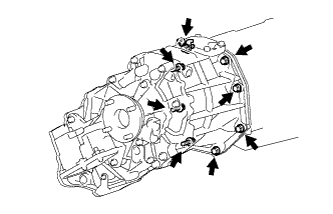
except 1KD-FTV: Remove the 8 bolts and bracket. Remove the transfer from the transmission.