REMOVAL
Removal / installation · Vehicles built from Aug 2013
- HINT:
- Use the same procedure for the RH and LH sides.
- The procedure listed below is for the LH side.
| 2.
REMOVE DISC BRAKE CYLINDER ASSEMBLY LH
|
 |
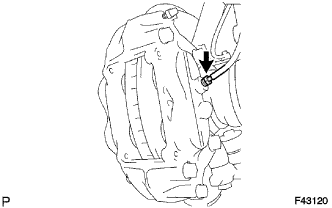
- Using a union nut wrench, disconnect the brake tube from the disc brake cylinder assembly.
- HINT:
- Use a container to catch brake fluid as it drains out.
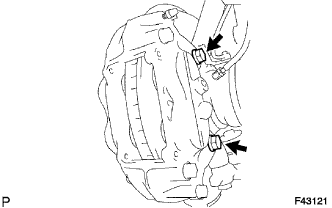
- Remove the 2 bolts and disc brake cylinder assembly.
| 3.
REMOVE FRONT DISC
|
|
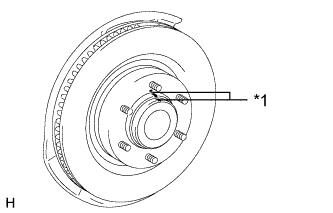
- Place matchmarks on the disc and axle hub if planning to reuse the disc.
Text in Illustration
*1
|
Matchmark
|
Remove the front disc.
| 4.
REMOVE FRONT AXLE HUB GREASE CAP |
|
Using a screwdriver and hammer, remove the front axle hub grease cap.
- NOTICE:
- Do not damage the axle hub.
| 5.
REMOVE FRONT AXLE SHAFT NUT |
|
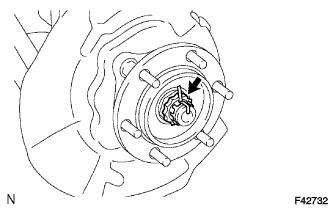
- Remove the cotter pin and lock cap.
Remove the front axle shaft nut.
| 6.
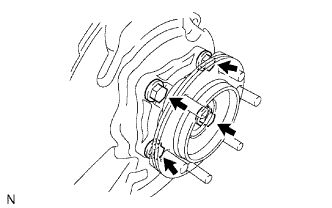
REMOVE FRONT AXLE HUB SUB-ASSEMBLY LH |
|
Remove the 4 bolts.
Using a plastic-faced hammer, tap out the front drive shaft from the front axle hub.
- NOTICE:
- Be careful not to damage the drive shaft boot.
Remove the front axle hub and front disc dust cover.
Remove the O-ring.