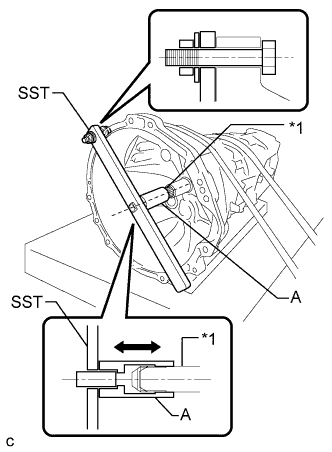
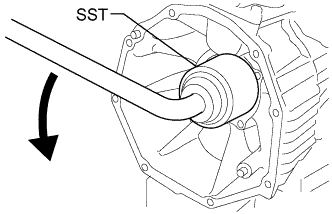
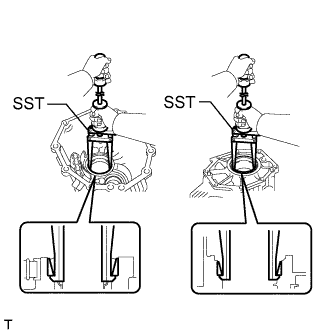
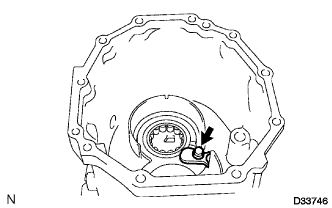
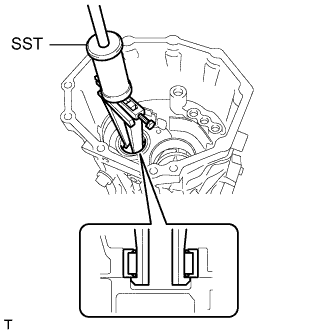
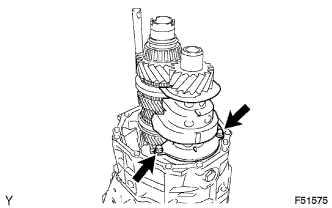
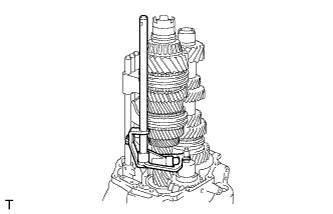
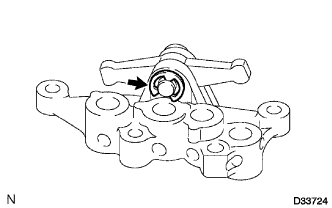
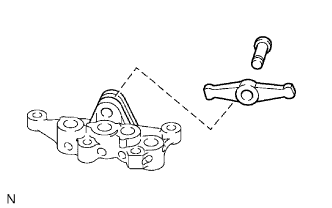
Install SST securely so that the part labeled A is in-line with the input shaft.
Make sure that the part labeled A moves back and forth by hand after installing SST.
Using an L-type handle and SST, remove the rear set nut from the output shaft.
SST
09326-35010
(09326-03010)
Remove the belt and wooden block from the transmission.
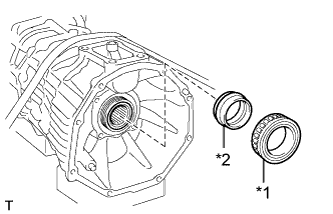
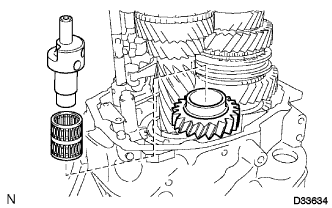
Remove the output shaft bearing and spacer.
Text in Illustration
*1
Output Shaft Bearing
*2
Output Shaft Spacer
7.
REMOVE TRANSFER ADAPTER
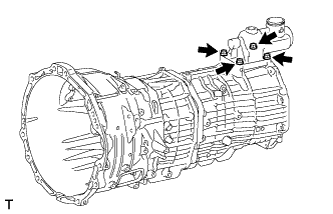
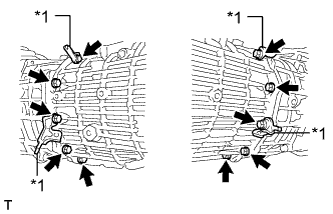
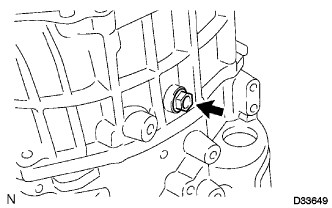
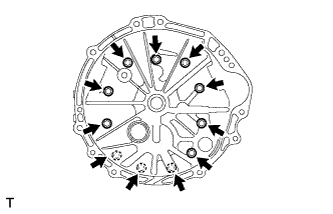
Remove the 10 bolts and 4 brackets.
Text in Illustration
*1
Bracket
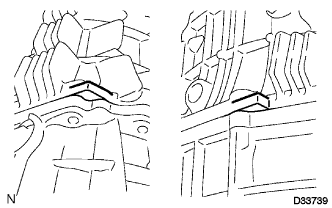
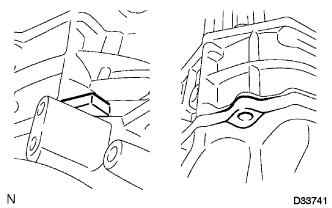
Using a plastic-faced hammer, carefully tap off the transfer adapter to remove it.
HINT:
Place a brass bar against the rib portion of the case.
8.
REMOVE MANUAL TRANSMISSION FILLER PLUG
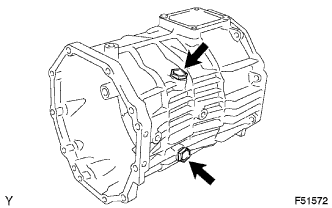
Remove the 2 transmission filler plugs and 2 gaskets from the transfer adapter.
9.
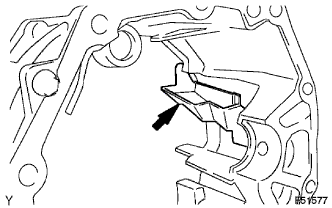
REMOVE NO. 1 OIL RECEIVER PIPE
Remove the No. 1 oil receiver pipe from the transfer adapter.
10.
REMOVE OIL SEPARATOR PACKING SEAL
Remove the oil separator packing seal from the transfer adapter.
11.
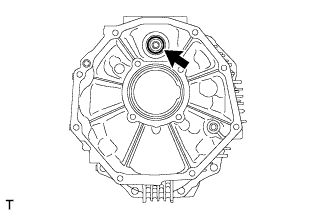
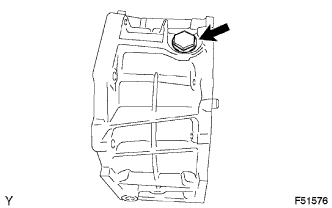
REMOVE TRANSFER ADAPTER CASE PLUG
Using a 14 mm hexagon socket wrench, remove the case plug from the transfer adapter.
12.
REMOVE REAR OUTPUT SHAFT BEARING
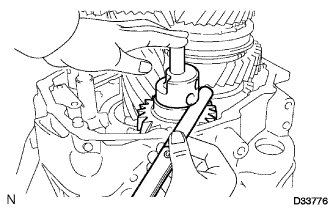
Using SST, remove the 2 rear output shaft bearings (outer race) from the transfer adapter.
SST
09308-00010
13.
REMOVE COUNTER GEAR REAR RADIAL BALL BEARING
Remove the bolt and bearing lock plate.
Using SST, remove the counter gear rear radial ball bearing from the transfer adapter.
SST
09308-00010
14.
REMOVE TRANSFER ADAPTER NEEDLE ROLLER BEARING
Remove the roller bearing from the transfer adapter.
15.
REMOVE TRANSMISSION OIL SEPARATOR
Remove the 2 bolts and oil separator.
16.
REMOVE REVERSE IDLER GEAR SHAFT BOLT
Remove the reverse idler gear shaft bolt and gasket from the reverse idler gear shaft.
17.
REMOVE TRANSMISSION MIDDLE CASE
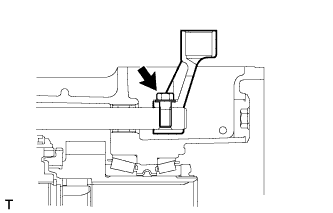
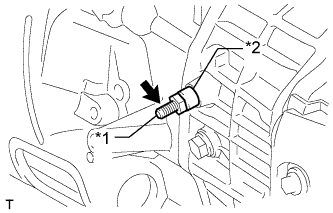
Remove the bolt and collar.
Text in Illustration
*1
Bolt
*2
Collar
Remove the 11 bolts.
Using a plastic-faced hammer, carefully tap off the transmission middle case to remove it.
HINT:
Place a brass bar against the rib portion of the case.
18.
REMOVE DRAIN PLUG SUB-ASSEMBLY
Remove the drain plug and gasket from the transmission middle case.
19.
REMOVE NO. 2 OIL RECEIVER PIPE
Remove the No. 2 oil receiver pipe from the transmission middle case.
20.
REMOVE SHIFT AND SELECT LEVER SHAFT
Remove the shift and select lever shaft from the reverse gear shaft.
21.
REMOVE SHIFT AND SELECT LEVER
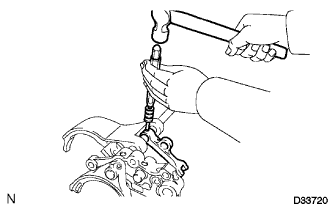
Using a screwdriver, remove the E-ring.
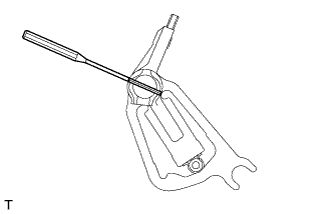
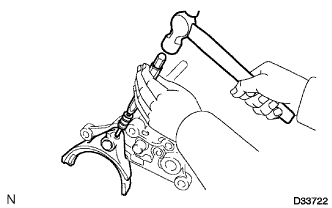
Using a 5 mm pin punch and hammer, tap out the straight pin.
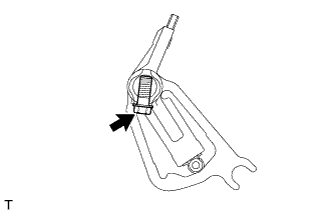
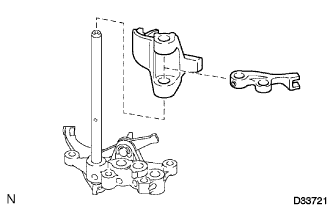
Remove the bolt, interlock plate, select cam and select lever from the lever shaft.
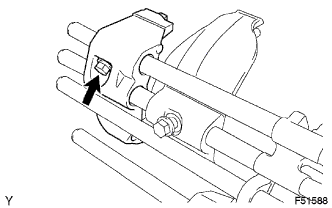
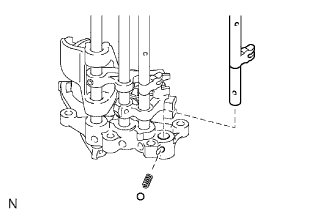
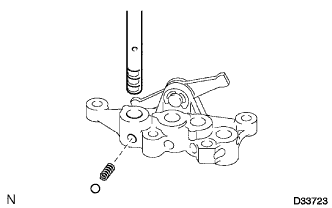
Remove the lock ball pin and spring from the shift and select lever.
22.
REMOVE BACK-UP LIGHT SWITCH ASSEMBLY
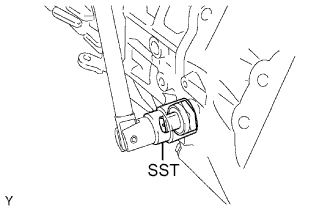
Using SST, remove the back-up light switch and gasket.
SST
09817-16011
23.
INSPECT REVERSE IDLER GEAR THRUST CLEARANCE
Using a feeler gauge, measure the thrust clearance.
Standard clearance:
0.13 to 0.154 mm (0.00512 to 0.00606 in.)
Maximum clearance:
0.154 mm (0.00606 in.)
If the clearance is more than the maximum, replace the reverse idler gear shaft, reverse idler gear or transmission front case.
24.
REMOVE REVERSE IDLER GEAR
Remove the reverse idler gear shaft, reverse idler gear bearing and reverse idler gear.
25.
REMOVE FRONT TRANSMISSION CASE
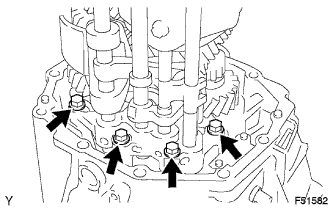
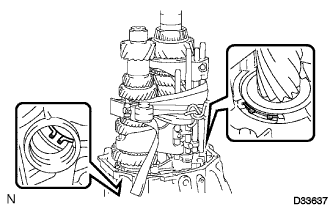
Remove the 4 bolts and interlock bracket.
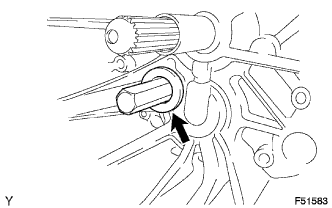
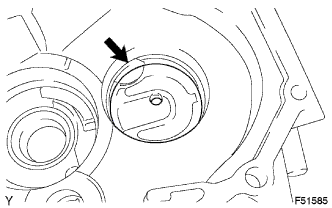
Using a 27 mm hexagon wrench, remove the case plug.
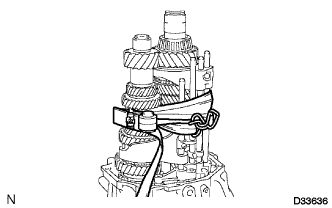
Tie the input shaft, counter gear and control assembly with a piece of rope or string.
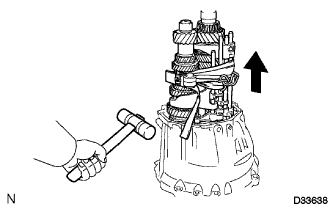
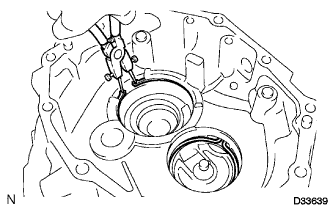
Expand the 2 snap rings and lift up the output shaft, input shaft, counter gear shaft and control assembly.
Remove the output shaft, input shaft, counter gear shaft and control assembly while gently tapping the clutch housing with a plastic-faced hammer.
NOTICE:
Take care not to subject the output shaft, input shaft, counter gear shaft and control assembly to any impact. This could cause the ball and spring to come out.
Separate the output shaft, input shaft, counter gear shaft and control assembly.
26.
REMOVE NO. 3 OIL RECEIVER PIPE
Remove the No. 3 oil receiver pipe from the front transmission case.
27.
REMOVE FRONT BEARING SHAFT SNAP RING
Using snap ring pliers, remove the 2 snap rings.
28.
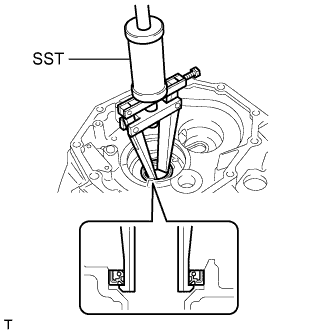
REMOVE TRANSMISSION CASE OIL SEAL
Using SST, remove the transmission case oil seal from the front transmission case.
SST
09308-00010
29.
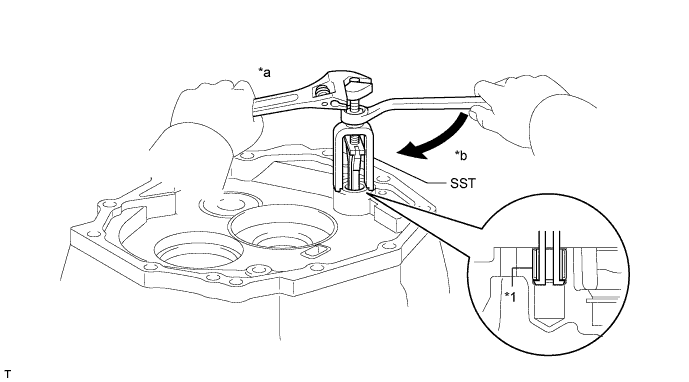
REMOVE TRANSMISSION CASE NEEDLE BEARING
Using SST, remove the bearing from the front transmission case.
Text in Illustration
*1
Transmission Case Needle Bearing
-
-
*a
Hold
*b
Turn
30.
REMOVE NO. 3 GEAR SHIFT FORK
Remove the bolt and No. 3 gear shift fork.
31.
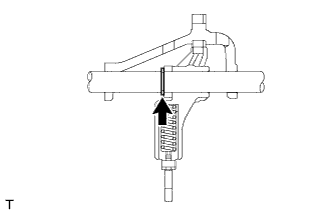
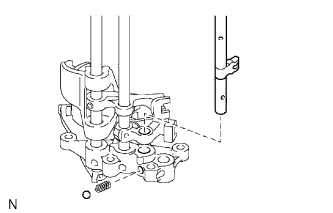
REMOVE NO. 3 GEAR SHIFT FORK SHAFT
Remove the No. 3 shift fork shaft, shift detent ball and compression spring.
32.
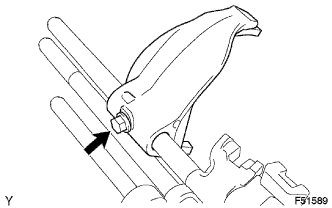
REMOVE NO. 2 GEAR SHIFT FORK
Remove the bolt and No. 2 gear shift fork.
33.
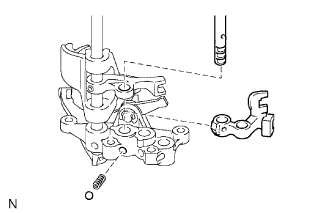
REMOVE NO. 2 GEAR SHIFT FORK SHAFT
Remove the No. 2 shift fork shaft, shift detent ball and compression spring.
34.
REMOVE NO. 1 GEAR SHIFT FORK SHAFT
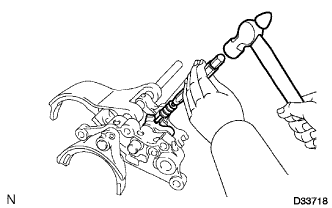
Using a 5 mm pin punch and hammer, tap out the slotted pin.
Remove the No. 1 shift fork shaft, shift detent ball, compression spring and No. 1 shift head.
35.
REMOVE NO. 1 GEAR SHIFT FORK
Using a 5 mm pin punch and hammer, tap out the slotted pin.
Remove the No. 2 shift head and No. 1 shift fork.
36.
REMOVE NO. 4 GEAR SHIFT FORK
Using a 5 mm pin punch and hammer, tap out the slotted pin.
Remove the No. 4 shift fork.
37.
REMOVE NO. 4 GEAR SHIFT FORK SHAFT
Remove the No. 4 shift fork shaft, shift detent ball and compression spring.