1.
DISCONNECT CABLE FROM NEGATIVE BATTERY TERMINAL
CAUTION:
Wait at least 90 seconds after disconnecting the cable from the negative (-) battery terminal to disable the SRS system.
NOTICE:
After turning the ignition switch off, waiting time may be required before disconnecting the cable from the battery terminal. Therefore, make sure to read the disconnecting the cable from the battery terminal notice before proceeding with work (Click here).
When disconnecting the cable, some systems need to be initialized after the cable is reconnected (Click here).
2.
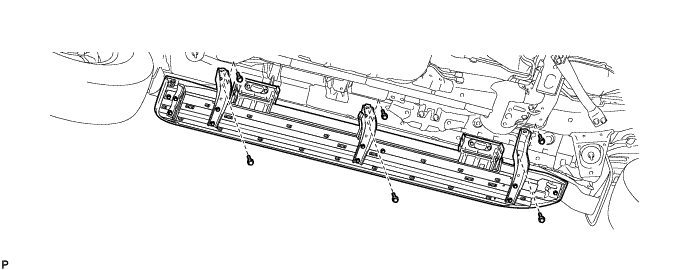
REMOVE SIDE STEP ASSEMBLY LH
w/ Illumination: Disconnect the 2 connectors.
Remove the 6 bolts and side step.
3.
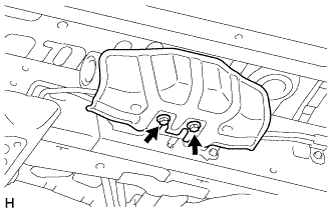
REMOVE STABILIZER CONTROL VALVE PROTECTOR
Remove the 2 bolts and stabilizer control valve protector.
4.
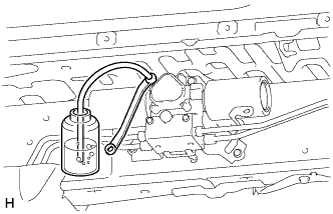
DRAIN SUSPENSION FLUID
Loosen the bleeder plug on the stabilizer control with accumulator housing assembly and drain suspension fluid.
HINT:
Drain suspension fluid when performing operations related to the hydraulic circuits.
5.
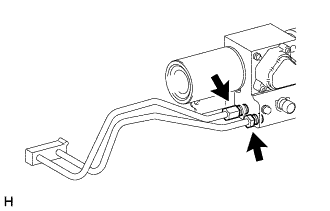
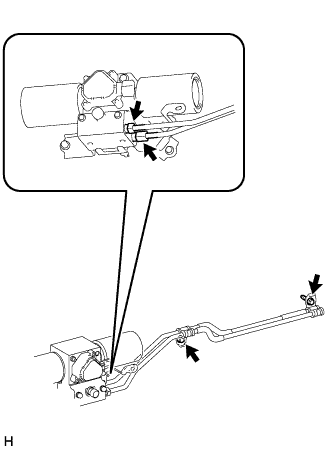
DISCONNECT FRONT NO. 1 STABILIZER CONTROL TUBE ASSEMBLY
Using a union nut wrench, disconnect the 2 flare nuts from the stabilizer control with accumulator housing to disconnect the front No. 1 stabilizer control tube assembly.
6.
DISCONNECT REAR NO. 1 STABILIZER CONTROL TUBE ASSEMBLY
Using a union nut wrench, disconnect the 2 flare nuts from the stabilizer control with accumulator housing.
Remove the 2 bolts and disconnect the rear No. 1 stabilizer control tube assembly.
7.
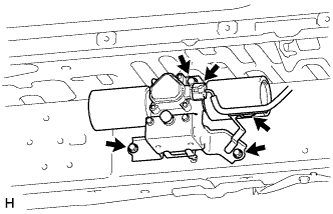
REMOVE STABILIZER CONTROL WITH ACCUMULATOR HOUSING ASSEMBLY
Disconnect the connector, and then detach the clamp from the sensor bracket.
Remove the 3 bolts and stabilizer control with accumulator housing.
NOTICE:
Do not disassemble the stabilizer control with accumulator housing assembly or expose it to an open flame as the accumulator of the stabilizer control with accumulator housing assembly contains gas.