2013-2015 Land Cruiser Prado · Service Manual Engine / Hybrid System

REMOVAL

Removal / installation · Vehicles built Aug 2013 – Jul 2014

Versions by build date: Aug 2013 – Jul 2014 from Aug 2014


1. DISCHARGE FUEL SYSTEM PRESSURE
  1. Discharge the fuel system pressure (Click here).


2. DISCONNECT CABLE FROM NEGATIVE BATTERY TERMINAL

NOTICE:
  1. After turning the ignition switch off, waiting time may be required before disconnecting the cable from the battery terminal. Therefore, make sure to read the disconnecting the cable from the battery terminal notice before proceeding with work (Click here).
  2. When disconnecting the cable, some systems need to be initialized after the cable is reconnected (Click here).


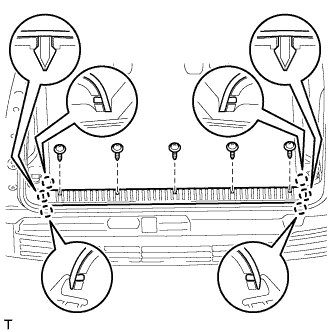
3. REMOVE REAR FLOOR MAT SUPPORT PLATE

B240526
  1. Remove the 5 screws.

  1. Detach the 6 claws and remove the rear floor mat rear support plate.


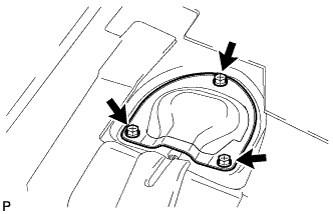
4. REMOVE REAR FLOOR SERVICE HOLE COVER

HINT:
Fold back the floor mat so that the rear floor service hole cover can be removed.

  1. A220855
    Remove the 3 screws and rear floor service hole cover.

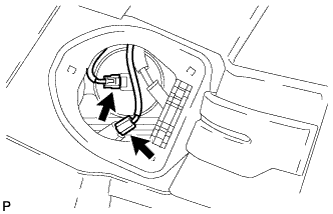
  1. A220856
    Disconnect the fuel sender gauge connector and fuel pump connector.


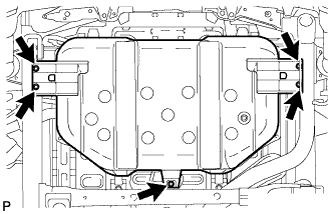
5. REMOVE NO. 1 FUEL TANK PROTECTOR SUB-ASSEMBLY

  1. A220857
    Remove the 5 bolts and No. 1 fuel tank protector.


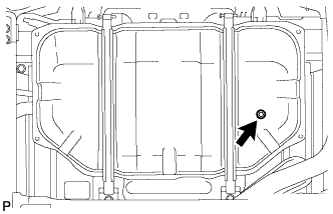
6. DRAIN FUEL

  1. A220858
    Remove the fuel tank drain plug and gasket and drain the fuel.

  1. Install a new gasket and the fuel tank drain plug.

    Torque:
    6.5 N*m{ 66 kgf*cm , 58 in.*lbf }


7. DISCONNECT FUEL MAIN TUBE

  1. A223093
    Disconnect the fuel main tube (Click here).


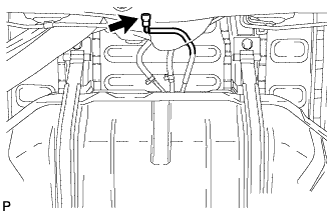
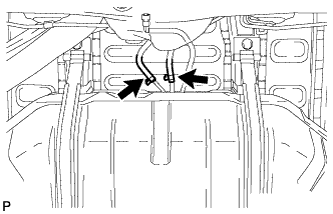
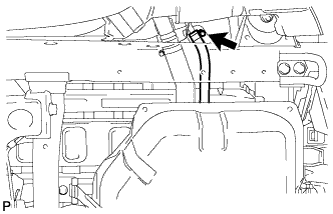
8. DISCONNECT FUEL HOSE

  1. A223277
    Disconnect the fuel evaporation hose and fuel hose.


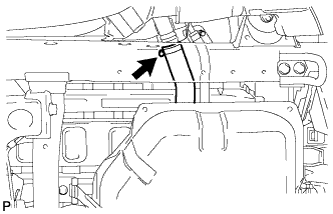
9. DISCONNECT FUEL TANK TO FILLER PIPE HOSE

  1. A220860
    Disconnect the fuel tank to filler pipe hose from the filler pipe.


10. DISCONNECT FUEL TANK BREATHER HOSE

  1. A223278
    Disconnect the fuel tank breather hose from the filler pipe.


11. REMOVE FUEL TANK SUB-ASSEMBLY
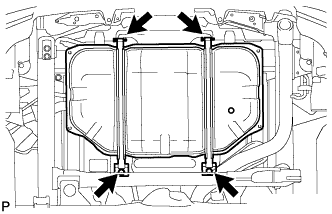
  1. Set a transmission jack underneath the fuel tank.

  1. A220861
    Remove the 2 bolts, 2 clips and 2 pins and disconnect the 2 fuel tank bands.

  1. Remove the fuel tank.


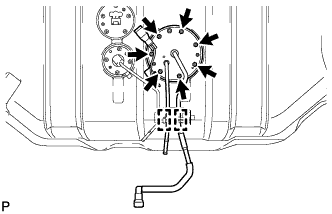
12. REMOVE FUEL SUCTION TUBE ASSEMBLY

  1. A223095
    Remove the 7 screws, detach the 2 clamps and remove the fuel suction tube.

  1. Remove the gasket from the fuel suction tube.


13. REMOVE NO. 1 FUEL EVAPORATION TUBE SUB-ASSEMBLY

  1. A223096
    Remove the 4 screws, detach the clamp and remove the No. 1 fuel evaporation tube.

  1. Remove the gasket from the No. 1 fuel evaporation tube.


14. REMOVE FUEL CUT OFF VALVE ASSEMBLY
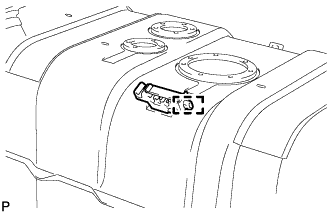
  1. Remove the fuel cut off valve from the fuel tank.


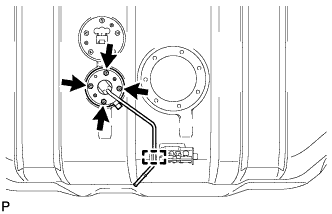
15. REMOVE FUEL SENDER GAUGE ASSEMBLY

  1. A220867
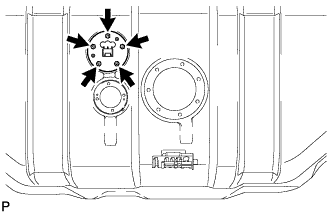
    Remove the 5 screws and fuel sender gauge.

    NOTICE:
    Be careful not to bend the arm of the fuel sender gauge.

  1. Remove the gasket from the fuel sender gauge.


16. REMOVE FUEL TANK TO FILLER PIPE HOSE

  1. A220868
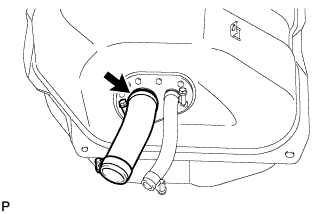
    Remove the fuel tank to filler pipe hose from the fuel tank.


17. REMOVE FUEL TANK BREATHER HOSE

  1. A223279
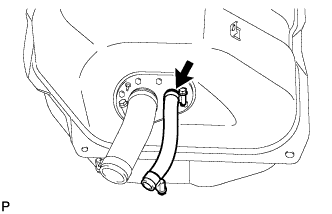
    Remove the fuel tank breather hose from the fuel tank.


18. REMOVE FUEL TANK FILLER PIPE LOWER SUB-ASSEMBLY

  1. A223091
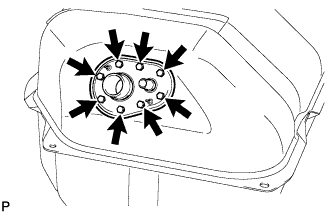
    Remove the 8 screws and fuel tank filler pipe lower.

  1. Remove the gasket from the fuel tank filler pipe lower.


19. REMOVE FUEL TUBE GROMMET

  1. A223094
    Detach the clamp and remove the fuel tube grommet.


20. REMOVE NO. 1 FUEL TANK CUSHION

  1. A223092
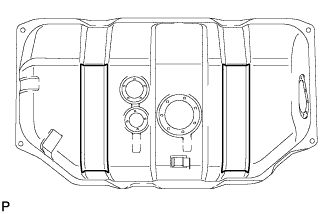
    Remove the 2 No. 1 fuel tank cushions from the fuel tank.

← COMPONENTS (from Aug 2013)REMOVAL (from Aug 2014) →