After turning the engine switch off, waiting time may be required before disconnecting the cable from the battery terminal. Therefore, make sure to read the disconnecting the cable from the battery terminal notice before proceeding with work (Click here).
2.
DISCONNECT CABLE FROM NEGATIVE BATTERY TERMINAL
NOTICE:
When disconnecting the cable, some systems need to be initialized after the cable is reconnected (Click here).
3.
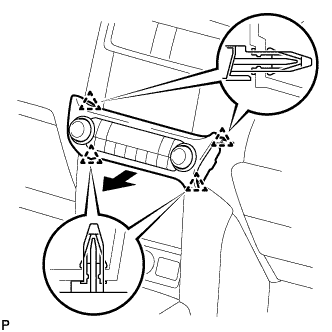
REMOVE INTEGRATION CONTROL AND PANEL ASSEMBLY
Detach the 4 clips.
Disconnect the connector and remove the integration control and panel assembly.
4.
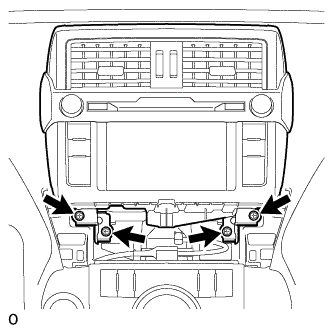
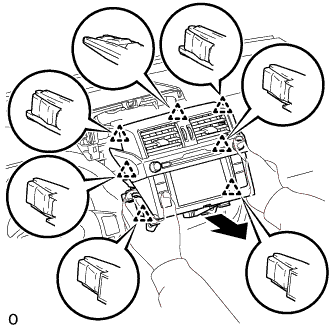
REMOVE RADIO AND DISPLAY RECEIVER ASSEMBLY
Remove the 4 bolts.
Pull the radio and display receiver assembly to detach the 7 clips on the backside of the radio and display receiver assembly.
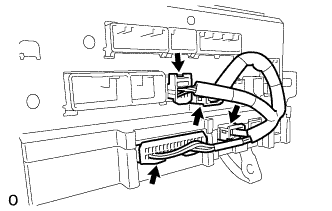
Disconnect each connector and remove the radio and display receiver assembly.
5.
REMOVE NO. 1 NAVIGATION WIRE
Disconnect each connector and remove the No. 1 navigation wire.
6.
REMOVE NAVIGATION ECU
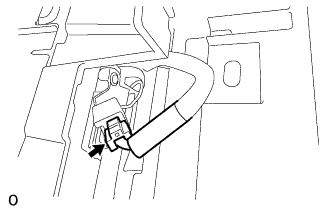
Disconnect the connector.
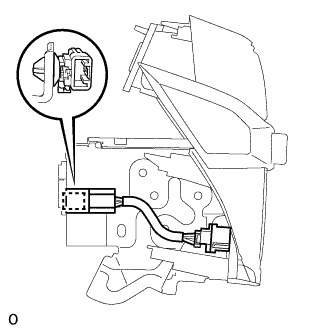
Detach the clamp.
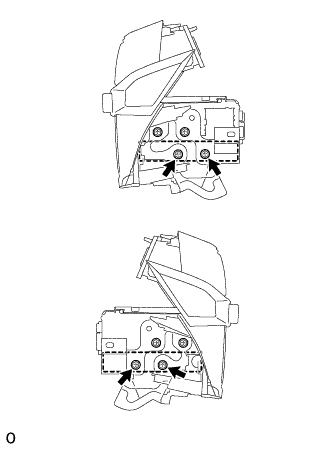
Remove the 4 bolts.
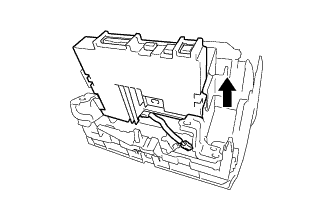
Remove the navigation ECU as shown in the illustration.
7.
REMOVE TELEPHONE ANTENNA CORD SUB-ASSEMBLY
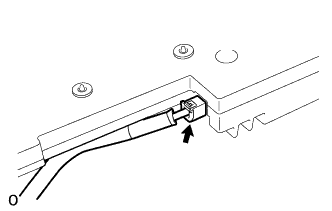
Disconnect the connector and remove the telephone antenna cord sub-assembly.