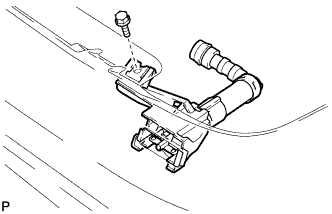
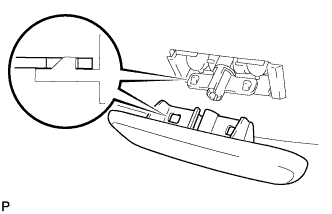
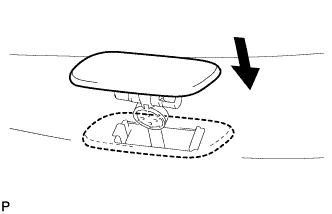
Attach the 2 claws to install the headlight washer nozzle.
Return the headlight washer nozzle to its original position.
3.
INSTALL FRONT BUMPER COVER
HINT:
For the front bumper cover with garnish, use the procedures described below.
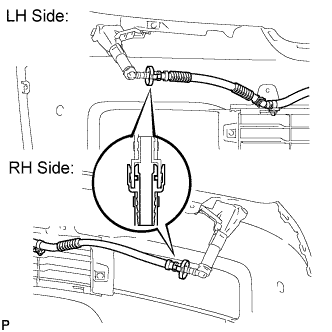
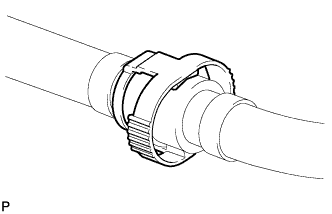
w/ Headlight Cleaner System: Connect the headlight cleaner hose.
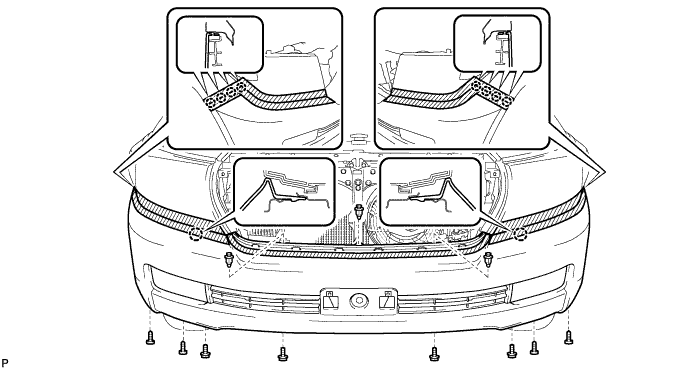
w/o TOYOTA Parking Assist-sensor System, w/o Fog Light: Attach the 10 claws to install the bumper cover.
w/ TOYOTA Parking Assist-sensor System or w/ Fog Light: Connect the No. 4 engine room wire connector and attach the 10 claws to install the bumper cover.
Install the 3 clips, 4 screws and 4 bolts.
Using a T30 "TORX" socket, install the 6 screws.
4.
INSTALL RADIATOR GRILLE
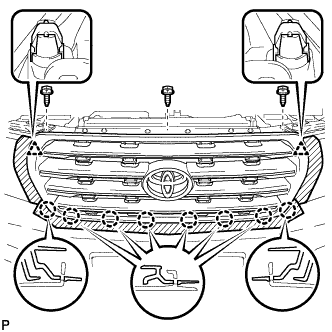
Attach the 2 clips and 8 claws to install the radiator grille.
Install the 3 screws.
5.
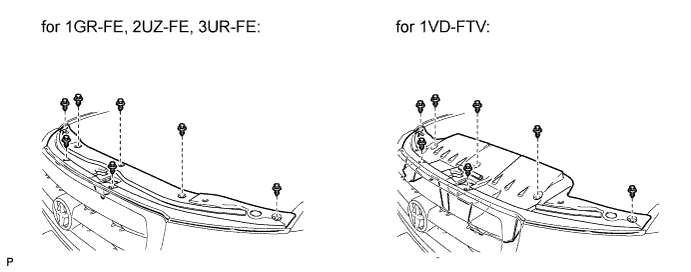
INSTALL UPPER RADIATOR SUPPORT SEAL
Install the radiator support seal with the 7 clips.
6.
INSTALL FRONT FENDER SPLASH SHIELD SUB-ASSEMBLY LH
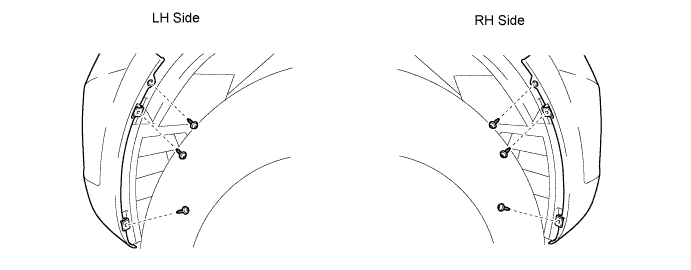
Push in the clip indicated by the arrow in the illustration to install the fender splash shield.
Install the 3 bolts and screw.
7.
INSTALL FRONT FENDER SPLASH SHIELD SUB-ASSEMBLY RH
HINT:
Use the same procedures described for the LH side.