1.
REMOVE FRONT FENDER SPLASH SHIELD SUB-ASSEMBLY LH
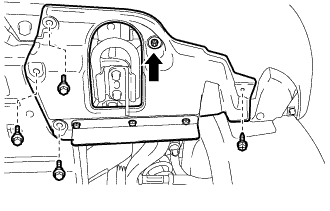
Remove the 3 bolts and screw.
Turn the clip indicated by the arrow in the illustration to remove the front fender splash shield sub-assembly LH.
2.
REMOVE FRONT FENDER SPLASH SHIELD SUB-ASSEMBLY RH
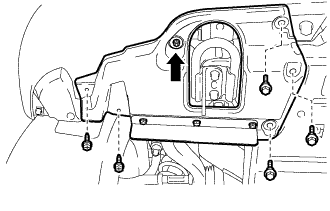
Remove the 3 bolts and 2 screws.
Turn the clip indicated by the arrow in the illustration to remove the front fender splash shield sub-assembly RH.
3.
REMOVE NO. 1 ENGINE UNDER COVER SUB-ASSEMBLY
Remove the 10 bolts and No. 1 engine under cover.
4.
DRAIN ENGINE COOLANT
CAUTION:
Do not remove the radiator cap while the engine and radiator are still hot. Pressurized, hot engine coolant and steam may be released and cause serious burns.
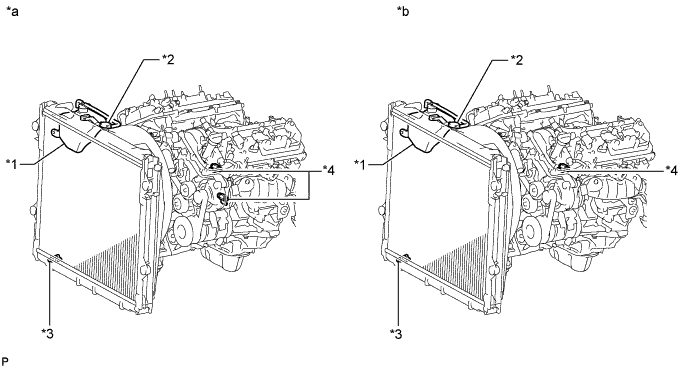
Text in Illustration
*1
Radiator Reservoir
*2
Radiator Cap
*3
Radiator Drain Cock Plug
*4
Cylinder Block Water Drain Cock Plug
*a
for Type A
*b
for Type B
for Type A: Loosen the radiator drain cock plug and 2 cylinder block water drain cock plugs.
for Type B: Loosen the radiator drain cock plug and cylinder block water drain cock plug.
Remove the radiator cap. Then drain the coolant.
HINT:
Collect the coolant in a container and dispose of it according to the regulations in your area.
for Type A: Tighten the 2 cylinder block water drain cock plugs.
Torque:
13 N*m{
130 kgf*cm
, 9 ft.*lbf
}
for Type B: Tighten the cylinder block water drain cock plug.
Torque:
13 N*m{
130 kgf*cm
, 9 ft.*lbf
}
Tighten the radiator drain cock plug by hand.
5.
DRAIN ENGINE OIL
Remove the oil filler cap.
Remove the 2 bolts and No. 2 engine under cover seal.
Remove the oil pan drain plug and gasket, and drain the engine oil into a container.
Install a new gasket and the oil pan drain plug.
Torque:
40 N*m{
408 kgf*cm
, 30 ft.*lbf
}
Install the No. 2 engine under cover seal with the 2 bolts.
Torque:
10 N*m{
102 kgf*cm
, 7 ft.*lbf
}
6.
REMOVE OIL FILTER ELEMENT
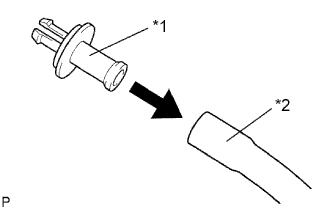
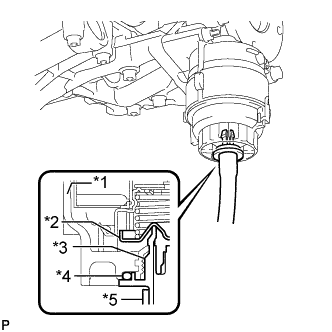
Connect a hose with an inside diameter of 15 mm (0.591 in.) to the pipe.
Text in Illustration
*1
Pipe
*2
Hose
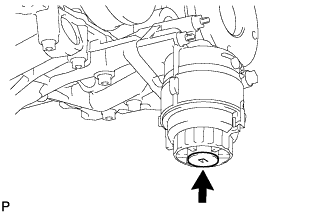
Remove the oil filter drain plug.
Install the pipe to the oil filter cap.
Text in Illustration
*1
Cap
*2
Valve
*3
Pipe
*4
O-Ring
*5
Hose
NOTICE:
If the O-ring is removed with the drain plug, install the O-ring together with the pipe.
HINT:
Use a container to catch the draining oil.
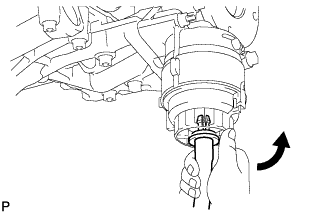
Check that oil is drained from the oil filter. Then, disconnect the pipe and remove the O-ring as shown in the illustration.
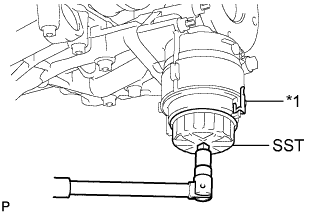
Using SST, remove the oil filter cap.
SST
09228-06501
Text in Illustration
*1
Oil Filter Bracket Clip
NOTICE:
Do not remove the oil filter bracket clip.
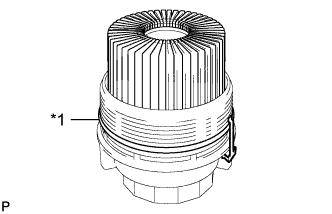
Remove the oil filter element and O-ring from the oil filter cap.
Text in Illustration
*1
O-Ring
NOTICE:
Be sure to remove the O-ring (for the cap) by hand, without using any tools, to prevent damage to the groove for the O-ring in the cap.
7.
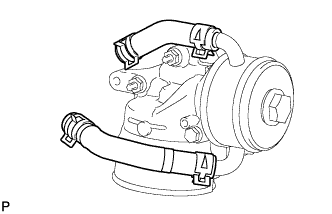
DISCONNECT WATER BY-PASS PIPE SUB-ASSEMBLY
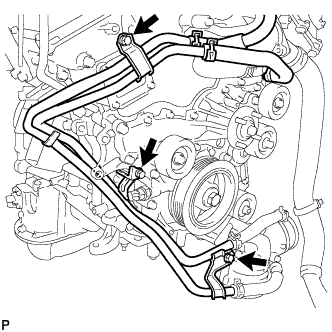
Remove the 3 bolts.
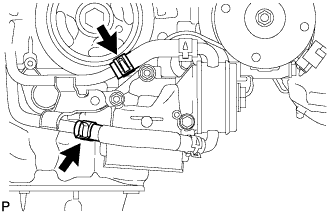
Disconnect the 2 hoses and water by-pass pipe.
8.
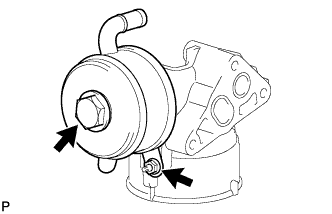
REMOVE OIL FILTER BRACKET
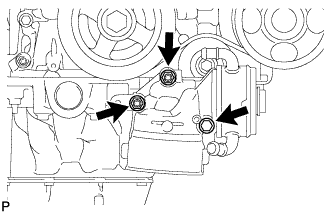
Remove the 2 nuts, bolt, oil filter bracket and gasket.