REMOVAL
Removal / installation · Vehicles built Sep 2011 – Dec 2011
| 1.
DISCONNECT CABLE FROM NEGATIVE BATTERY TERMINAL |
 |
- NOTICE:
- When disconnecting the cable, some systems need to be initialized after the cable is reconnected (Click here).
| 2.
REMOVE FRONT FENDER SPLASH SHIELD SUB-ASSEMBLY LH
|
|
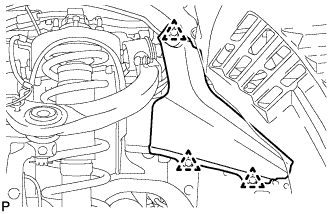
Remove the 3 bolts and screw.
Turn the clip indicated by the arrow in the illustration to remove the fender splash shield.
| 3.
REMOVE FRONT FENDER SPLASH SHIELD SUB-ASSEMBLY RH
|
|
- HINT:
- Use the same procedures described for the LH side.
| 4.
REMOVE NO. 1 ENGINE UNDER COVER SUB-ASSEMBLY
|
|
- Remove the 10 bolts and No. 1 engine under cover.
| 5.
REMOVE FRONT FENDER APRON SEAL FRONT RH
|
|
- Using a clip remover, remove the 3 clips and fender apron seal.
| 6.
REMOVE V-BANK COVER SUB-ASSEMBLY
|
|
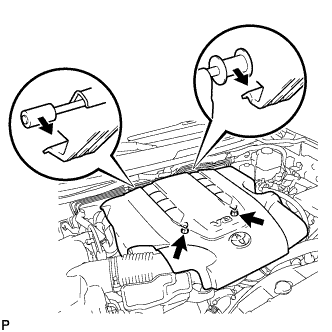
- Remove the 2 nuts and V-bank cover.
| 7.
DISCONNECT AIR CLEANER HOSE ASSEMBLY
|
|
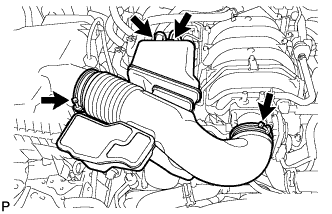
- Disconnect the vacuum transmitting hose and No. 2 ventilation hose.
Loosen the 2 hose clamps.
Remove the air cleaner hose.
| 8.
REMOVE FAN & GENERATOR V BELT
|
|
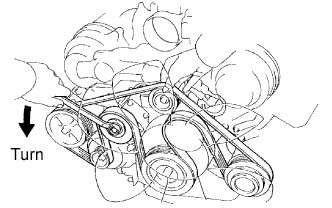
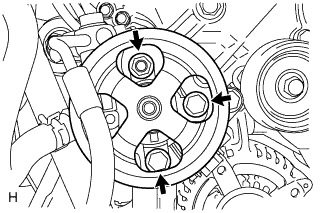
- Loosen the belt tension by turning the belt tensioner counterclockwise, and then remove the fan and generator V belt.
- HINT:
- The pulley bolt for the belt tensioner has left-hand thread.
| 9.
DISCONNECT VANE PUMP ASSEMBLY
|
|
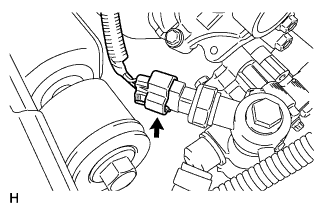
- Disconnect the connector.
- Remove the 2 bolts and nut. Then disconnect the vane pump.
| 10.
REMOVE GENERATOR ASSEMBLY |
|
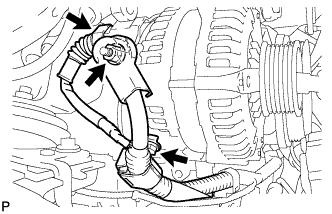
- Disconnect the generator connector.
Remove the terminal cap and nut, and disconnect the generator wire.
Remove the bolt and disconnect the wire harness bracket from the generator.
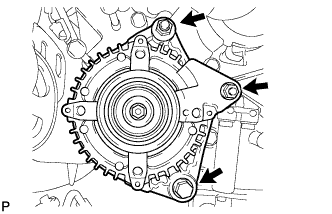
- Remove the bolt, 2 nuts and generator.