REMOVAL
Removal / installation · Vehicles built Sep 2011 – Dec 2011
Versions by build date: Sep 2011 – Dec 2011 from Jan 2012
- HINT:
- Use the same procedures for the LH side and RH side.
- The procedures listed below are for the LH side.
| 1.
DISCONNECT CABLE FROM NEGATIVE BATTERY TERMINAL |
 |
- NOTICE:
- When disconnecting the cable, some systems need to be initialized after the cable is reconnected (Click here).
| 2.
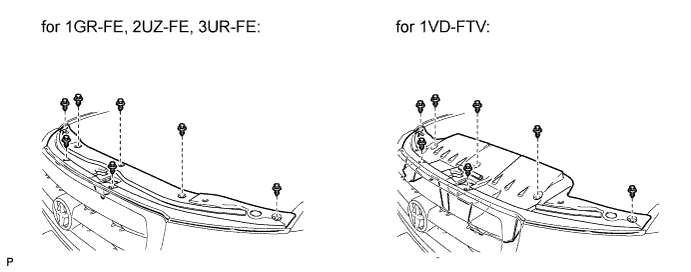
REMOVE UPPER RADIATOR SUPPORT SEAL
|
|
Remove the 7 clips and radiator support seal.

| 3.
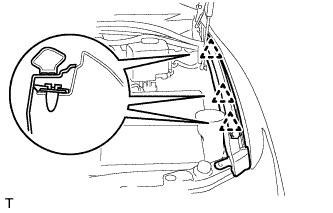
REMOVE FRONT FENDER MAIN SEAL LH
|
|
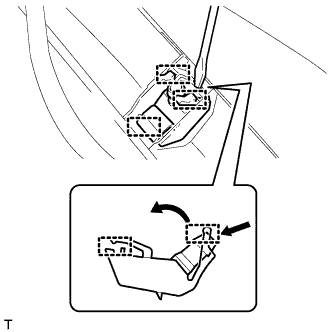
- Using a clip remover, detach the 3 clips and remove the fender main seal.
| 4.
REMOVE FRONT FENDER MAIN SEAL RH
|
|
- HINT:
- Use the same procedures described for the LH side.
| 5.
REMOVE FRONT WIPER ARM LH
|
|
Remove the nut, wiper arm and blade.
| 6.
REMOVE FRONT WIPER ARM RH
|
|
Remove the nut, wiper arm and blade.
| 7.
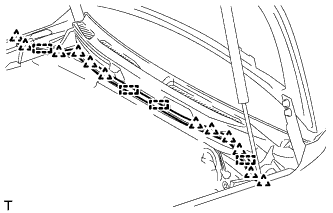
REMOVE HOOD TO COWL TOP SEAL
|
|
- Using a clip remover, detach the 12 clips, 4 clamps and remove the hood to cowl top seal.
| 8.
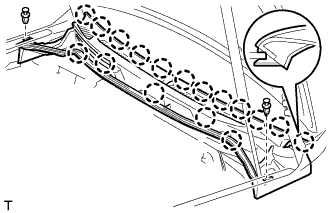
REMOVE COWL TOP VENTILATOR LOUVER SUB-ASSEMBLY
|
|
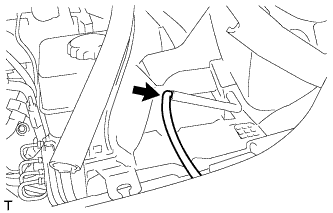
- Remove the washer hose.
- Remove the 2 clips.
Detach the 17 claws and remove the cowl top ventilator louver sub-assembly.
| 9.
REMOVE WASHER NOZZLE SUB-ASSEMBLY |
|
- Detach the 3 claws and remove the washer nozzle.
Disconnect the hose.