INSTALLATION
Removal / installation · Vehicles built Sep 2011 – Dec 2011
Versions by build date: Sep 2011 – Dec 2011 from Jan 2012
- HINT:
- A bolt without a torque specification is shown in the standard bolt chart (Click here).
| 1.
INSTALL HOOD LOCK CONTROL CABLE ASSEMBLY (for LHD) |
 |
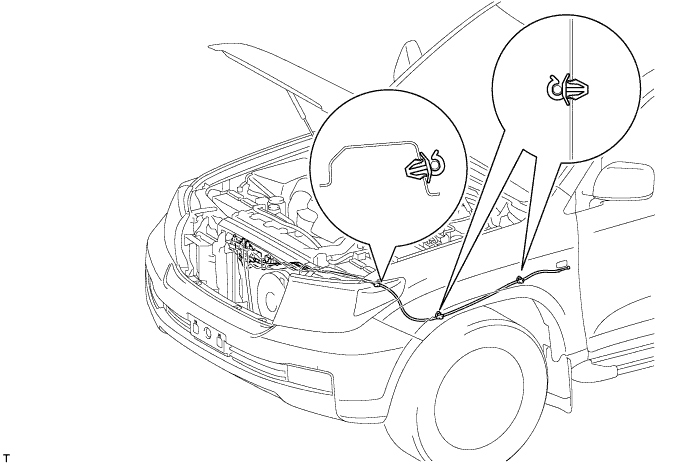
Pass the cable into the engine room.
Pass the cable rear side through the grommet until the cable stopper is attached to the grommet.
Pass the cable front side through the upper radiator support.
Connect the clamps shown in the illustration.

| 2.
INSTALL HOOD LOCK CONTROL CABLE ASSEMBLY (for RHD) |
|
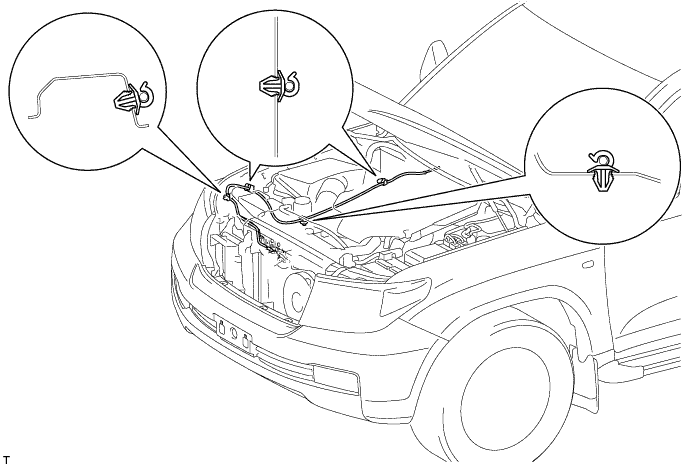
Pass the cable into the engine room.
Pass the cable rear side through the grommet until the cable stopper is attached to the grommet.
Pass the cable front side through the upper radiator support.
Connect the clamps shown in the illustration.
| 3.
INSTALL HOOD LOCK CONTROL LEVER SUB-ASSEMBLY |
|
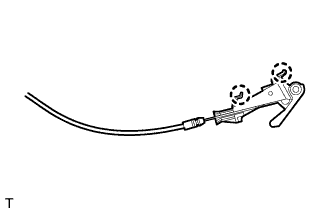
- Connect the hood lock control cable and attach the 2 claws to install the hood lock lever.
| 4.
INSTALL FRONT FENDER MAIN SEAL LH (for LHD) |
|
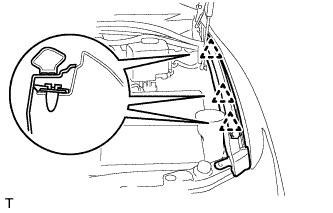
- Attach the 3 clips to install the fender main seal.
| 5.
INSTALL FRONT FENDER MAIN SEAL RH (for RHD) |
|
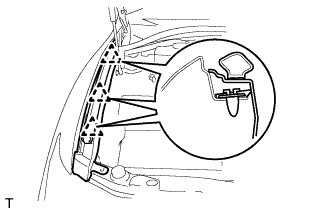
- Attach the 3 clips to install the fender main seal.
| 6.
INSTALL HOOD LOCK ASSEMBLY |
|
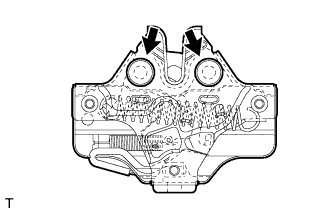
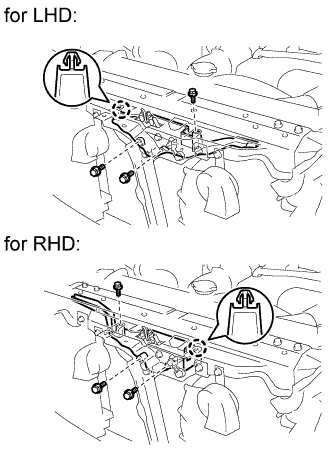
- Apply MP grease to the sliding areas of the lock.
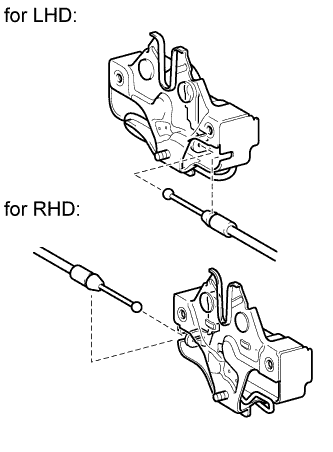
- Connect the hood lock control cable.
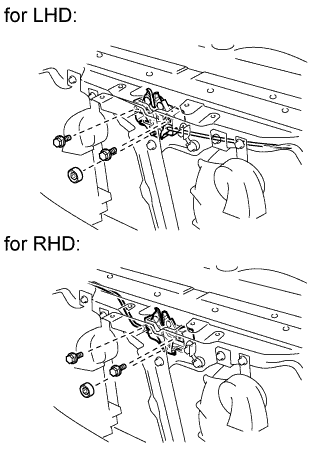
Install the hood lock.
- Install the 2 bolts and nut.
-
Torque:
- 5.5 N*m{
56 kgf*cm
, 49 in.*lbf
}
Connect the connector.
| 7.
INSTALL HOOD LOCK NUT CAP |
|
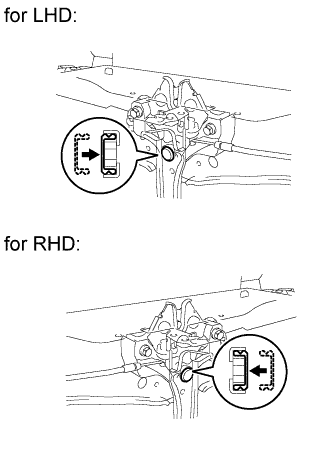
- Install a new hood lock nut cap.
| 8.
INSTALL HOOD LOCK CONTROL CABLE COVER |
|
- Attach the claw to install the cable cover.
Install the 3 screws.
| 9.
INSTALL RADIATOR GRILLE
|
|
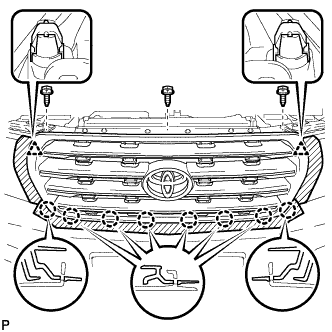
Attach the 2 clips and 8 claws to install the radiator grille.
Install the 3 screws.
| 10.
INSTALL UPPER RADIATOR SUPPORT SEAL
|
|
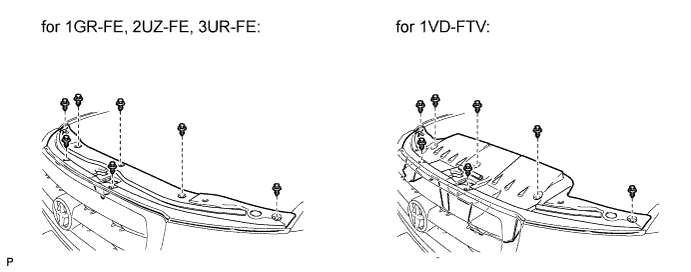
Install the radiator support seal with the 7 clips.