REASSEMBLY
Removal / installation · Vehicles built from Sep 2011
- HINT:
- Use the same procedures for the RH side and LH side.
- The procedures listed below are for the LH side.
- A bolt without a torque specification is shown in the standard bolt chart (Click here).
| 1.
INSTALL REAR SIDE DOOR STEP PLATE COVER LH |
 |
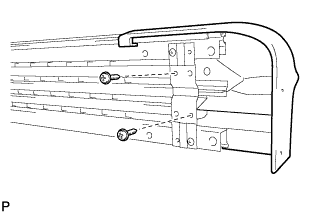
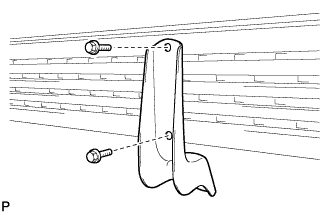
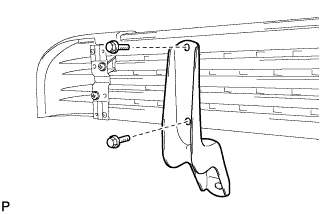
Temporarily install the step plate cover with the 2 screws.
- HINT:
- Make sure the screws are loose so that the step plate moulding can be installed.
| 2.
INSTALL NO. 1 SIDE DOOR STEP PLATE MOULDING |
|
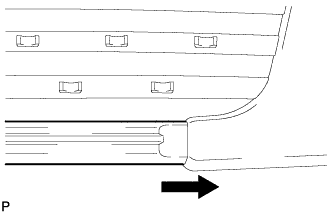
Install the step plate moulding.
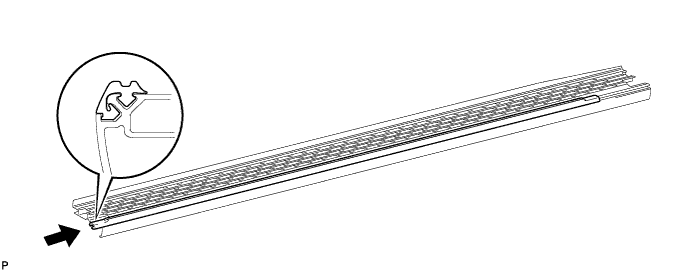

- HINT:
- Push in the step plate moulding until it in the position shown in the illustration.
Tighten the installation screws of the step plate cover.
| 3.
INSTALL FRONT SIDE DOOR STEP PLATE COVER LH |
|
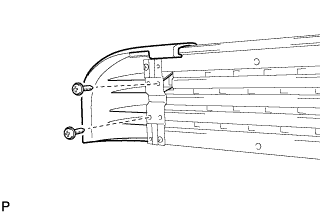
Install the step plate cover with the 2 screws.
| 4.
INSTALL STEP PANEL REAR LH |
|
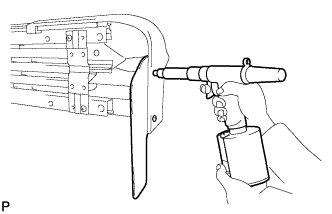
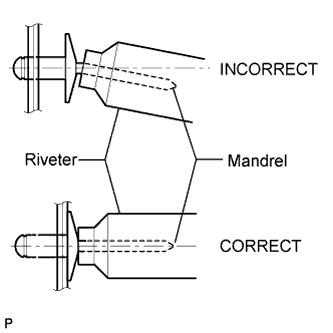
Install a nose piece to an air riveter or hand riveter.
Insert the mandrel part of a new rivet into the nose piece.
- Using the riveter, install the rear step panel shown in the illustration.
- HINT:
- If the rivet cannot be cut, pull it once and cut it.
- NOTICE:
-
Do not pry the rivet with the riveter, as this will cause damage to the riveter and mandrel.
-
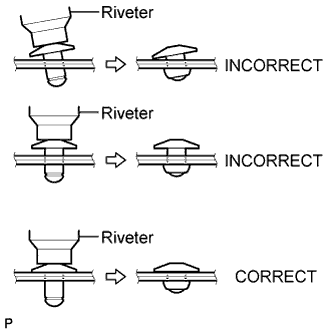
Confirm that the rivets are seated properly against the rear step panel.
- Do not tilt the riveter when installing the rivet to the rear step panel.
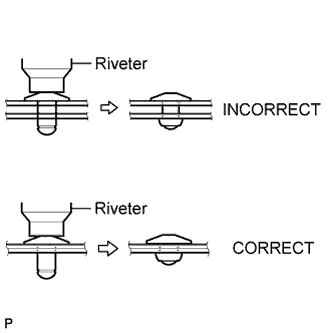
- Do not leave any space between the rivet head and rear step panel.
-
Do not leave any space between the rear step panel and rear side door step plate cover. Firmly hold together the 2 items while installing the rivet.
| 5.
INSTALL NO. 3 SIDE STEP BRACKET LH |
|
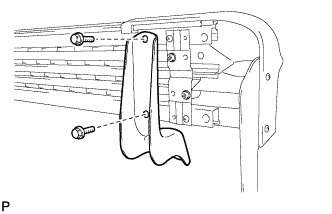
Install the side step bracket with the 2 bolts.
| 6.
INSTALL NO. 2 SIDE STEP BRACKET LH |
|
Install the side step bracket with the 2 bolts.
| 7.
INSTALL NO. 1 SIDE STEP BRACKET LH |
|
Install the side step bracket with the 2 bolts.