Use the same procedure to remove the step cover on the other side.
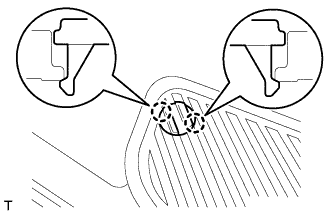
Detach the 2 claws and remove the step cover.
4.
REMOVE REAR DOOR SCUFF PLATE LH
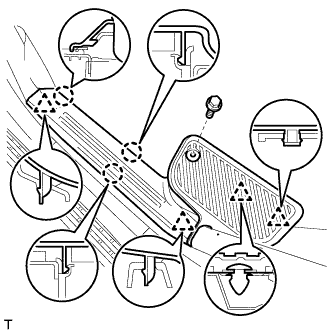
Remove the screw.
Detach the 3 claws and 4 clips, and remove the scuff plate.
5.
REMOVE REAR NO. 2 SEAT COVER BEZEL
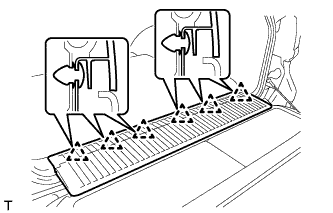
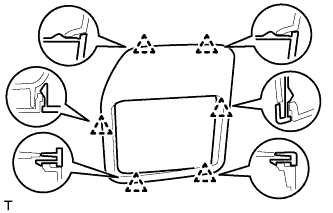
Detach the 6 clips and remove the rear No. 2 seat cover bezel.
6.
REMOVE FRONT QUARTER TRIM PANEL ASSEMBLY LH
HINT:
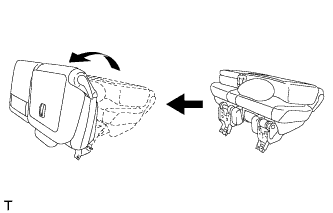
When installing the front quarter trim panel, operate the reclining adjuster release handle and move the No. 1 rear seat to the position shown in the illustration.
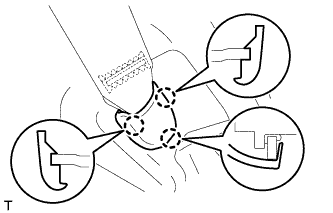
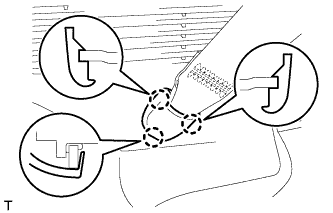
Detach the 3 claws and remove the cover.
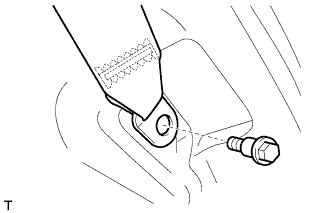
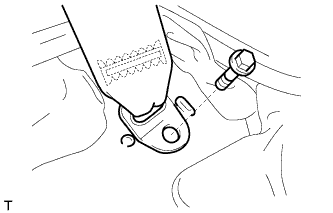
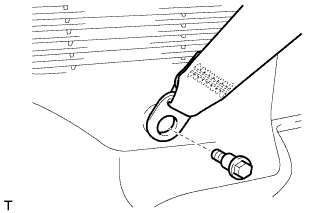
Remove the bolt and disconnect the rear seat outer belt floor anchor.
for LH Side:
Remove the bolt and disconnect the rear No. 2 seat outer belt floor anchor LH.
for RH Side:
Detach the 3 claws and remove the cover.
Remove the bolt and disconnect the rear seat outer belt floor anchor RH.
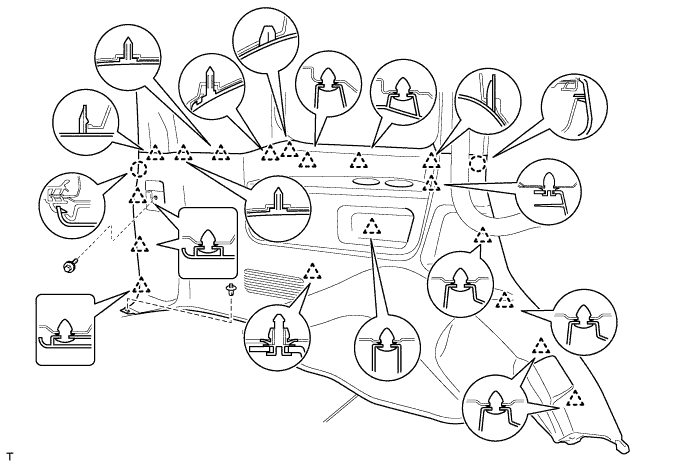
Remove the clip and bolt.
Detach the 18 clips and 2 claws.
w/o Rear Air Conditioning System: Disconnect the rear seat lock control lever cable and then remove the quarter trim panel.
w/ Rear Air Conditioning System: Disconnect the thermistor connector and rear seat lock control lever cable, and then remove the quarter trim panel.
7.
REMOVE REAR NO. 2 SEAT OUTER BELT ASSEMBLY LH
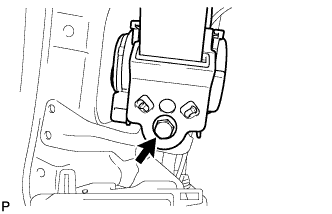
Remove the bolt and disconnect the seat belt shoulder anchor.
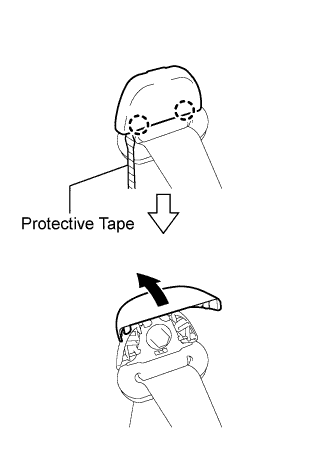
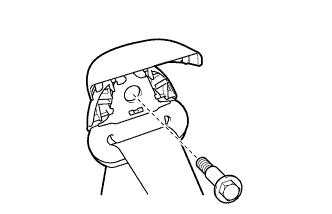
Using a screwdriver, detach the 2 claws and open the seat belt anchor cover as shown in the illustration.