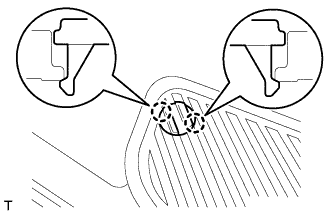
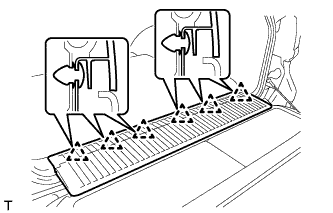
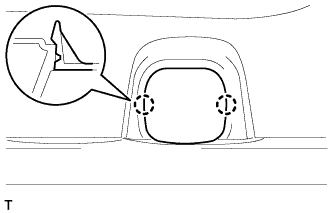
Use the same procedure to remove the tonneau cover holder cap on the other side.
Detach the 2 claws and remove the tonneau cover holder cap.
7.
REMOVE REAR SEAT COVER CAP (w/ Rear No. 2 Seat, except Face to Face Seat Type)
HINT:
Use the same procedure to remove the rear seat cover cap on the other side.
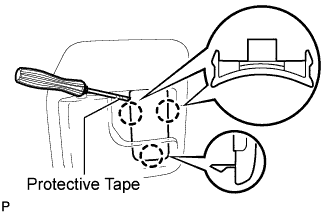
Using a screwdriver, detach the 3 claws and remove the rear seat cover cap.
HINT:
Tape the screwdriver tip before use.
8.
REMOVE FRONT QUARTER TRIM PANEL ASSEMBLY RH
HINT:
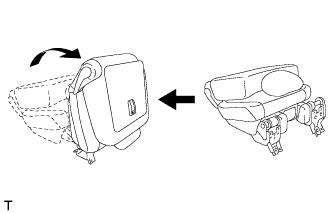
When removing the front quarter trim panel, operate the reclining adjuster release handle and move the No. 1 rear seat to the position shown in the illustration.
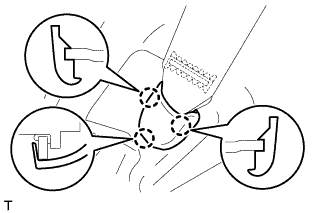
Detach the 3 claws and remove the cover.
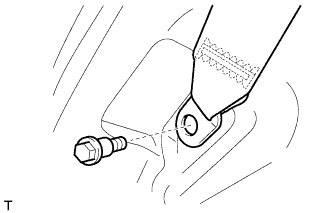
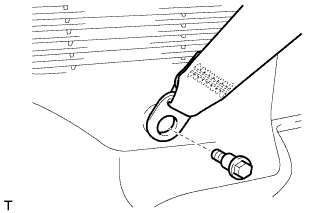
Remove the bolt and rear No. 1 seat belt anchor.
w/ Rear No. 2 Seat, except Face to Face Seat Type:
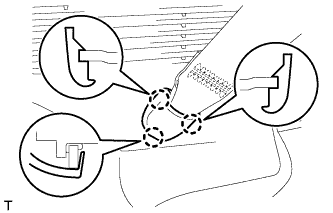
Detach the 3 claws and remove the cover.
Remove the bolt and rear No. 2 seat belt anchor.
w/ Rear No. 2 Seat, except Face to Face Seat Type:
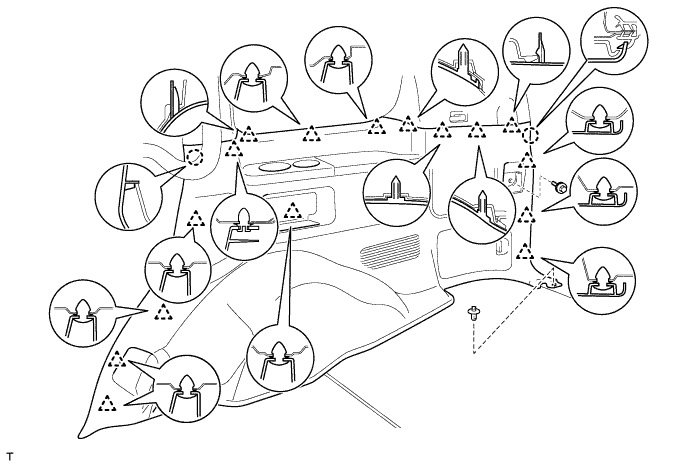
Remove the clip and bolt.
Detach the 16 clips and 2 claws.
w/o Rear Air Conditioning System: Disconnect the rear seat lock control lever cable and then remove the quarter trim panel.
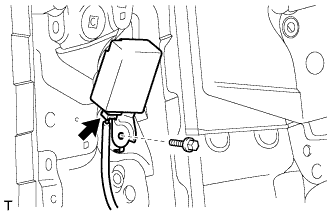
w/ Rear Air Conditioning System: Disconnect the thermistor connector and rear seat lock control lever cable, and then remove the quarter trim panel.
w/o Rear No. 2 Seat or w/ Rear No. 2 Seat, for Face to Face Seat Type:
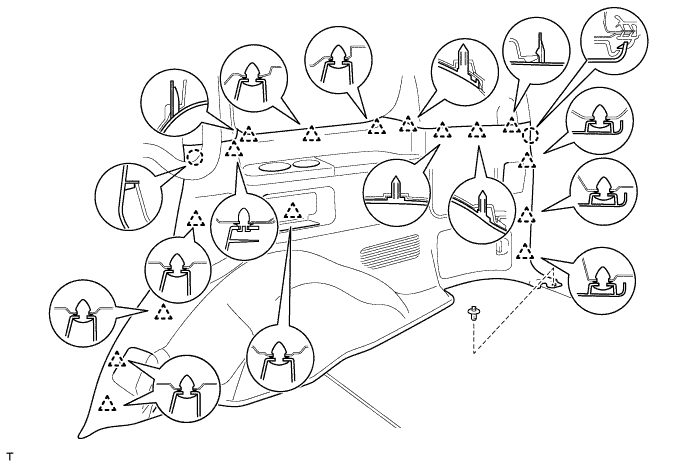
Remove the clip.
Detach the 16 clips and 2 claws, and remove the quarter trim panel.
9.
REMOVE REAR UPPER PILLAR GARNISH RH
HINT:
Use the same procedures described for the LH side.