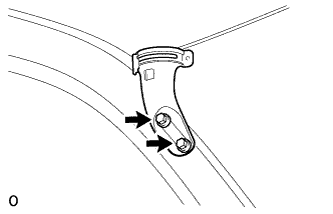
REMOVAL
Removal / installation · Vehicles built from Sep 2011
| 1. REMOVE AIR PRE-CLEANER ASSEMBLY |

Remove the bolt, air pre-cleaner and No. 2 inlet air cleaner bracket.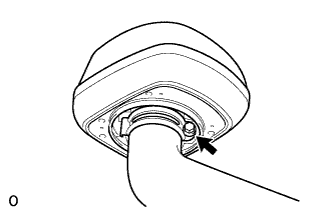

| 2. REMOVE COOL AIR INTAKE DUCT |
Remove the 2 bolts and cool air intake duct.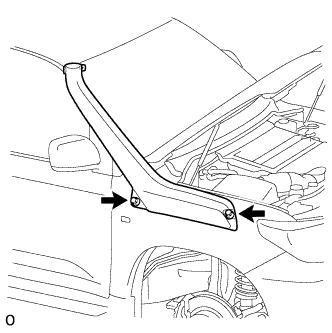
| 3. REMOVE COOL AIR INTAKE PIPE RETAINER |
Remove the 2 bolts and cool air intake pipe retainer.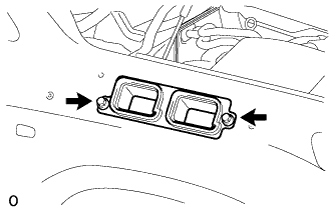
| 4. REMOVE FRONT FENDER SPLASH SHIELD SUB-ASSEMBLY RH |
Remove the 3 bolts and screw.
Loosen the clip and remove the splash shield.
| 5. REMOVE FRONT FENDER LINER RH |
Remove the screw and disconnect the liner from the front bumper cover.
Using a T30 "TORX" socket, remove the 3 screws.
Remove the 5 clips.
- HINT:
- It is not necessary to fully remove the fender liner. Partially remove it so that the air pump can be removed.
| 6. REMOVE NO. 1 INLET AIR CLEANER |
Remove the 2 bolts.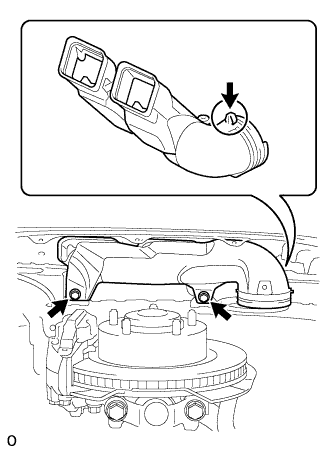
Detach the claw shown in the illustration, and then remove the No. 1 inlet air cleaner.
| 7. REMOVE AIR CLEANER ASSEMBLY |
Disconnect the mass air flow meter connector and using a clip remover, detach the wire harness clamp from the air cleaner cap.
Using a clip remover, detach the wire harness clamp from the air cleaner case.
Remove the 3 bolts and air cleaner case.
| 8. REMOVE NO. 2 INLET AIR CLEANER |
Remove the 2 bolts and inlet air cleaner.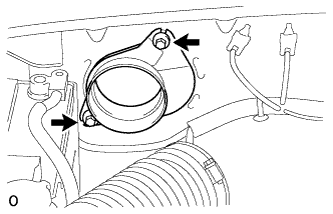
| 9. REMOVE INLET AIR CLEANER SEAL BRACKET SUB-ASSEMBLY |
Remove the 2 bolts and inlet air cleaner seal bracket.