INSTALLATION
Removal / installation · Vehicles built from Jan 2012
Versions by build date: Sep 2011 – Dec 2011 from Jan 2012
| 1.
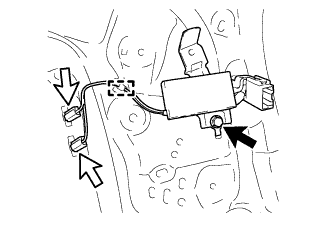
INSTALL AMPLIFIER ANTENNA ASSEMBLY (w/o Diversity) |
 |
- Install the amplifier antenna with the bolt.
Attach the clamp and connect the 2 connectors.
| 2.
INSTALL AMPLIFIER ANTENNA ASSEMBLY (w/ Diversity) |
|
Attach the 9 clamps to install antenna.
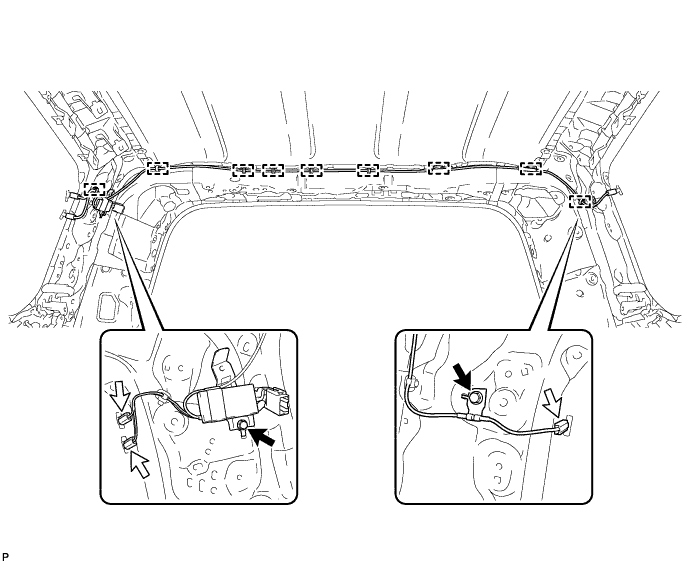

Connect the 3 connectors and install the 2 bolts.
| 3.
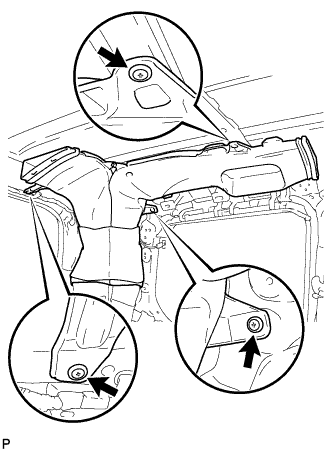
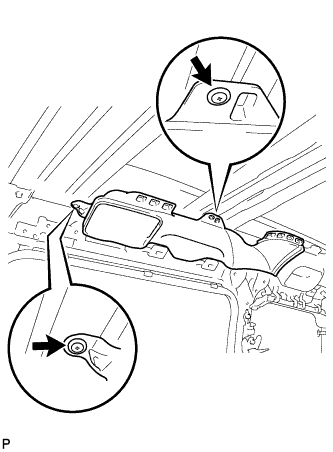
INSTALL REAR NO. 1 ROOF AIR DUCT (w/ Diversity) |
|
- Install the duct with the 3 clips.
| 4.
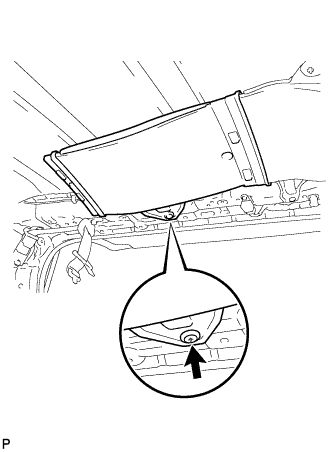
INSTALL REAR NO. 3 ROOF AIR DUCT (w/ Diversity) |
|
- Install the duct with the clip.
| 5.
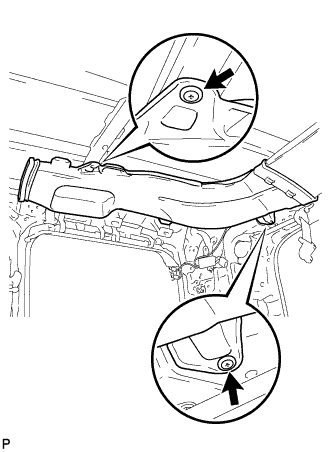
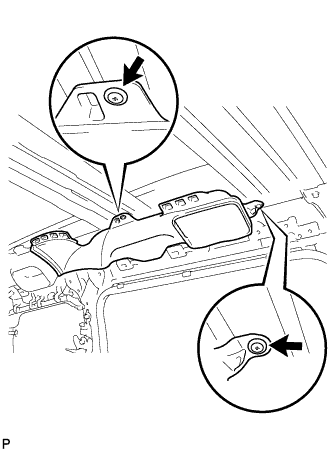
INSTALL REAR NO. 4 ROOF AIR DUCT (w/ Diversity) |
|
- Install the duct with the 2 clips.
| 6.
INSTALL REAR NO. 5 ROOF AIR DUCT (w/ Diversity) |
|
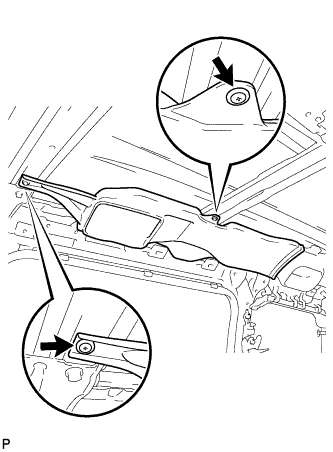
- w/o Sliding Roof:
Install the duct with the 2 clips.
- w/ Sliding Roof:
Install the duct with the 2 clips.
| 7.
INSTALL REAR NO. 2 ROOF AIR DUCT (w/ Diversity) |
|
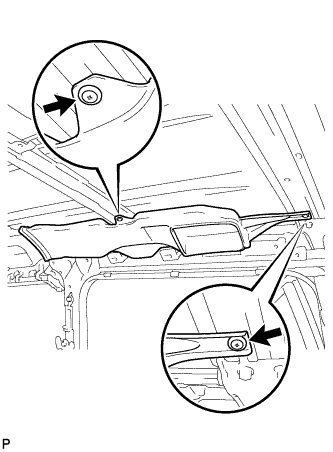
- w/o Sliding Roof:
Install the duct with the 2 clips.
- w/ Sliding Roof:
Install the duct with the 2 clips.
| 8.
INSTALL ROOF HEADLINING ASSEMBLY (w/ Diversity) |
|
w/o Sliding Roof:
Install the roof headlining (Click here).
w/ Sliding Roof:
Install the roof headlining (Click here).
| 9.
CONNECT CABLE TO NEGATIVE BATTERY TERMINAL |
|
- NOTICE:
- When disconnecting the cable, some systems need to be initialized after the cable is reconnected (Click here).