1VD-FTV BATTERY / CHARGING GENERATOR DISASSEMBLY
PROCEDURE

 27411
1.REMOVE GENERATOR PULLEY
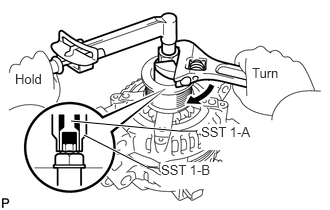
- SST
- 09820-63011 (09820-06010, 09820-06021)
- HINT:
SST 1-A and 1-B 09820-06010 SST 2 09820-06021
Hold SST 1-A with a torque wrench, and tighten SST 1-B clockwise to the specified torque.
- Torque:
- 39 N*m (398 kgf*cm, 29 ft.*lbf)
- NOTICE:
-
Check that SST is secured on the rotor shaft.
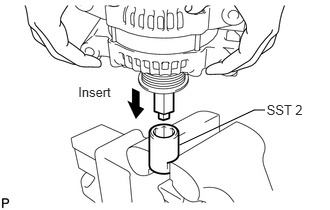
Mount SST 2 in a vise.
Insert SST 1-A and 1-B into SST 2, and attach the pulley nut to SST 2.
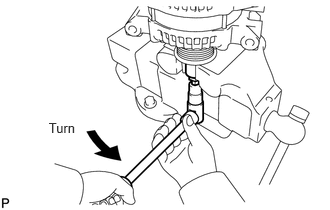
To loosen the pulley nut, turn SST 1-A in the direction shown in the illustration.
- NOTICE:
-
To prevent damage to the rotor shaft, do not loosen the pulley nut more than one-half turn.
Remove the generator from SST 2.
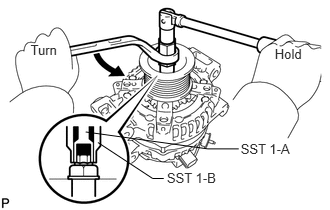
Turn SST 1-B, and remove SST 1-A and 1-B.
Remove the pulley nut and pulley.
27039
2.REMOVE GENERATOR REAR END COVER
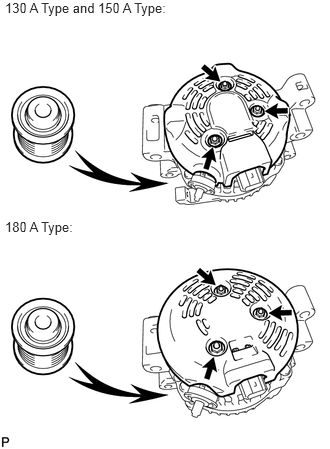
Place the generator on the pulley.
Remove the 3 nuts and end cover.
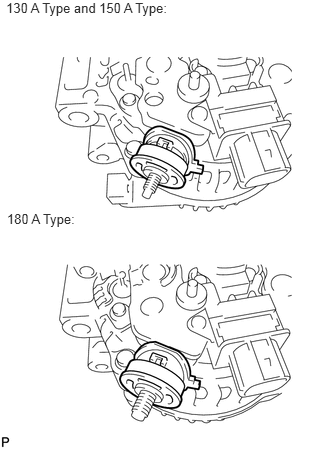
Remove the terminal insulator.
27370
3.REMOVE GENERATOR BRUSH HOLDER ASSEMBLY
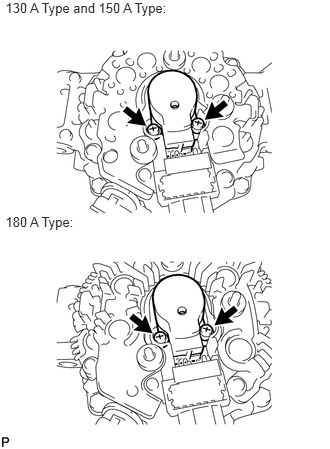
Remove the 2 screws and brush holder.
27360
4.REMOVE GENERATOR COIL ASSEMBLY
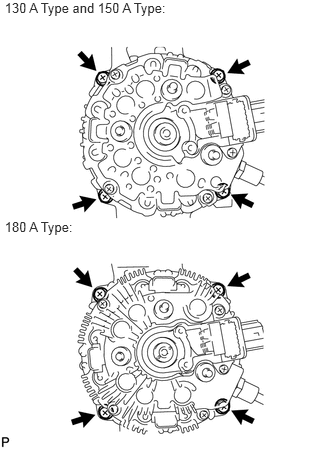
Remove the 4 bolts.
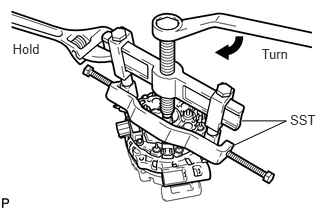
Using SST, remove the coil assembly.
- SST
- 09950-40011 (09951-04020, 09952-04010, 09953-04020, 09954-04010, 09955-04071, 09957-04010, 09958-04011)
27330
5.REMOVE GENERATOR ROTOR ASSEMBLY
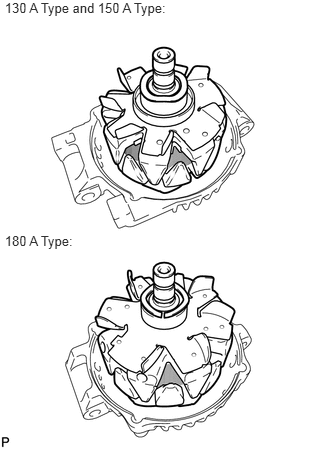
Remove the generator washer and rotor.
27310B
6.REPLACE GENERATOR DRIVE END FRAME BEARING
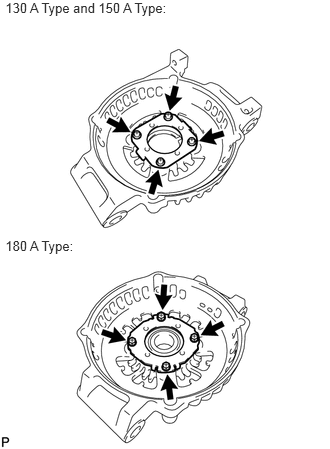
Remove the 4 screws and retainer plate.
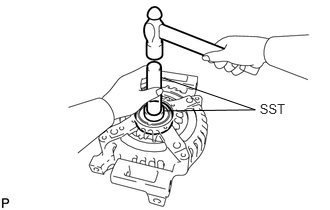
Using SST and a hammer, tap out the bearing.
- SST
- 09950-60010 (09951-00250)
09950-70010 (09951-07100)
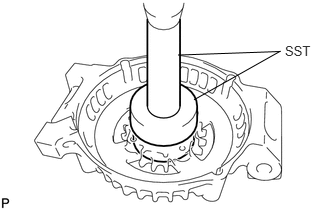
Using SST and a press, press in a new bearing.
- SST
- 09950-60010 (09951-00470)
09950-70010 (09951-07100)
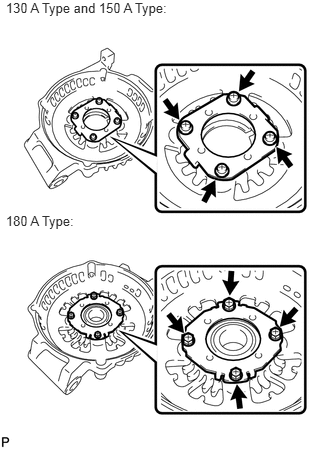
130 A Type and 150 A Type:
Install the retainer plate with the 4 screws.
- Torque:
- 2.3 N*m (23 kgf*cm, 20 in.*lbf)
180 A Type:
Install the retainer plate with the 4 screws.
- Torque:
- 3.0 N*m (30 kgf*cm, 26 in.*lbf)