HEATING / AIR CONDITIONING COMPRESSOR REMOVAL
PROCEDURE

 1. RECOVER REFRIGERANT FROM REFRIGERATION SYSTEM
G3834
2.REMOVE SERVICE PLUG GRIP
G9221
3.REMOVE INVERTER COVER
4.CHECK TERMINAL VOLTAGE
G9221
5.INSTALL INVERTER COVER
17750A
6.REMOVE INLET AIR CLEANER ASSEMBLY
51441
7.REMOVE NO. 1 ENGINE UNDER COVER
88711
8.DISCONNECT NO. 1 COOLER REFRIGERANT DISCHARGE HOSE
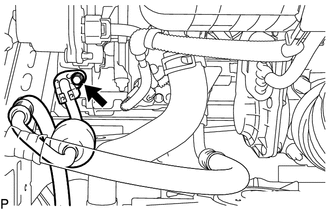
Remove the bolt and disconnect the No. 1 cooler refrigerant discharge hose from the compressor with motor assembly.
Remove the O-ring from the No. 1 cooler refrigerant discharge hose.
- NOTICE:
-
Seal the openings of the disconnected parts using vinyl tape to prevent entry of moisture and foreign matter.
88712
9.DISCONNECT NO. 1 COOLER REFRIGERANT SUCTION HOSE
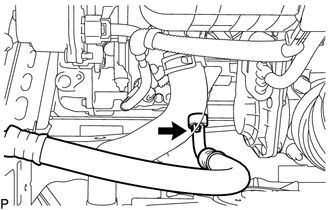
Remove the bolt and disconnect the No. 1 cooler refrigerant suction hose from the compressor with motor assembly.
Remove the O-ring from the No. 1 cooler refrigerant suction hose.
- NOTICE:
-
Seal the openings of the disconnected parts using vinyl tape to prevent entry of moisture and foreign matter.
88370
10.REMOVE COMPRESSOR WITH MOTOR ASSEMBLY
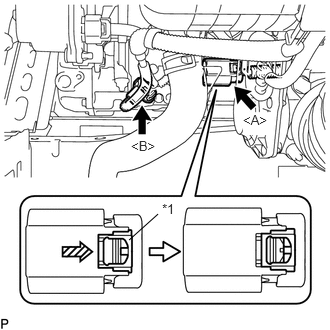
Using a screwdriver, slide the green-colored lock of the connector <A> in the direction indicated by the arrow in the illustration to release it and disconnect the connector.
| *1 | Green-colored Lock |
- CAUTION:
-
Make sure to wear insulated gloves.
- NOTICE:
-
Insulate the disconnected terminals and connector with insulating tape.
Disconnect the connector <B>.
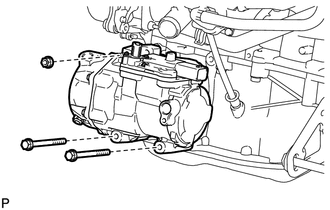
Remove the 2 bolts and nut.
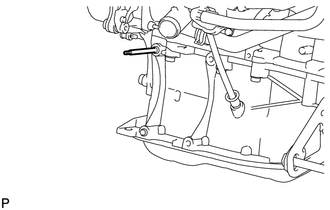
Using an E8 "TORX" socket wrench, remove the stud bolt and compressor with motor assembly.
- HINT:
-
Remove the compressor with motor assembly from the vehicle with the stud bolt remaining in the compressor with motor assembly.