 |
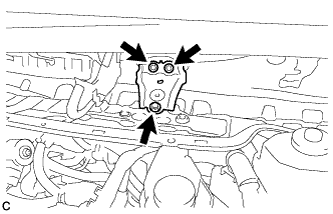
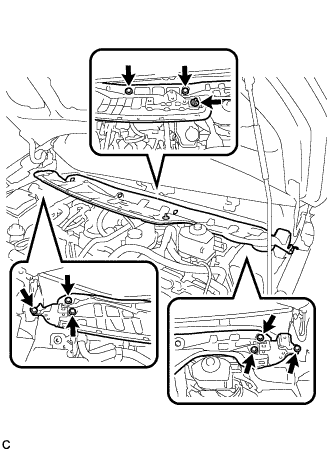
Remove the 3 bolts and inner cowl top to cowl brace.
TEMPERATURE SWITCH > REMOVAL |
| 1. REMOVE WINDSHIELD WIPER MOTOR AND LINK ASSEMBLY |
| 2. REMOVE INNER COWL TOP TO COWL BRACE |
|
Remove the 3 bolts and inner cowl top to cowl brace.
| 3. REMOVE FRONT AIR SHUTTER SEAL |
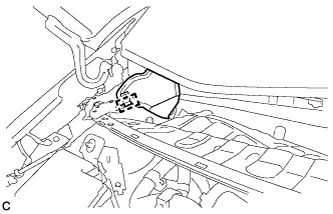 |
Disengage the clamp to remove the front air shutter seal.
| 4. REMOVE FRONT NO. 1 VENTILATOR SEAL |
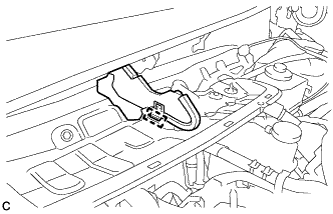 |
Disengage the clamp to remove the front No. 1 ventilator seal.
| 5. REMOVE OUTER COWL TOP PANEL SUB-ASSEMBLY |
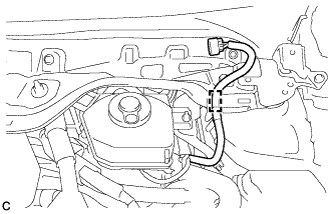 |
Disengage the clamp to separate the wire harness from the outer cowl top panel sub-assembly.
 |
Remove the 8 bolts, nut and outer cowl top panel sub-assembly.
| 6. DRAIN COOLANT (for Engine) |
Loosen the radiator drain cock plug.
Remove the water filler cap sub-assembly and drain the coolant.
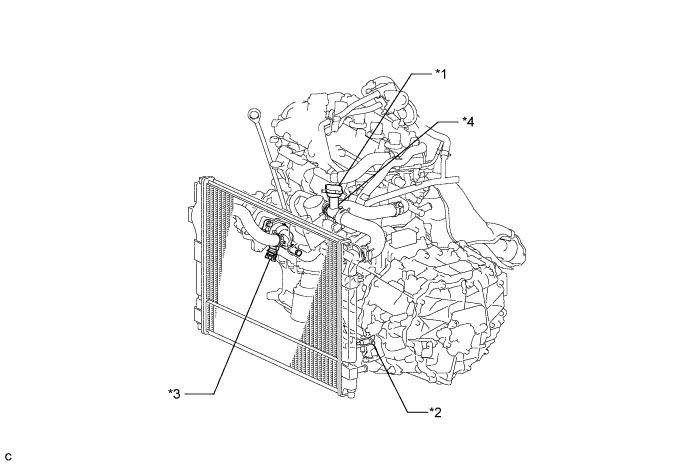
| *1 | Water Filler Cap Sub-assembly | *2 | Radiator Drain Cock Plug |
| *3 | Engine Drain Cock Plug | *4 | Water Filler |
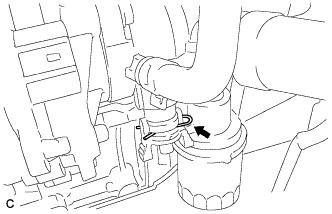 |
Remove the stop ring.
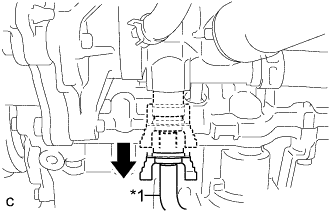 |
Connect the hose to the engine drain cock plug.
| *1 | Hose |
Pull out the engine drain cock plug and drain the coolant.
| 7. REMOVE ENGINE COOLANT TEMPERATURE SENSOR |
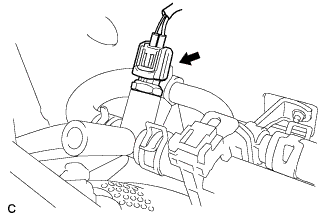 |
Disconnect the connector.
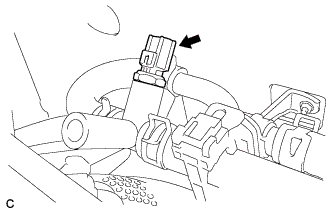 |
Using a union nut wrench (19 mm), remove the engine coolant temperature sensor.