AIR CONDITIONING PRESSURE SENSOR > INSTALLATION |
| 1. INSTALL AIR CONDITIONING PRESSURE SENSOR |
![]() |
Sufficiently apply compressor oil to a new air conditioning pressure sensor.
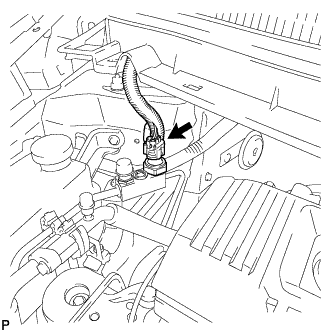
Install the new air conditioning pressure sensor.
Connect the connector.
| 2. CONNECT CABLE TO AUXILIARY BATTERY NEGATIVE TERMINAL |
| 3. INSTALL REAR NO. 3 FLOOR BOARD |
![]() |
Engage the 2 guides to install the rear No. 3 floor board.
| 4. INSTALL REAR DECK FLOOR BOX |
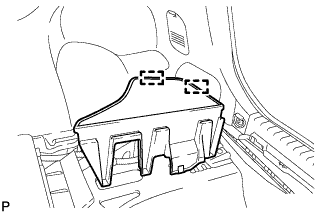
Install the rear deck floor box.
| 5. INSTALL REAR NO. 2 FLOOR BOARD (for Separate Type) |
![]() |
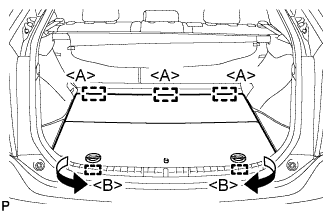
Engage the 3 guides <A>.
Engage the 2 guides <B> and install the rear No. 2 floor board as shown in the illustration.
| 6. CHARGE WITH REFRIGERANT |
Perform vacuum purging using a vacuum pump.
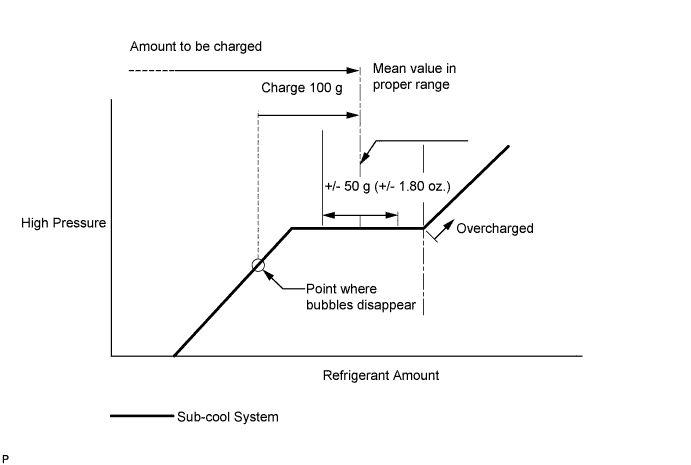
Charge with refrigerant HFC-134a (R134a).

| 7. WARM UP COMPRESSOR |
Keep the A/C switch on for at least 2 minutes to warm up the compressor.
| 8. INSPECT FOR REFRIGERANT LEAK |
After recharging with refrigerant, inspect for refrigerant leaks using a halogen leak detector.
Carry out the test under the following conditions:
![]() |
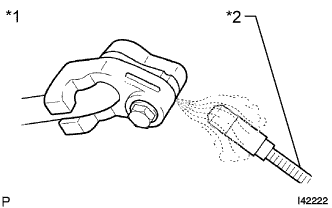
Using a halogen leak detector, inspect for refrigerant leaks from the refrigerant lines.
| *1 | Inspect for Leak |
| *2 | Halogen Leak Detector |
![]() |
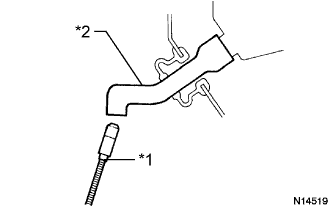
Bring the halogen leak detector close to the drain hose with the detector's power off, and then turn the detector on.
| *1 | Halogen Leak Detector |
| *2 | Drain Hose |
If a refrigerant leak is not detected from the drain hose, remove the blower motor control from the cooling unit. Insert the halogen leak detector sensor into the unit and perform the test.
Disconnect the pressure switch connector and leave it for approximately 20 minutes. Bring the halogen leak detector close to the pressure switch and perform the test.