 |
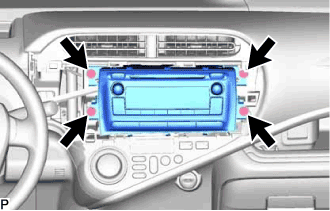
Remove the 4 screws.
RADIO ANTENNA CORD > REMOVAL |
| 1. REMOVE UPPER INSTRUMENT PANEL ASSEMBLY |
| 2. REMOVE RADIO RECEIVER ASSEMBLY WITH BRACKET |
|
Remove the 4 screws.
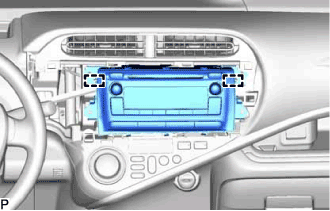 |
Disengage the 2 guides and pull the radio receiver assembly with bracket toward the rear of the vehicle.
Disconnect each connector and remove the radio receiver assembly with bracket.
| 3. REMOVE NO. 6 HEATER TO REGISTER DUCT ASSEMBLY |
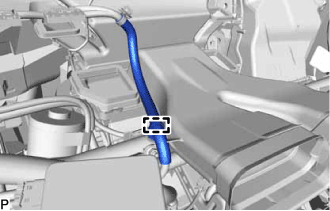 |
Disengage the clamp.
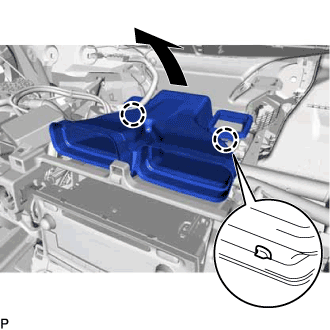 |
Disengage the 2 claws as shown in the illustration.
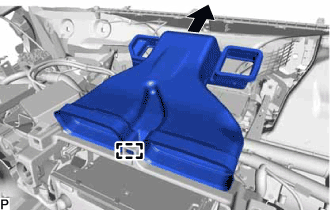 |
Disengage the guide and remove the No. 6 heater to register duct assembly as shown in the illustration.
| 4. REMOVE ANTENNA CORD SUB-ASSEMBLY |
for LHD:
Disconnect each connector.
Remove the 2 bolts.
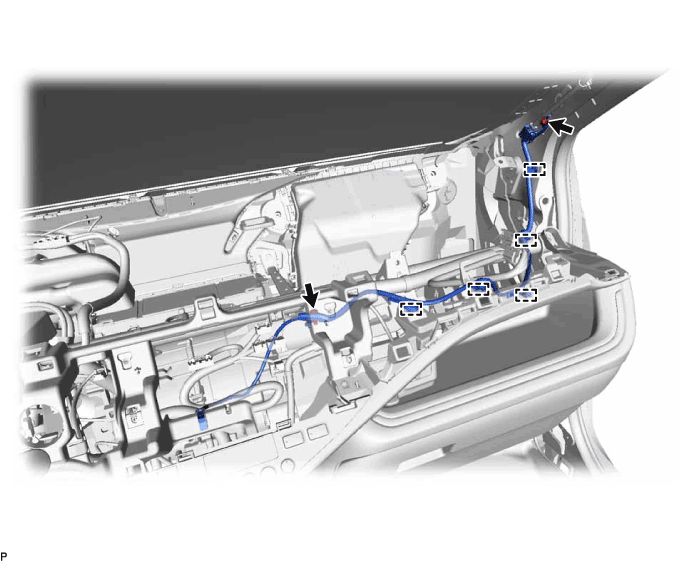
Disengage the 5 clamps and remove the antenna cord sub-assembly.
for RHD:
Disconnect each connector.
Remove the 2 bolts.
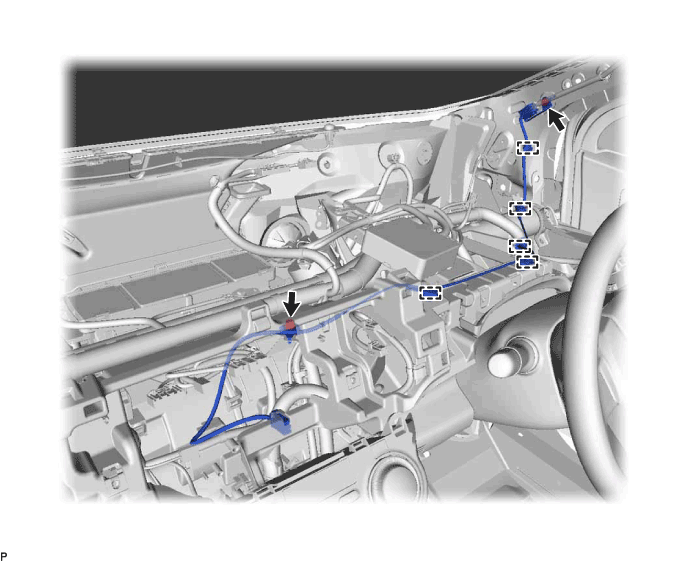
Disengage the 5 clamps and remove the antenna cord sub-assembly.
| 5. REMOVE ROOF HEADLINING ASSEMBLY |
| 6. REMOVE NO. 2 ANTENNA CORD SUB-ASSEMBLY |
Peel back the tape used to secure the antenna cord only to the extent that allows removal of the No. 2 antenna cord sub-assembly.
Remove the No. 2 antenna cord sub-assembly from the roof headlining.
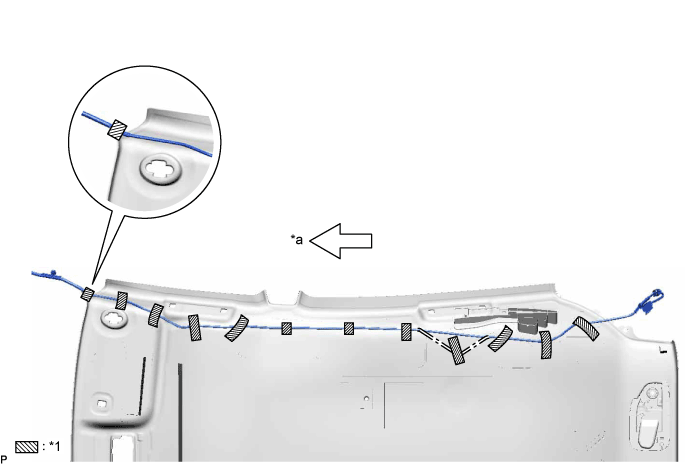
| *1 | Tape | - | - |
| *a | Front | - | - |