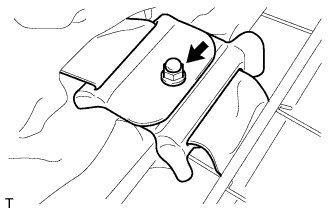
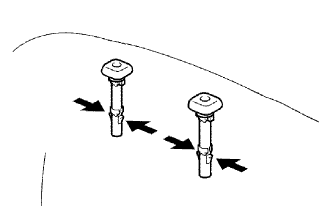
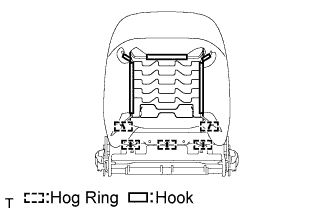
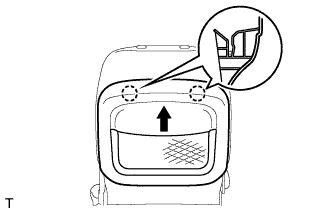
Wear protective gloves. Sharp areas on the seat frame (with adjuster) may injure your hands.
HINT:
Use the same procedures for the RH side and LH side.
The procedures listed below are for the LH side.
1.
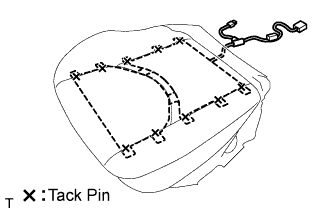
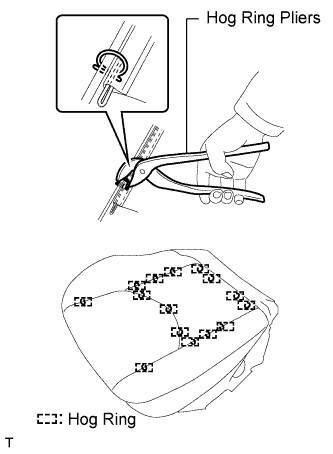
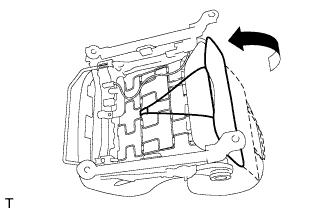
INSTALL FRONT SEAT WIRE
2.
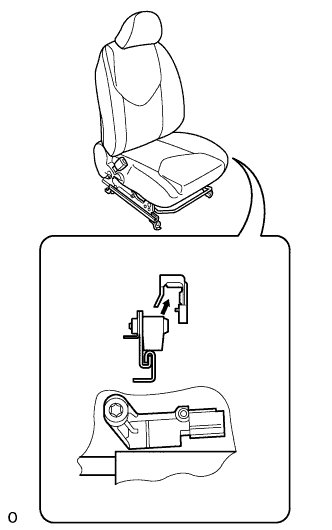
INSTALL SEAT POSITION AIRBAG SENSOR
Using a 1 mm (0.039 in.) feeler gauge, install the seat position sensor.
NOTICE:
If the seat position sensor has been dropped, or there are any cracks, dents or other defects in the case or connector, replace the seat position sensor with a new one.
When installing the seat position sensor, be careful that the SRS wiring does not interfere with other parts and that it is not pinched between other parts.
HINT:
Be sure that the clearance between the seat position sensor and the seat rail is within 0.6 mm to 1.4 mm (0.023 to 0.055 in.).
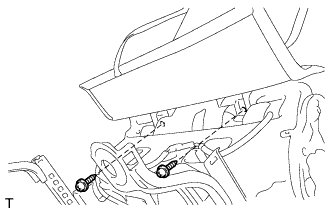
Using a T30 "torx" socket, tighten the "torx" screw to install the seat position sensor.
Torque:
8.0 N*m{
82 kgf*cm
, 71 in.*lbf
}
Make sure that the clearance between the seat position sensor and the seat rail is within 0.6 mm to 1.4 mm (0.023 to 0.055 in.).
Connect the connector.
Install the seat slide position sensor protector to the seat position sensor.
3.
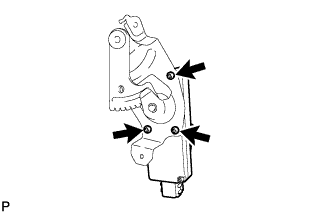
INSTALL POWER SEAT MOTOR ASSEMBLY
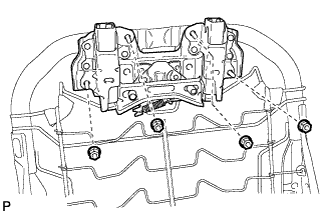
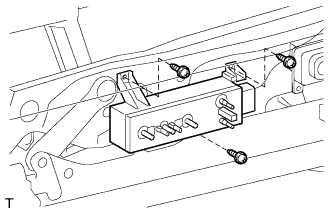
Install the power seat motor with the 3 screws.
4.
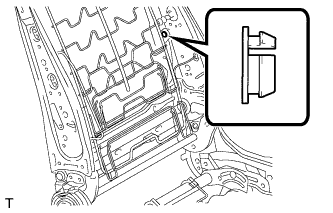
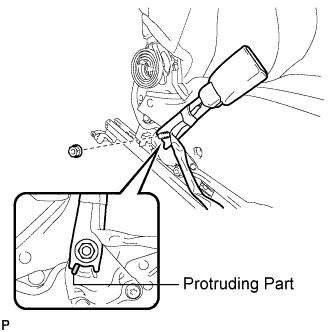
INSTALL BUSH
Install the bush.
5.
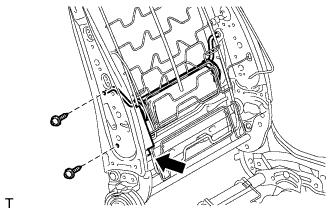
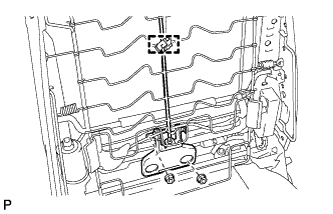
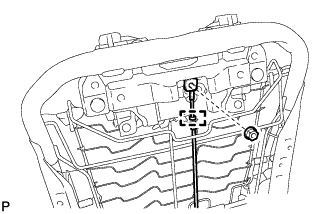
INSTALL LUMBAR SUPPORT ADJUSTER ASSEMBLY
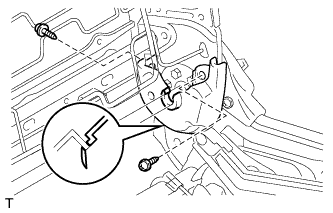
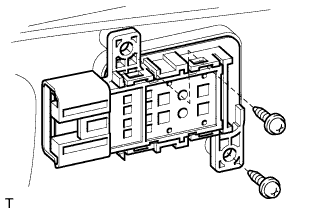
Install the lumbar support adjuster with the 2 screws.
Connect the connector.
6.
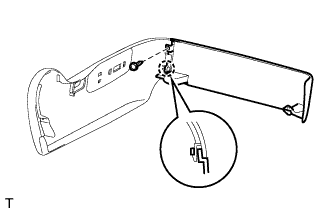
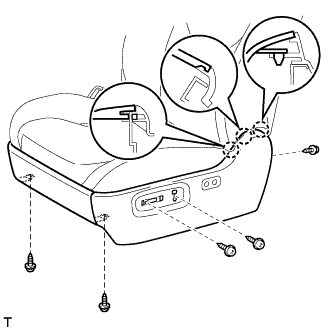
INSTALL FRONT SEAT CUSHION LOWER SHIELD LH
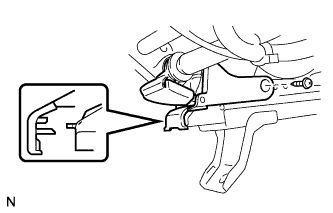
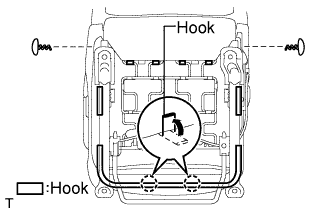
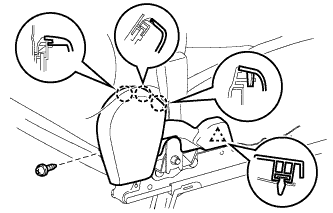
Attach the hook of the lower shield.
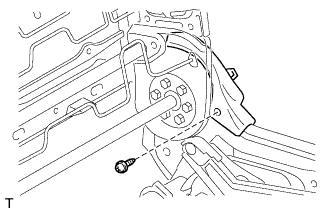
Install the lower shield with the screw.
7.
INSTALL FRONT SEAT CUSHION LOWER SHIELD RH
HINT:
Use the same procedures described for the LH side.