Removal / installation · Vehicles built from Nov 2005
1.
INSTALL ECM
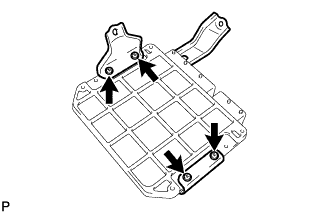
Install the 2 brackets to the ECM with the 4 screws.
Torque:
3.0 N*m{
30 kgf*cm
, 27 in.*lbf
}
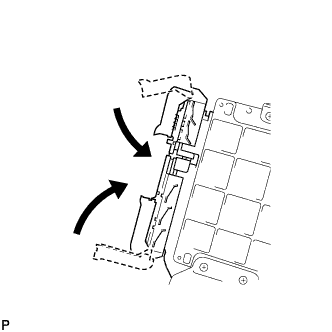
Connect the 2 ECM connectors.
NOTICE:
When connecting the connector, make sure that dirt, water and other foreign matter does not become stuck between the connector and other part.
Connect the 2 ECM connectors and lower the 2 levers.
NOTICE:
Make sure that the 2 levers are securely lowered.
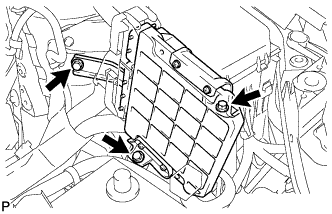
Install the ECM with the 3 bolts.
Torque:
6.5 N*m{
66 kgf*cm
, 57 in.*lbf
}
2.
INSTALL AIR CLEANER CASE
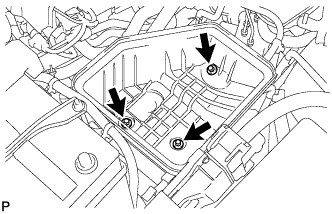
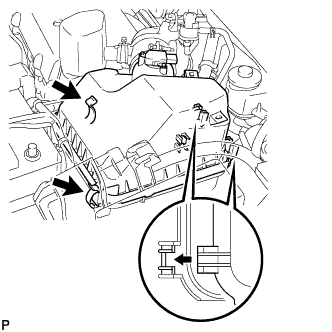
Install the air cleaner case with the 3 bolts.
Torque:
5.0 N*m{
51 kgf*cm
, 44 in.*lbf
}
Connect the harness clamp.
3.
INSTALL AIR CLEANER CAP
Install the air cleaner filter element onto the air cleaner case.
Insert the hinge part of the air cleaner cap into the air cleaner case, and then fasten the 2 hook clamps.
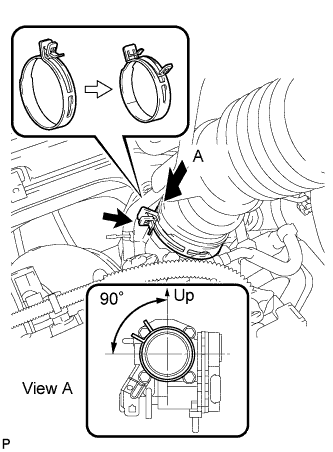
Align the matchmarks of the No. 1 air cleaner hose and throttle body. Then connect the air cleaner hose No. 1 to the throttle body, and push apart the tabs of the No. 1 air cleaner hose clamp.
NOTICE:
Make sure that the hose clamp is at the correct angle.
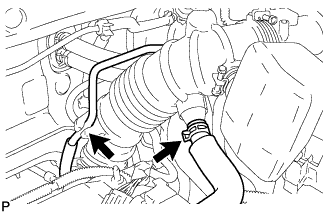
Connect the purge line hose to the clamp.
Connect the No. 2 ventilation hose to the air cleaner hose.
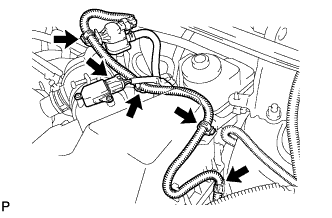
Connect the 4 wire harness clamps.
Connect the mass air flow meter connector.
4.
CONNECT CABLE TO NEGATIVE BATTERY TERMINAL
5.
PERFORM REGISTRATION
w/ Cruise Control: When replacing the ECM, perform vehicle stability control system recognition in ECM (Click here).
6.
RESET MEMORY (for Automatic Transaxle)
When replacing the ECM, perform the RESET MEMORY procedure (A/T initialization) (Click here).