INSTALLATION
Removal / installation · Vehicles built from Aug 2007
Versions by build date: Jan 2007 – Jul 2007 from Aug 2007
| 1.
INSTALL EGR COOLER ASSEMBLY |
 |
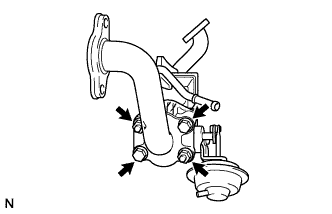
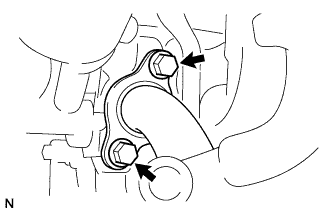
- Temporarily assemble 2 new gaskets, the No. 2 EGR valve, No. 1 EGR pipe and EGR cooler with the 2 bolts and 2 nuts.
Install a new O-ring to the EGR cooler.
Install a new gasket to the No. 1 EGR pipe.
Install a new gasket to the EGR cooler.
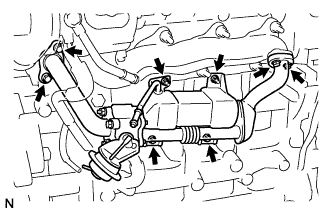
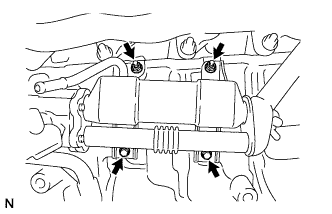
- Temporarily install the EGR cooler with the 2 bolts and 2 nuts.
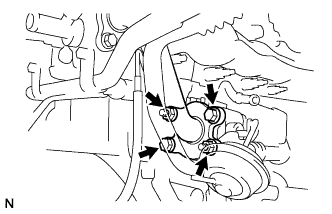
Temporarily install the 4 bolts.
- Tighten the 2 bolts and 2 nuts holding the EGR cooler to the cylinder block.
-
Torque:
- 10 N*m{
102 kgf*cm
, 7 ft.*lbf
}
- Tighten the 2 bolts holding the EGR cooler to the exhaust manifold.
-
Torque:
- 16 N*m{
163 kgf*cm
, 12 ft.*lbf
}
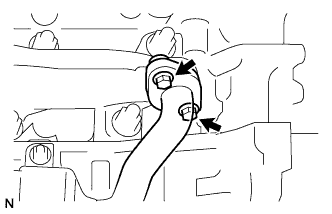
- Tighten the 2 bolts holding the EGR cooler to the cylinder head.
-
Torque:
- 24 N*m{
245 kgf*cm
, 18 ft.*lbf
}
- Tighten the 2 bolts and 2 nuts holding the EGR pipe to the EGR valve.
-
Torque:
- 21 N*m{
214 kgf*cm
, 16 ft.*lbf
}
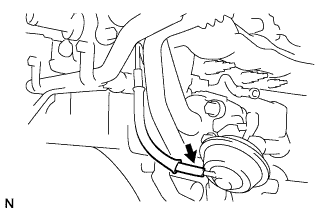
- Connect the vacuum hose to the No. 2 EGR valve.
| 2.
CONNECT NO. 2 WATER BY-PASS HOSE |
|
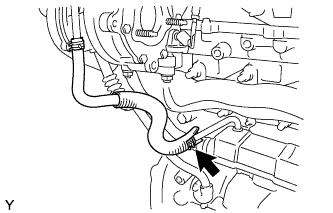
- Using pliers, grip the claw of the clip and slide the clip to connect the No. 2 water by-pass hose.
| 3.
INSTALL EXHAUST MANIFOLD CONVERTER SUB-ASSEMBLY
|
|
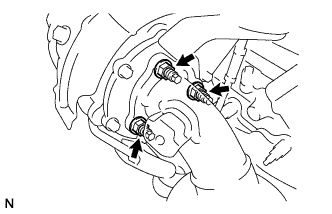
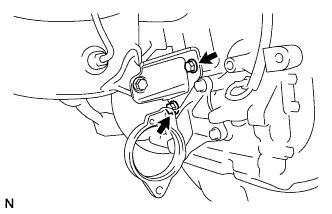
- Temporarily install a new gasket and the exhaust manifold converter with the 3 nuts.
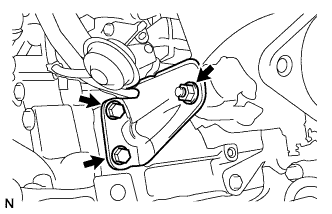
- Temporarily install the No. 2 exhaust manifold stay with the 2 bolts and nut.
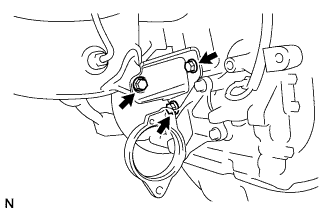
- Temporarily install the No. 2 manifold stay with the 3 bolts.
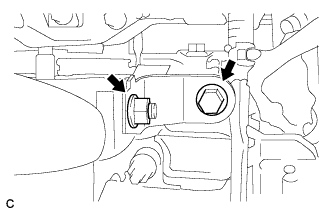
- Temporarily install the No. 1 manifold stay with the bolt and nut.
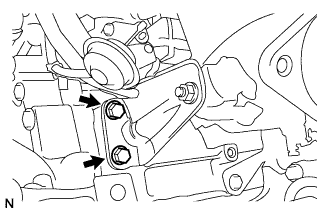
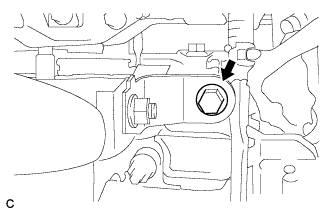
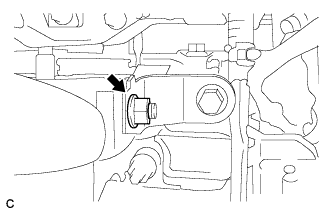
- Tighten the 2 bolts holding the No. 2 exhaust manifold stay to the cylinder block.
-
Torque:
- 56 N*m{
571 kgf*cm
, 41 ft.*lbf
}
- NOTICE:
- Make sure to tighten the upper bolt first and the lower bolt last.
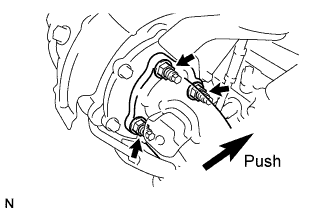
- While pushing the manifold converter towards the cylinder block, tighten the 3 nuts holding the exhaust manifold converter to the turbocharger.
-
Torque:
- 25 N*m{
255 kgf*cm
, 18 ft.*lbf
}
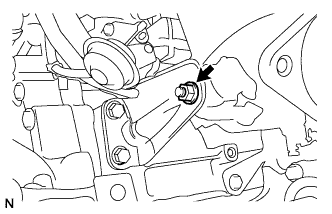
- Tighten the nut holding the No. 2 exhaust manifold stay to the exhaust manifold converter.
-
Torque:
- 56 N*m{
571 kgf*cm
, 41 ft.*lbf
}
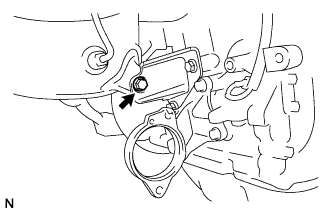
- Tighten the bolt holding the No. 2 manifold stay to the exhaust manifold converter.
-
Torque:
- 56 N*m{
571 kgf*cm
, 41 ft.*lbf
}
- HINT:
- Ensure that the stay is pushed flush to the cylinder block and manifold converter while tightening.
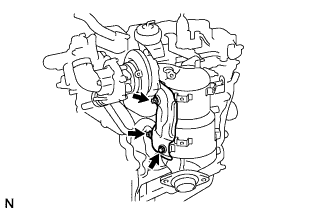
- Tighten the 2 bolts holding the No. 2 manifold stay to the cylinder block.
-
Torque:
- 56 N*m{
571 kgf*cm
, 41 ft.*lbf
}
- Tighten the bolt holding the No. 1 manifold stay to the cylinder head.
-
Torque:
- 25 N*m{
255 kgf*cm
, 18 ft.*lbf
}
- HINT:
- Ensure that the stay is pushed flush to the cylinder head and manifold converter while tightening.
- Tighten the nut holding the No. 1 manifold stay to the exhaust manifold converter.
-
Torque:
- 25 N*m{
255 kgf*cm
, 18 ft.*lbf
}
| 4.
INSTALL NO. 2 MANIFOLD CONVERTER INSULATOR
|
|
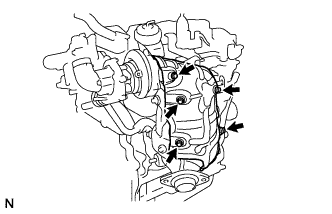
- Install the manifold converter insulator with the 3 nuts.
-
Torque:
- 29 N*m{
291 kgf*cm
, 21 ft.*lbf
}
| 5.
INSTALL NO. 1 MANIFOLD CONVERTER INSULATOR
|
|
- Install the manifold converter insulator with the 5 bolts.
-
Torque:
- 29 N*m{
291 kgf*cm
, 21 ft.*lbf
}
| 6.
CONNECT CABLE TO NEGATIVE BATTERY TERMINAL |
|
| 7.
INSTALL ENGINE ASSEMBLY |
|
Install the engine assembly to the vehicle (Click here).