Home › ENGINE › 2AD-FTV INTAKE › INTERCOOLERREMOVAL
Removal / installation · Vehicles built from Aug 2007
Versions by build date: Nov 2005 – Dec 2006 Jan 2007 – Jul 2007 from Aug 2007
1.
DISCONNECT CABLE FROM NEGATIVE BATTERY TERMINAL
CAUTION:
Wait at least 90 seconds after disconnecting the cable from the negative (-) battery terminal to prevent airbag and seat belt pretensioner activation.
2.
DISCHARGE REFRIGERANT FROM REFRIGERATION SYSTEM
Start up the engine.
Turn the A/C switch ON.
Operate the cooler compressor with an engine speed of approximately 1,000 rpm for 5 to 6 minutes to circulate the refrigerant and collect the compressor oil remaining in each component into the cooler compressor.
Stop the engine.
Using SST, discharge the refrigerant gas.
SST
07110-58060
(07117-58060, 07117-58070, 07117-58080, 07117-58090, 07117-78050, 07117-88060, 07117-88070, 07117-88080)
3.
REMOVE RADIATOR SUPPORT OPENING COVER
Remove the 9 clips and cover.
4.
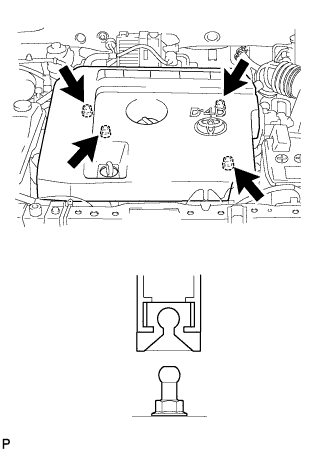
REMOVE NO. 1 ENGINE COVER
Detach the 4 clips and remove the engine cover.
5.
REMOVE NO. 1 ENGINE UNDER COVER
Remove the 4 bolts, 12 clips and under cover.
6.
REMOVE ENGINE UNDER COVER REAR LH
Remove the 2 clips and under cover.
7.
REMOVE ENGINE UNDER COVER REAR RH
Remove the 2 clips and under cover.
8.
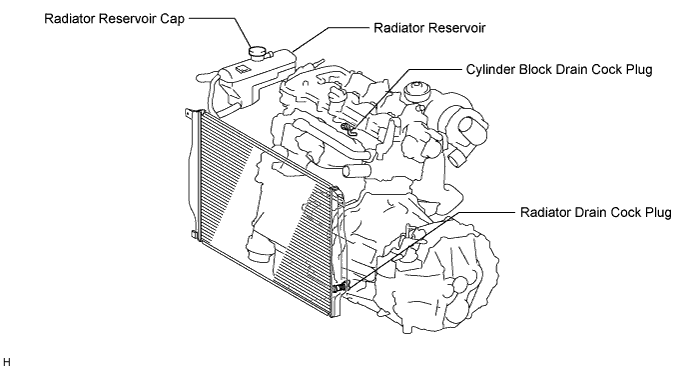
DRAIN ENGINE COOLANT
Loosen the radiator drain cock plug.
HINT:
Collect the coolant in a container and dispose of it according to the regulations in your area.
Remove the radiator reservoir cap.
CAUTION:
Do not remove the radiator reservoir cap while the engine and radiator are still hot. Pressurized, hot engine coolant and steam may be released and cause serious burns.
Loosen the cylinder block drain cock plug.
9.
REMOVE FRONT BUMPER
Remove the front bumper (Click here ).
10.
REMOVE FRONT BUMPER REINFORCEMENT SUB-ASSEMBLY UPPER
Disconnect the 2 horn connectors.
Remove the 2 bolts and reinforcement.
11.
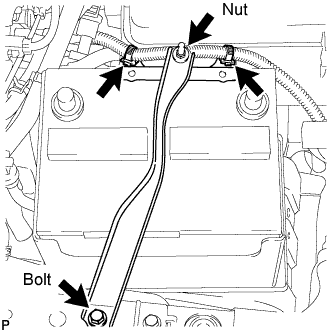
REMOVE BATTERY CLAMP SUB-ASSEMBLY
Remove the bolt and loosen the nut.
Detach the 2 wire harness clamps.
Detach the hook of the battery clamp from the front battery bracket , and then remove the battery clamp.
13.
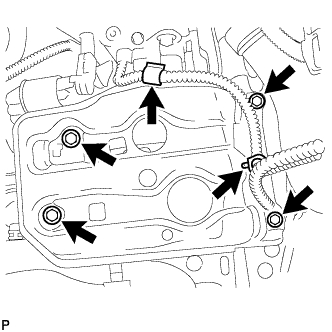
REMOVE FRONT BATTERY BRACKET
Detach the 2 wire harness clamps. Remove the 4 bolts and front bracket.
14.
REMOVE BATTERY BRACKET REINFORCEMENT
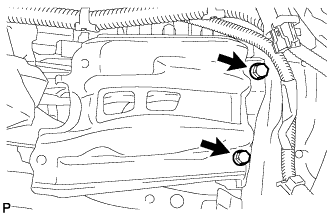
Remove the 2 bolts and bracket reinforcement.
15.
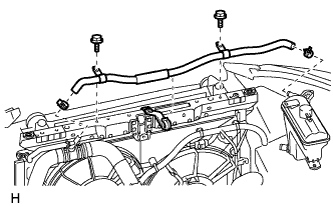
REMOVE NO. 1 WATER BY-PASS HOSE
Detach the No. 1 water by-pass hose from the hose clamp.
Disconnect the No. 1 water by-pass hose from the radiator reservoir and radiator.
Remove the 2 bolts and No. 1 water by-pass hose.
16.
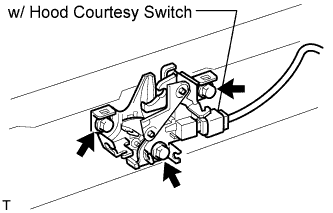
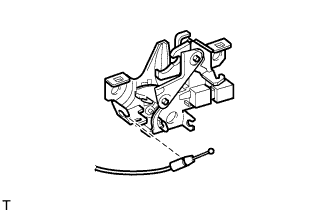
REMOVE HOOD LOCK ASSEMBLY
w/ Hood courtesy switch: Disconnect the connector. Remove the 3 bolts.
Disconnect the cable and remove the lock.
17.
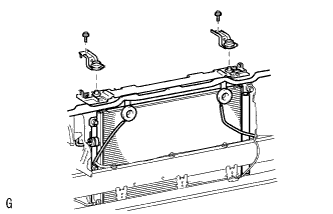
REMOVE RADIATOR SUPPORT UPPER BRACKET
Remove the 2 bolts and 2 brackets.
18.
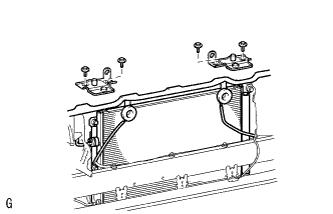
REMOVE NO. 1 RADIATOR SUPPORT
Remove the 4 bolts and 2 radiator supports.
19.
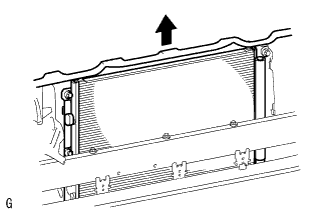
REMOVE COOLER CONDENSER ASSEMBLY
Remove the cooler condenser.
20.
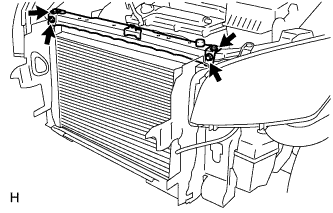
REMOVE RADIATOR SUPPORT UPPER
Remove the 4 bolts and radiator support upper.
21.
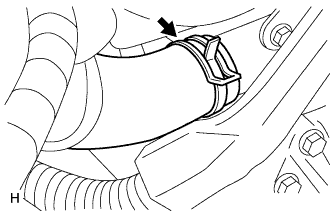
DISCONNECT INLET RADIATOR HOSE
Disconnect the inlet radiator hose from the engine.
22.
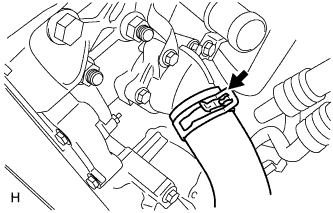
DISCONNECT OUTLET RADIATOR HOSE
Disconnect the outlet radiator hose from the engine.
23.
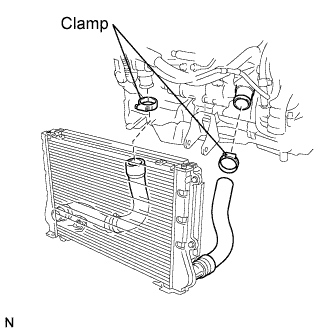
REMOVE RADIATOR AND INTERCOOLER
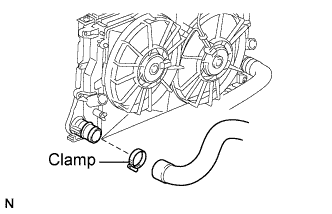
Loosen the 2 clamps. Disconnect the No. 2 and No. 3 air hoses from the engine.
Remove the radiator (with intercooler) from the vehicle.
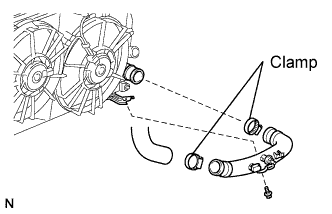
Loosen the 2 clamps. Remove the bolt.
Remove the No. 2 air tube from the intercooler and No. 3 air hose.
Loosen the clamp. Remove the No. 2 air hose from the intercooler.
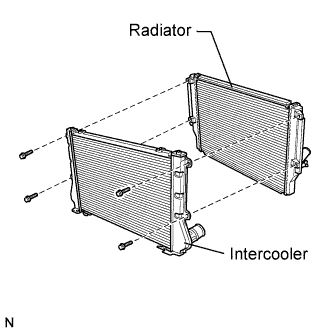
Remove the 4 bolts, and then separate the intercooler and radiator.