REMOVAL
Removal / installation · Vehicles built Nov 2005 – Dec 2006
Versions by build date: Nov 2005 – Dec 2006 Jan 2007 – Jul 2007 from Aug 2007
| 2.
REMOVE HOOD SUB-ASSEMBLY |
 |
Remove the hood (Click here).
| 3.
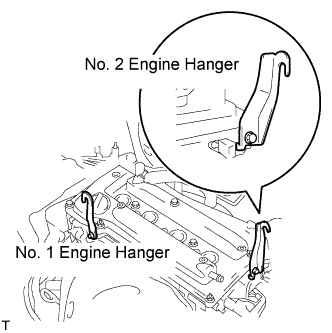
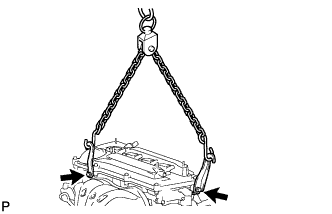
SUSPEND ENGINE ASSEMBLY (for 1AZ-FE, 2AZ-FE)
|
|
- Install the No. 1 and No. 2 engine hangers with the bolts as shown in the illustration.
- Part No.:
Item
|
Part No.
|
No. 1 engine hanger
|
12281-28010
|
No. 2 engine hanger
|
12282-28010
|
Bolt
|
91512-61020
|
-
Torque:
- 38 N*m{
387 kgf*cm
, 28 ft.*lbf
}
- Attach the sling device to the engine hangers and chain block.
Carefully remove the engine with transaxle from the vehicle.
| 4.
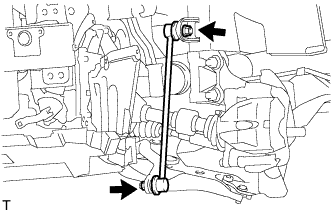
REMOVE FRONT STABILIZER LINK ASSEMBLY LH
|
|
- Remove the 2 nuts and stabilizer link.
| 5.
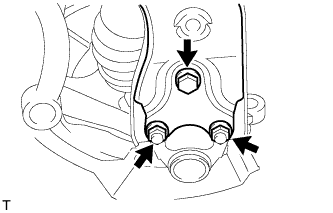
DISCONNECT FRONT SUSPENSION LOWER NO. 1 ARM SUB-ASSEMBLY LH |
|
Remove the 2 nuts and bolt, and disconnect the lower arm from the ball joint.
| 6.
DISCONNECT FRONT SUSPENSION LOWER NO. 1 ARM SUB-ASSEMBLY RH |
|
- HINT:
- Use the same procedures described for the LH side.
| 7.
DISCONNECT FRONT SUSPENSION CROSSMEMBER SUB-ASSEMBLY |
|
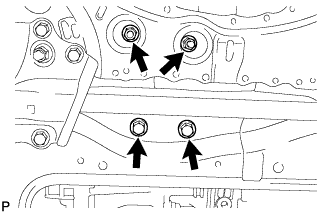
Remove the 2 nuts, 2 bolts and engine mounting insulator rear.
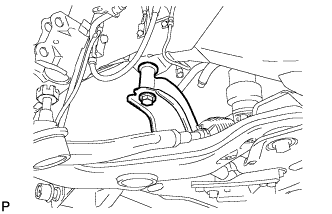
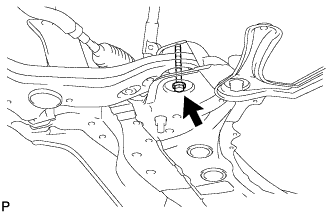
- Remove the bolt from the suspension member.
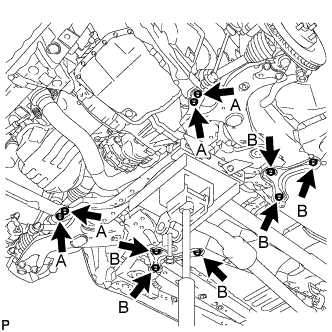
- Support the crossmember with the jack.
Remove the bolts labeled A.
Remove the 4 bolts from the member reinforcement.
Remove the bolts labeled B.
Remove the 6 bolts from the member brace.
Slowly lower the jack, and disconnect the crossmember from the vehicle.
| 8.
REMOVE FRONT SUSPENSION LOWER NO. 1 ARM SUB-ASSEMBLY LH |
|
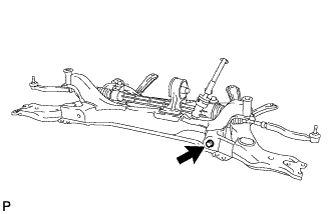
Remove the bolt and nut from the suspension member (front side).
- Remove the bolt and nut from the suspension member (rear side). Then remove the lower arm.
| 9.
REMOVE FRONT SUSPENSION LOWER NO. 1 ARM SUB-ASSEMBLY RH |
|
- HINT:
- Use the same procedures described for the LH side.