FRONT EVAPORATOR TEMPERATURE SENSOR > INSTALLATION |
| 1. INSTALL EVAPORATOR TEMPERATURE SENSOR |
|
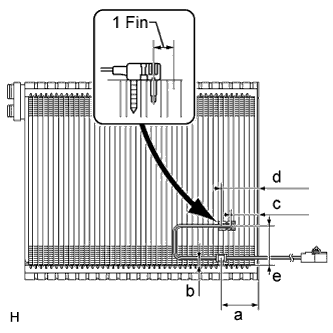
Insert the sensor to a location that is 1 fin to the right or left of its previous location.
| Area | Standard Dimension |
| a | 48 mm (1.89 in.) |
| b | 9 mm (0.354 in.) |
| c | 34.3 mm (1.35 in.) |
| d | 47.7 mm (1.88 in.) |
| e | 50 mm (1.97 in.) |
| 2. INSTALL NO. 1 COOLER EVAPORATOR SUB-ASSEMBLY |
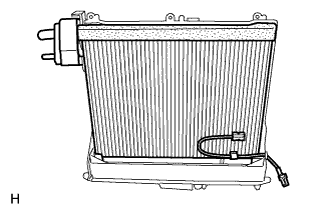 |
Install the evaporator to the blower case.
| 3. INSTALL AIR CONDITIONING RADIATOR ASSEMBLY |
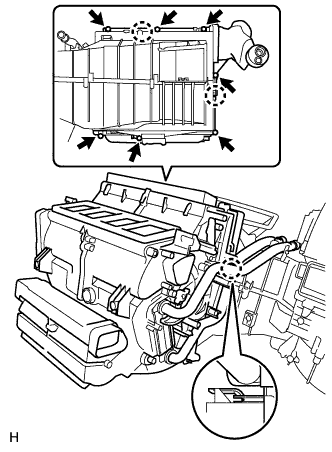 |
Attach the 3 claws and install the air conditioning radiator.
Install the 6 screws.
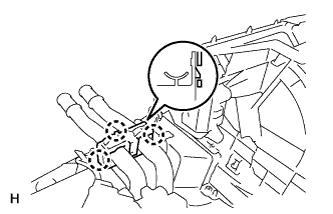 |
Attach the 3 claws and install the heater clamp.
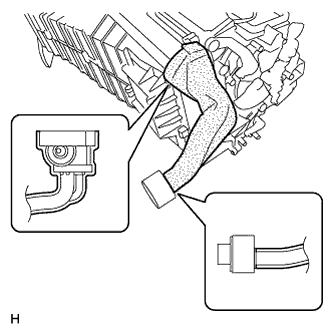 |
Install a new packing, as shown in the illustration.
| 4. INSTALL AIR CONDITIONING AMPLIFIER ASSEMBLY |
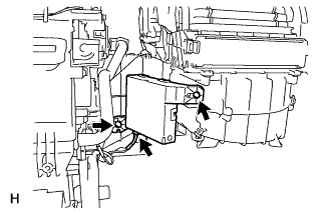 |
Install the amplifier with the 2 screws.
Connect the connector.
| 5. INSTALL NO. 2 AIR DUCT SUB-ASSEMBLY |
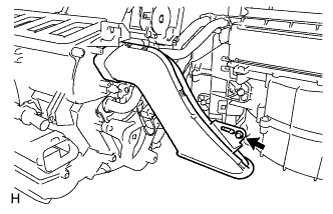 |
Install the air duct with the screw.
| 6. INSTALL LOWER DEFROSTER NOZZLE ASSEMBLY |
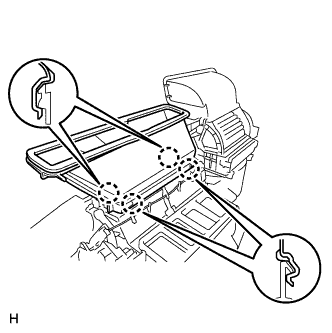 |
Attach the 4 claws and install the nozzle.
| 7. INSTALL FRONT AIR CONDITIONING UNIT |
Install the front air conditioning unit (Click here).