 |
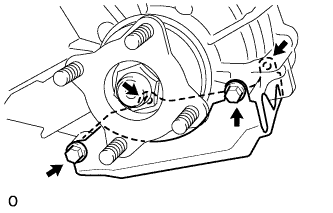
Remove the 4 bolts and lower transfer case protector.
TRANSFER CASE REAR OIL SEAL > REPLACEMENT |
| 1. DRAIN TRANSFER OIL |
|
Remove the 4 bolts and lower transfer case protector.
Remove the filler plug and gasket.
Remove the drain plug and gasket, and drain the transfer oil.
| 2. REMOVE PROPELLER SHAFT ASSEMBLY |
| 3. REMOVE REAR OUTPUT SHAFT COMPANION FLANGE SUB-ASSEMBLY |
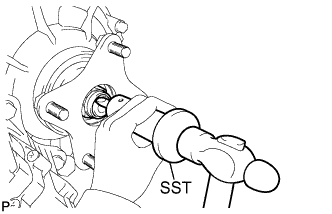 |
Using SST and hammer, loosen the staked part of the lock nut.
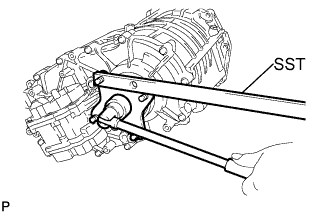 |
Using SST to hold the companion flange.
Using a socket wrench (32mm), remove the lock nut.
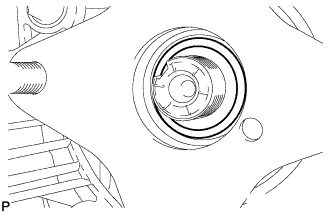 |
Remove the O-ring.
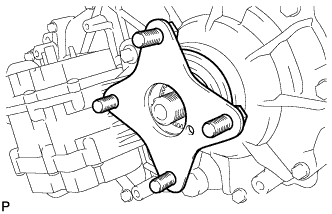 |
Remove the rear output shaft companion flange sub-assembly.
| 4. REMOVE TRANSFER CASE REAR OIL SEAL |
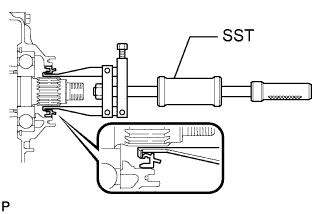 |
Using SST, tap out the oil seal.
| 5. INSTALL TRANSFER CASE REAR OIL SEAL |
Apply transfer oil to the spline area of the output shaft.
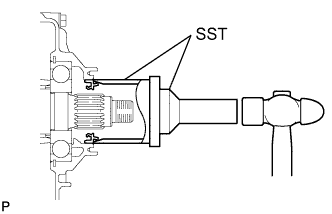 |
Using SST and a hammer, tap in a new oil seal until its surface is flush with the housing upper surface.
| 6. INSTALL REAR OUTPUT SHAFT COMPANION FLANGE SUB-ASSEMBLY |
Install the companion flange onto the output shaft.
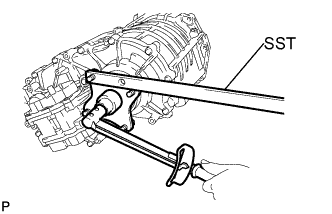 |
Using SST to hold the companion flange.
Using a socket wrench (32mm), install a new O-ring and a new companion flange lock nut.
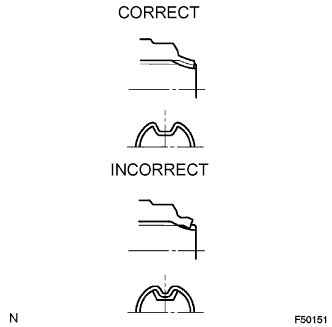 |
Using a chisel and hammer, stake the companion flange lock nut.
| 7. INSTALL PROPELLER SHAFT ASSEMBLY |
| 8. ADD TRANSFER OIL |
Install a new gasket and the drain plug.
Pour oil so that the oil level is between 0 to 5.0 mm (0 to 0.197 in.) from the bottom lip of the filler plug hole.
Wait approximately 5 minutes and check that the oil level has not changed.
Install a new gasket and the filler plug.
|
Install the lower transfer case protector with the 4 bolts.
| 9. CHECK TRANSFER OIL |
Remove the filler plug and gasket.
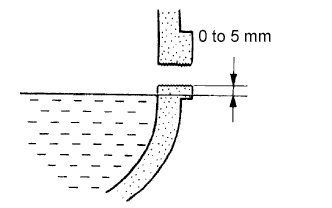 |
Check that the oil level is between 0 to 5.0 mm (0 to 0.197 in.) from the bottom lip of the filler plug hole.
If the result is not as specified, add transfer oil.
When the oil level is too low, check for oil leak.
Install a new gasket into the filler plug and then tighten the plug.
| 10. INSPECT FOR TRANSFER OIL LEAK |