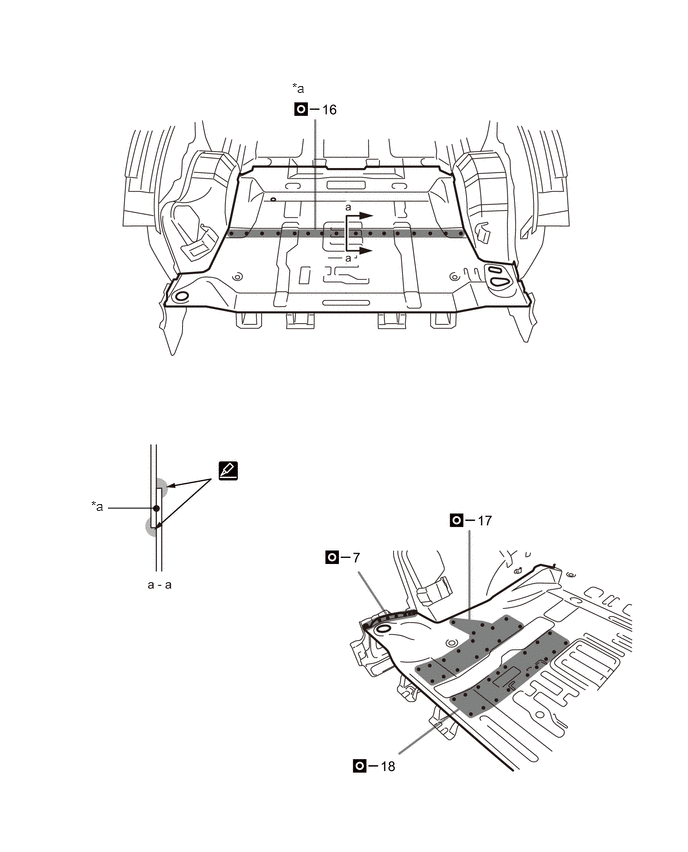
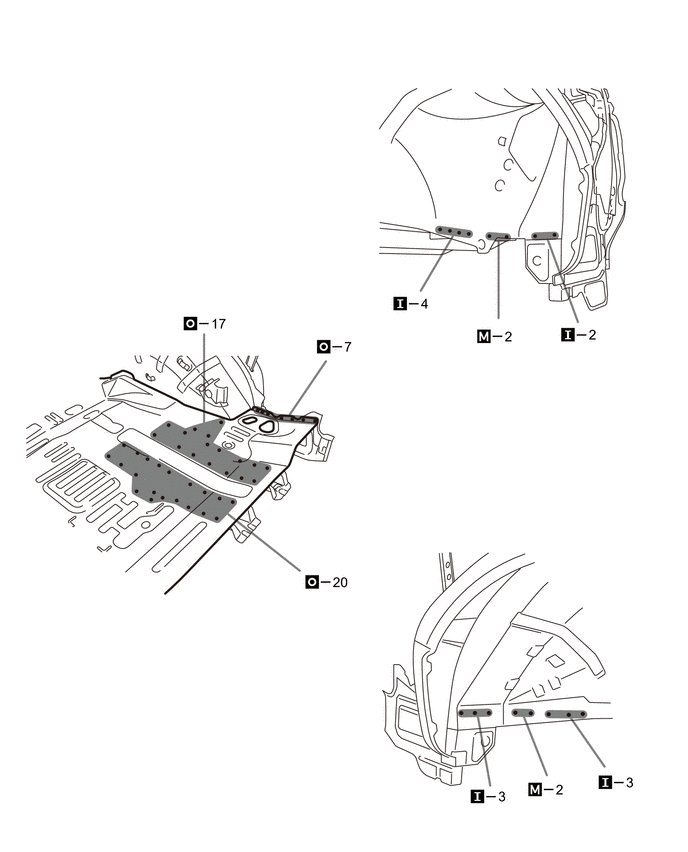
BODY WELD POINT REAR FLOOR PAN CUT AND JOIN REPLACEMENT SECTIONS
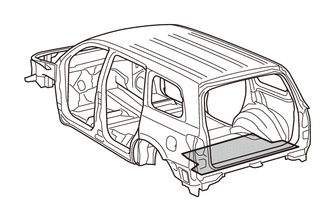
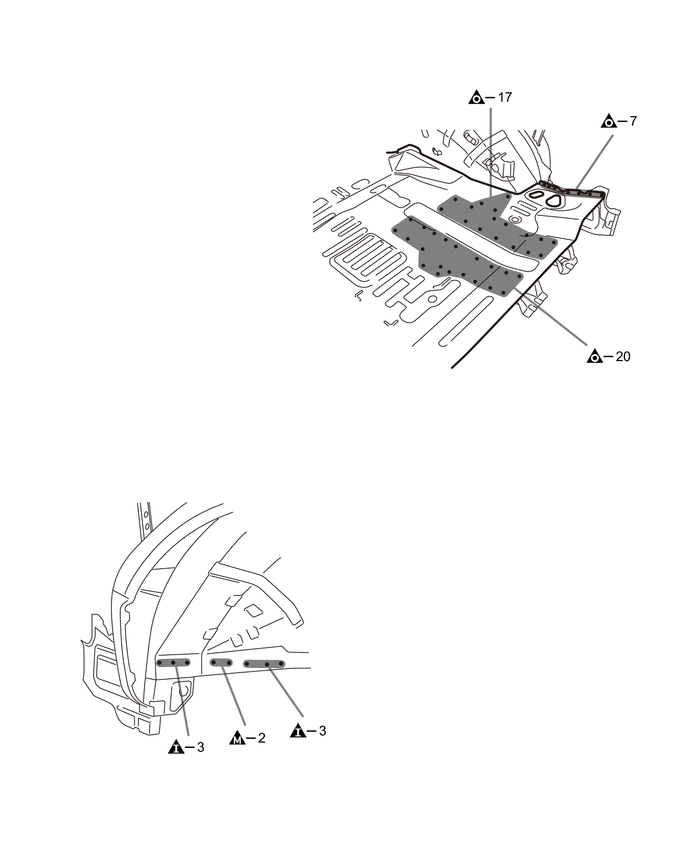
With the body lower back inner panel removed.
REMOVAL
| Symbol Meaning | |
|---|---|

|
Remove Weld Points |

|
Remove Weld Points |

|
Remove Weld Points |

|
Cut Location |
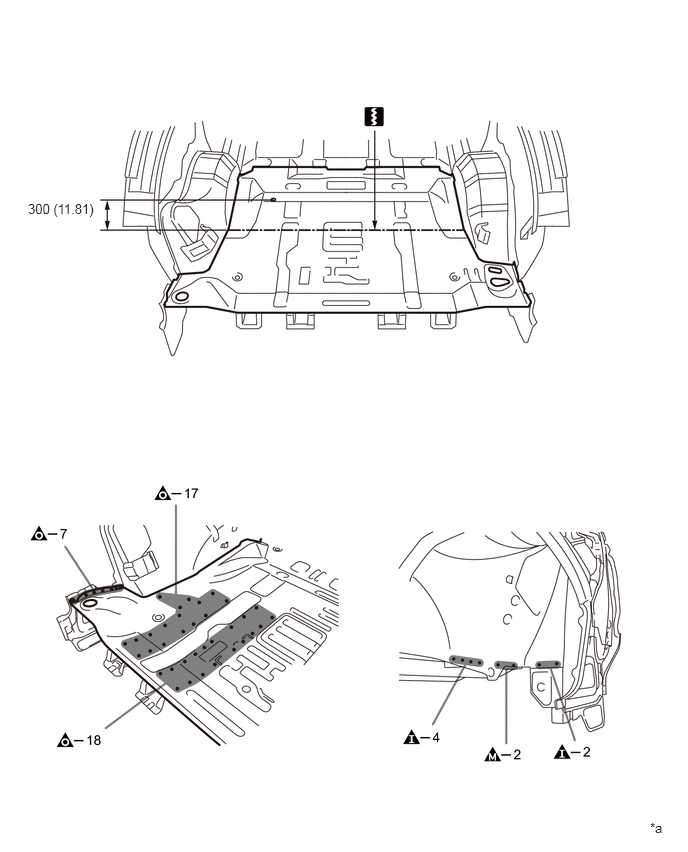
| *a | mm (in.) | - | - |
INSTALLATION
| Symbol Meaning | |
|---|---|

|
Plug Weld |

|
Plug Weld |

|
Plug Weld |
|
|
Cut Location |

|
Fillet Weld |

|
Body Sealer |
Cut the new part so that it overlaps the previous cut location by approximately 20 mm (0.79 in).
Before temporarily installing the new parts, weld the weld bolt with the standard number of welding points.
Temporarily install the new parts and measure each part of the new parts in accordance with the bodydimension diagram. (See the body dimensions)
*a: Perform plug-welding in the area where the panel are overlapped. Apply body sealer to both sides of each panel.
- HINT:
- ·
Confirm that the panels are securely welded together.
·Apply sealer in an even, continuous bead.
After welding, apply body sealer and undercoating to the corresponding parts. (See the painting / coating)
After applying the top coat, apply anti-rust agent to the internal panel portion of the closed section structural weld points.
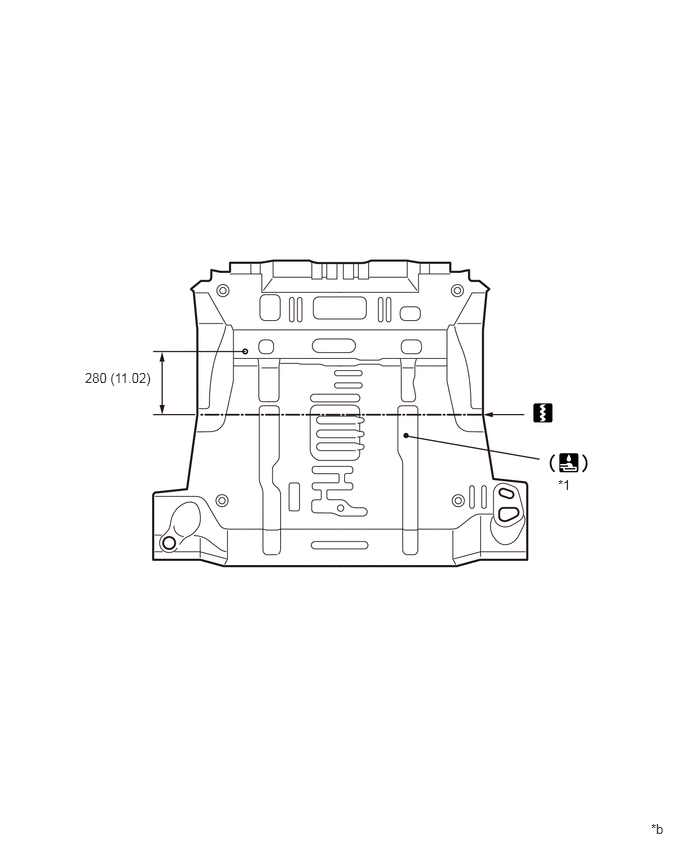
| *1 | Weld Bolt | - | - |
| *b | mm (in.) | - | - |