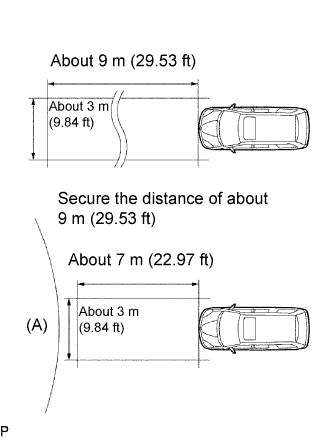
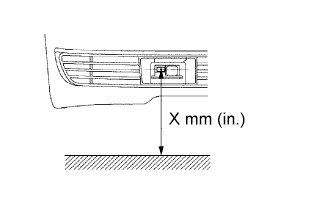
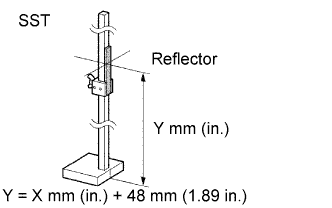
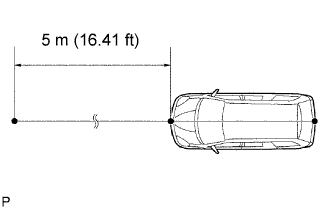
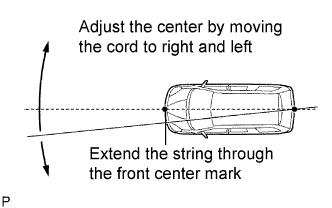
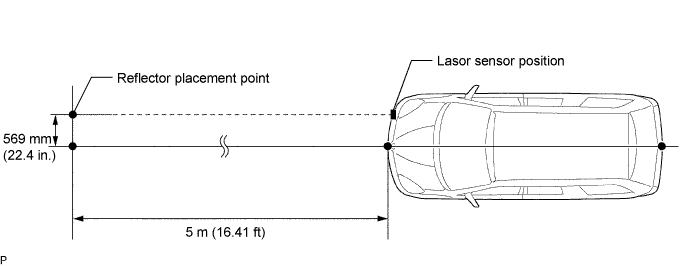
Connect the Techstream to the Data Link Connector 3 (DLC3).
Turn the ignition switch on (IG).
Turn the Techstream main switch on, and turn the cruise control main switch on.
Select Connect to Vehicle.
Select each item on the display screen and proceed to the next screen.
Under System Selection Menu, select Laser Cruise.
Select Utility.
Select Beam Axis Adjustment and proceed to the next screen.
Follow the Techstream display, and continue with the adjustment.
Confirm the current value of the laser beam (The default reading is 6.3° when the reflector position is out of range.)
- HINT:
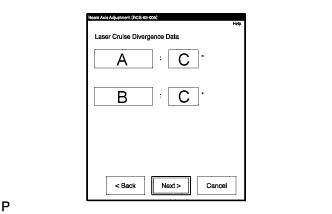
- Check that Upper Side or Lower Side is displayed in area A.
- Check that Left Side or Right Side is displayed in area B.
- Check that an angle value between 0.0 and 6.3 is displayed in area C.
Move the reflector either to right or left by 100 mm (19.69 in.) and check that the value changes.
- NOTICE:
- When the values do not change, it is possible that the direction of the laser radar sensor is greatly off target, and that the laser radar sensor is aiming at something different. Check the installation condition of the laser radar sensor.
Return the reflector to the original position and read the current angle.
Standard
Display
| Angle
|
Upper/Lower Side
| Below 2°
|
Right/Left Side
| Below 4°
|
- HINT:
- When the values displayed on the screen are normal, the values should be within the standard value ranges shown above. If any value is out of the range, check the installation condition of the bumper reinforcement, etc. as it cannot be adjusted automatically.
Turn the headlight dimmer switch to the TAIL position.
Beam axis adjustment will be performed automatically.
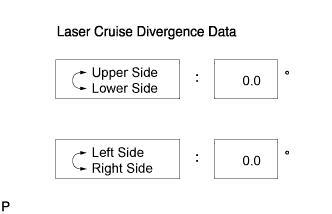
When the adjustment is completed, the Upper/Lower Side and Right/Left Side indicators show 0 and the system beeps for 10 seconds. During this time, Upper and Lower flash alternately on the screen, and Left and Right flash alternately on the screen.
- NOTICE:
- Adjustment values are calculated and then stored in the laser sensor. As the system is not controlled mechanically, the same value as before is displayed to adjust the beam axis.