REAR SUSPENSION REAR SHOCK ABSORBER REMOVAL
CAUTION / NOTICE / HINT
- CAUTION:
- ·
Vehicle may slip off the vehicle hoist if the vehicle hoist is handled incorrectly.
Danger! Life-threatening injuries!
-Observe safety information on raising the vehicle using a vehicle hoist.
-For additional information see:
Click hereGeneral>INTRODUCTION>REPAIR INSTRUCTION>VEHICLE LIFT AND SUPPORT LOCATIONS
- HINT:
- ·
Use the same procedure for the RH side and LH side.
·The following procedure is for the LH side.
PROCEDURE

 1.REMOVE REAR WHEEL
48738
2.REMOVE REAR SUSPENSION ARM COVER
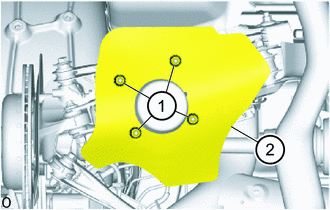
Loosen nuts (1).
Remove the rear suspension arm cover (2).
48540
3.REMOVE REAR SHOCK ABSORBER ASSEMBLY
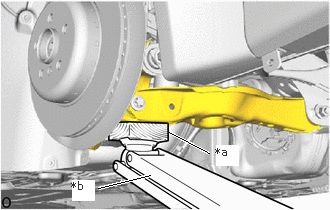
| *a | Wooden Block |
| *b | Jack |
Support the rear axle carrier sub-assembly with the jack and wooden block.
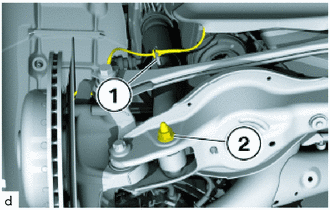
Unclip the cable from the holder (1).
Using an 18 mm deep socket wrench, loosen nut (2).
for Hexagonal Type:
Lift the rear axle carrier sub-assembly with the jack and wooden block to the point where the 18 mm bolt can be removed.
Pull out 18 mm bolt.
for Torx Type:
Lift the rear axle carrier sub-assembly with the jack and wooden block to the point where the E18 bolt can be removed.
Pull out E18 bolt.
Slowly lower jack until rear axle carrier sub-assembly is freely suspended.
Remove the jack and wooden block from under the vehicle.
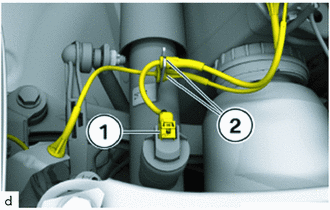
w/ AVS:
Unlock plug connection (1) and disconnect.
Detach lines (2) from the holder.
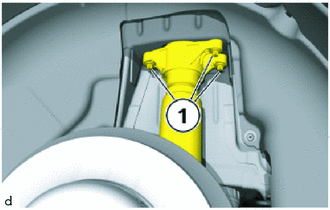
Loosen E14 bolts (1).
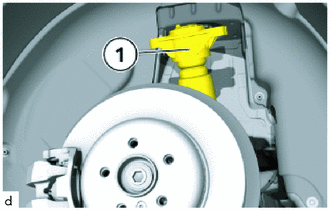
Press the rear shock absorber assembly (1) together and guide upwards from the wheel arch.
48760B
4.REMOVE REAR SUSPENSION SUPPORT ASSEMBLY
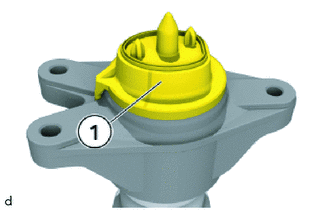
Remove the rear No. 1 shock absorber cushion.
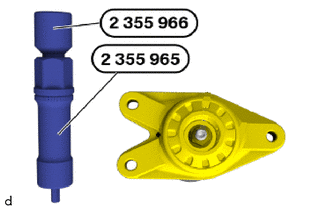
Set the special tools 2 355 965 and 2 355 966 .
- SST
- 09700-WA010
09700-WA020
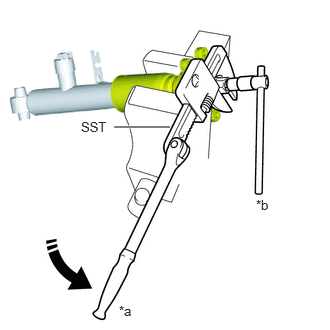
| *a | Turn |
| *b | Hold |
Secure the rear shock absorber assembly in a vise using aluminum plates.
- NOTICE:
-
Do not overtighten the vise.
Using SST, hold the rear shock absorber rod and remove the rear support to rear shock absorber nut.
- SST
- 09700-WA010
09700-WA020
09922-10010
Remove rear suspension support assembly.
48341B
5.REMOVE REAR NO. 1 SPRING BUMPER
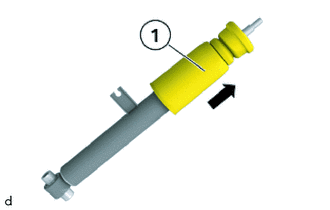
Remove rear No. 1 spring bumper (1).