 |
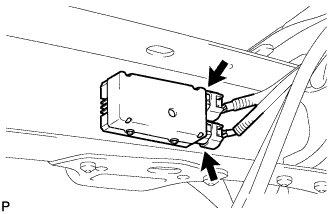
Disconnect the 2 fuel pump ECU connectors.
FUEL INJECTOR > REMOVAL |
| 1. DISCHARGE FUEL SYSTEM PRESSURE |
Disconnect the cable from the negative (-) battery terminal.
|
Disconnect the 2 fuel pump ECU connectors.
Connect the cable to the negative (-) battery terminal.
Start the engine. After the engine has stopped on its own, turn the ignition switch OFF.
Crank the engine again, then check that the engine does not start.
Loosen the fuel tank cap, then discharge the pressure in the fuel tank completely.
Connect the 2 fuel pump ECU connectors.
| 2. DISCONNECT CABLE FROM NEGATIVE BATTERY TERMINAL |
| 3. REMOVE V-BANK COVER |
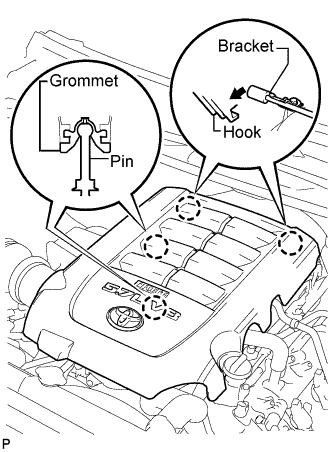 |
Raise the front of the V-bank cover to detach the 2 pins. Then remove the 2 V-bank cover hooks from the bracket, and remove the V-bank cover.
| 4. REMOVE AIR CLEANER HOSE ASSEMBLY |
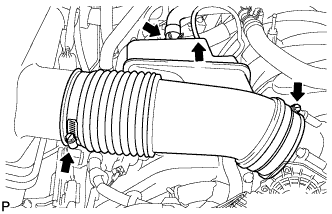 |
Disconnect the vacuum hose and ventilation hose.
Loosen the 2 clamps.
Remove the air cleaner hose.
| 5. DISCONNECT NO. 2 FUEL TUBE |
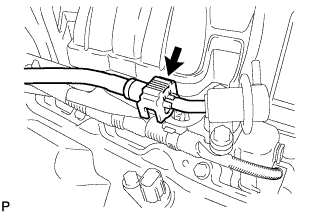 |
Disconnect the No. 2 fuel tube from the fuel pressure regulator (Click here).
| 6. DISCONNECT NO. 1 FUEL TUBE |
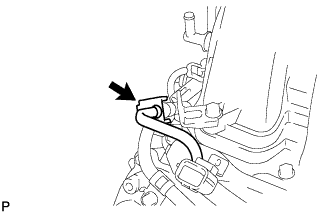 |
Disconnect the No. 1 fuel tube from the fuel delivery pipe RH (Click here).
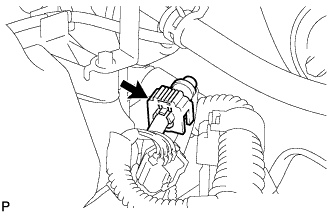 |
Disconnect the No. 1 fuel tube from the fuel delivery pipe LH (Click here).
| 7. DISCONNECT FUEL TUBE SUB-ASSEMBLY |
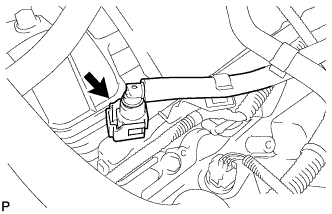 |
Disconnect the fuel tube from the fuel delivery pipe LH (Click here).
| 8. REMOVE FUEL DELIVERY PIPE SUB-ASSEMBLY RH |
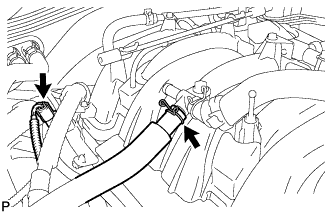 |
Disconnect the ventilation hose and No. 6 wire harness connector.
Remove the No. 1 engine cover.
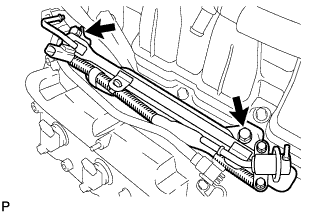 |
Remove the 2 bolts and fuel delivery pipe RH.
Remove the 2 delivery pipe spacers and 4 insulators from the intake manifold.
| 9. REMOVE FUEL DELIVERY PIPE SUB-ASSEMBLY LH |
Disconnect the No. 7 wire harness connector.
Remove the No. 3 engine cover.
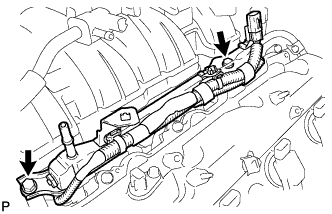 |
Remove the 2 bolts and fuel delivery pipe LH.
Remove the 2 delivery pipe spacers and 4 insulators from the intake manifold.
| 10. REMOVE FUEL INJECTOR ASSEMBLY |
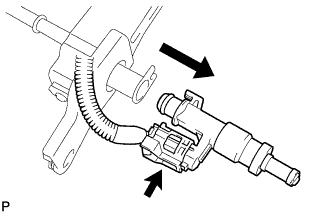 |
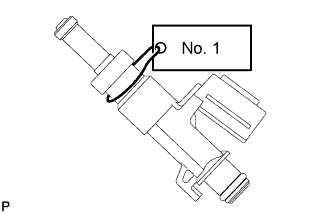
Remove the fuel injector from the fuel delivery pipe, and then disconnect the injector connector.
 |
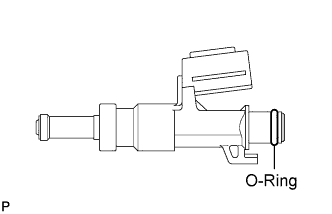 |
Remove the O-ring from the fuel injector.
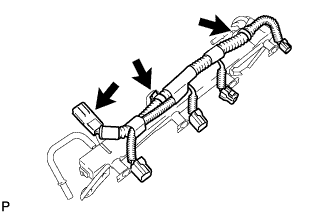 |
Detach the 3 clamps and then remove the No. 6 wire harness from the delivery pipe RH.
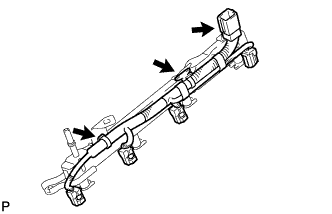 |
Detach the 3 clamps and then remove the No. 7 wire harness from the delivery pipe LH.