ECM (for Hatchback) > REMOVAL |
| 1. REMOVE WINDSHIELD WIPER MOTOR AND LINK |
| 2. REMOVE FRONT NO. 1 VENTILATOR SEAL |
|
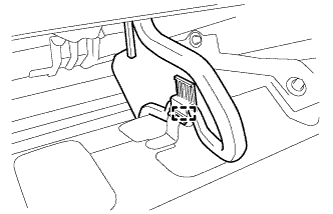
Disengage the clamp and remove the front No. 1 ventilator seal.
| 3. REMOVE FRONT AIR SHUTTER SEAL RH |
| 4. REMOVE INNER COWL TOP TO COWL BRACE |
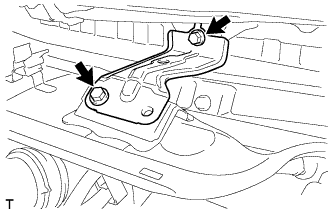 |
Remove the 2 bolts and the inner cowl top to cowl brace.
| 5. REMOVE OUTER COWL TOP PANEL |
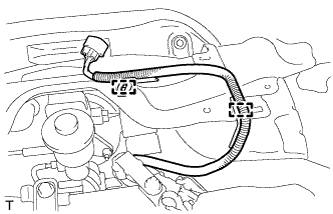 |
Disengage the 2 clamps and separate the wire harness.
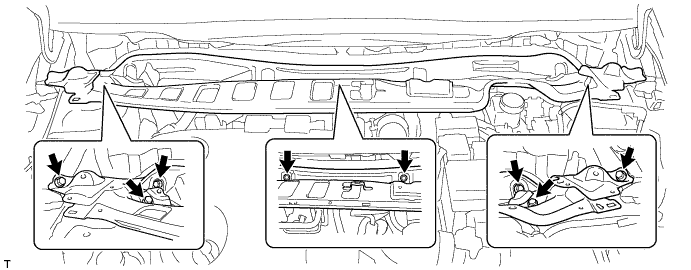
Remove the 8 bolts and the outer cowl top panel.
| 6. REMOVE ECM |
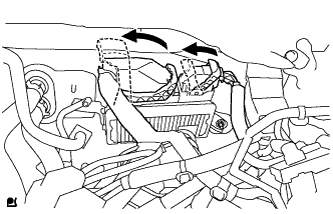 |
Pull up the lever to loosen the lock and disconnect the 2 connectors from the ECM.
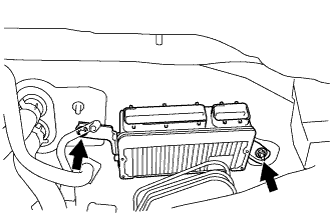 |
Remove the bolt, nut and the ECM.
| 7. REMOVE NO. 1 ECM BRACKET |
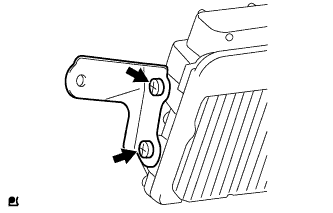 |
Remove the 2 screws and No. 1 ECM bracket.
| 8. REMOVE NO. 2 ECM BRACKET |
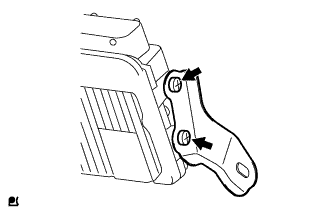 |
Remove the 2 screws and No. 2 ECM bracket.